Growing up, the most painful sight was a cookie jar filled with treats that had turned into dry, crumbly stones. I remember reaching for those iconic peanut-shaped sandwiches only to find they lacked the tender snap and creamy heart I craved. This Nutter Butter Copycat is my solution to the stale cookie problem, focusing on moisture retention so your kitchen counter stays stocked with soft goodness.

By focusing on the balance of real butter and finely ground peanuts, we create a texture that remains jar-fresh for days. This recipe respects the vintage flavor of the original but improves the chew with a few modern baker’s secrets. You will find that these homemade sandwiches are far more satisfying than any plastic-wrapped version from the grocery aisle.
The Ultimate Stays-Fresh Sandwich Cookie
You will fall in love with these cookies because they solve the number one issue with homemade peanut butter treats: the rapid transition from soft to rock-hard. My version stays tender and moist for a full week when stored correctly. We use a specific ratio of fats and sugars that holds onto moisture, ensuring that every bite is as satisfying as the first one out of the oven.
Beyond the texture, the flavor is simply incomparable. We use roasted peanuts ground directly into the flour, which provides a depth of nuttiness that store-bought brands cannot achieve. The filling is stabilized with a touch of cream cheese, which adds a subtle tang and a silkiness that melts on the tongue. It is a nostalgic trip down memory lane, but with the quality and care of a heritage kitchen.
Print
Nutter Butter Copycat
- Total Time: 57 mins
- Yield: 24 sandwich cookies
- Diet: Vegetarian
Description
A nostalgic, homemade take on the classic peanut sandwich cookie, engineered for lasting softness and a deep roasted nut flavor. These cookies use real butter and finely ground peanuts to create a tender snap that stays fresh in the jar for a full week.
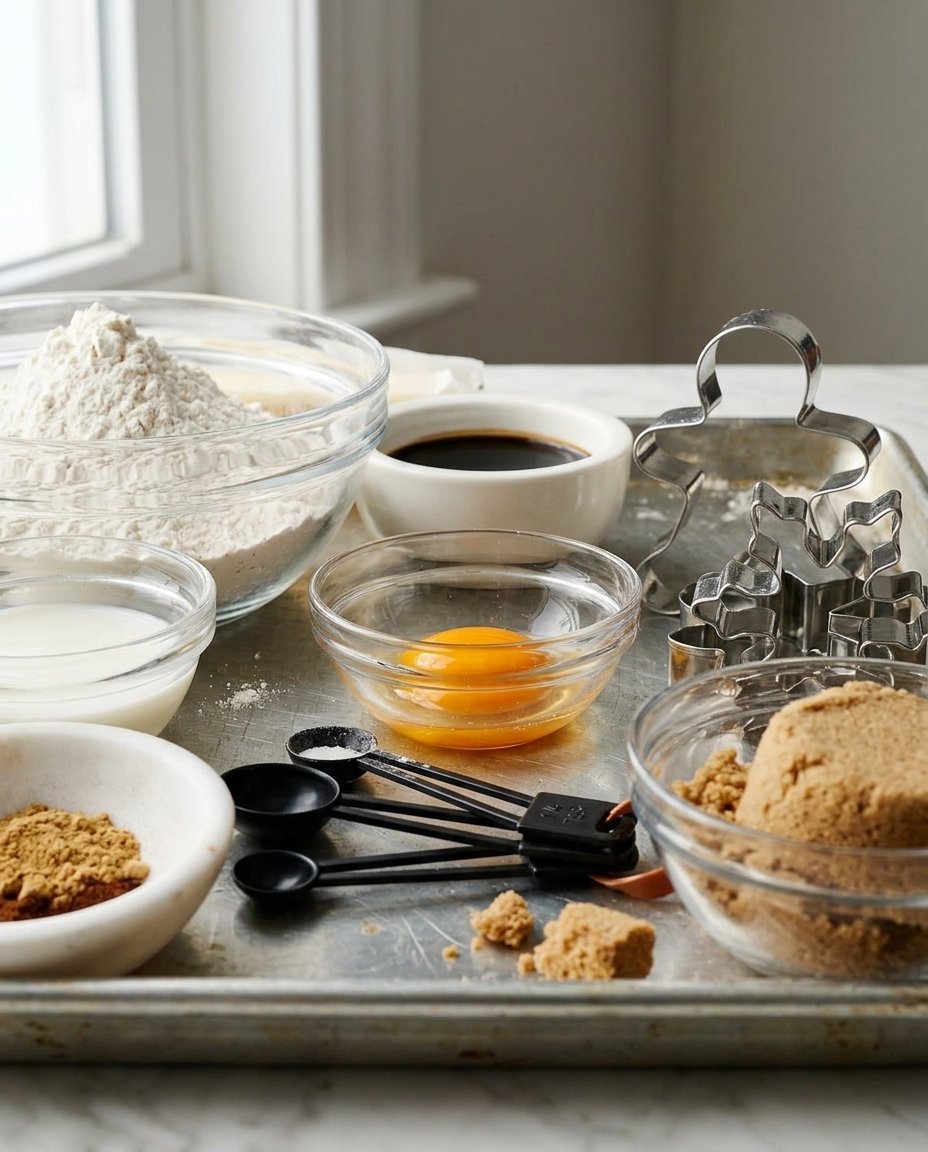
Ingredients
- 2 oz unsalted butter, softened
- 1 oz creamy peanut butter
- 1/2 cup granulated sugar
- 1/2 tsp baking soda
- 1/4 tsp salt
- 1 tsp vanilla extract
- 2 large egg yolks
- 1 1/2 cups all-purpose flour or rice flour
- 1/2 cup roasted unsalted peanuts
- 1 tbsp hot water
- 1/4 cup unsalted butter, softened (filling)
- 1/2 cup creamy peanut butter (filling)
- 2 oz cream cheese, softened (filling)
- 1 cup powdered sugar (filling)
- 1/2 tsp vanilla extract (filling)
Instructions
- In a stand mixer, cream together the 2 ounces of butter, 1 ounce of peanut butter, sugar, baking soda, salt, and vanilla until uniform.
- Add the egg yolks one at a time, mixing until absorbed and scraping the sides of the bowl as needed.
- Pulse the flour and roasted peanuts in a food processor for one minute until finely ground, then sift the mixture through a fine-mesh sieve.
- Incorporate the peanut-flour mixture into the dough on the lowest setting until a stiff dough forms, then knead lightly by hand.
- Chill the dough for 30 minutes, then roll out to 1/8 inch thickness on a floured surface and cut into desired shapes.
- Create a design on the cookies using a paste made from dough scraps and hot water, then bake at 350°F for 12 minutes.
- Prepare the filling by beating butter, peanut butter, cream cheese, powdered sugar, and vanilla for 5 minutes before assembling the sandwiches.
Notes
To achieve the most authentic commercial texture, use rice flour for a delicate snap, and ensure the filling is whipped for the full five minutes to prevent a gritty mouthfeel. Store in a vintage glass jar to maintain the perfect balance of moisture and crunch.
- Prep Time: 45 mins
- Cook Time: 12 mins
- Category: Dessert
- Method: Baking
- Cuisine: American
The Secret to That Perfect Peanut Snap
To achieve the perfect Nutter Butter Copycat, we need to focus on ingredients that promote a tender crumb and a melt-away finish. I use a combination of unsalted butter and creamy peanut butter to provide a rich base that doesn’t feel heavy.
- Roasted Unsalted Peanuts: We grind these into the flour to infuse every millimeter of the cookie with natural oils and flavor.
- Egg Yolks: By using only the yolks, we add fat and lecithin without the drying proteins found in egg whites, keeping the cookies soft for days.
- Rice Flour or All-Purpose Flour: Rice flour provides a delicate, sandy snap that mimics the commercial cookie’s texture, while all-purpose flour offers a slightly chewier result.
- Cream Cheese (in the filling): This is my secret for a filling that stays creamy and doesn’t become gritty or hard inside the sandwich.
- Vanilla Extract: Always use high-quality vanilla to carry the base notes of the peanut butter.
How to Master the Peanut Sandwich
Step 1: Cream the Base
Using a hand or stand mixer set to medium speed, cream together the 2 ounces of butter, 1 ounce of creamy peanut butter, sugar, baking soda, salt, and vanilla extract. The goal here is to combine them until uniform without whipping in too much air. Keeping the dough dense helps prevent the cookies from puffing up like cake, which is vital for a sandwich cookie.
Step 2: Incorporate the Yolks
With the mixer running, add the two egg yolks one at a time. This adds the necessary moisture and fat to keep the cookies tender. Once the yolks are fully absorbed, stop the mixer and scrape down the sides of the bowl with a rubber spatula to make sure no streaks remain.
Step 3: Prep the Peanut Flour
In a food processor, combine your flour and roasted peanuts. Process them for about a minute until the peanuts are finely ground. Sift this mixture through a fine-mesh sieve. This step is crucial; if you have large chunks of peanuts, you won’t be able to roll the dough thin enough, and it will clog your piping bag later. Regrind any large bits until they pass through the sieve.
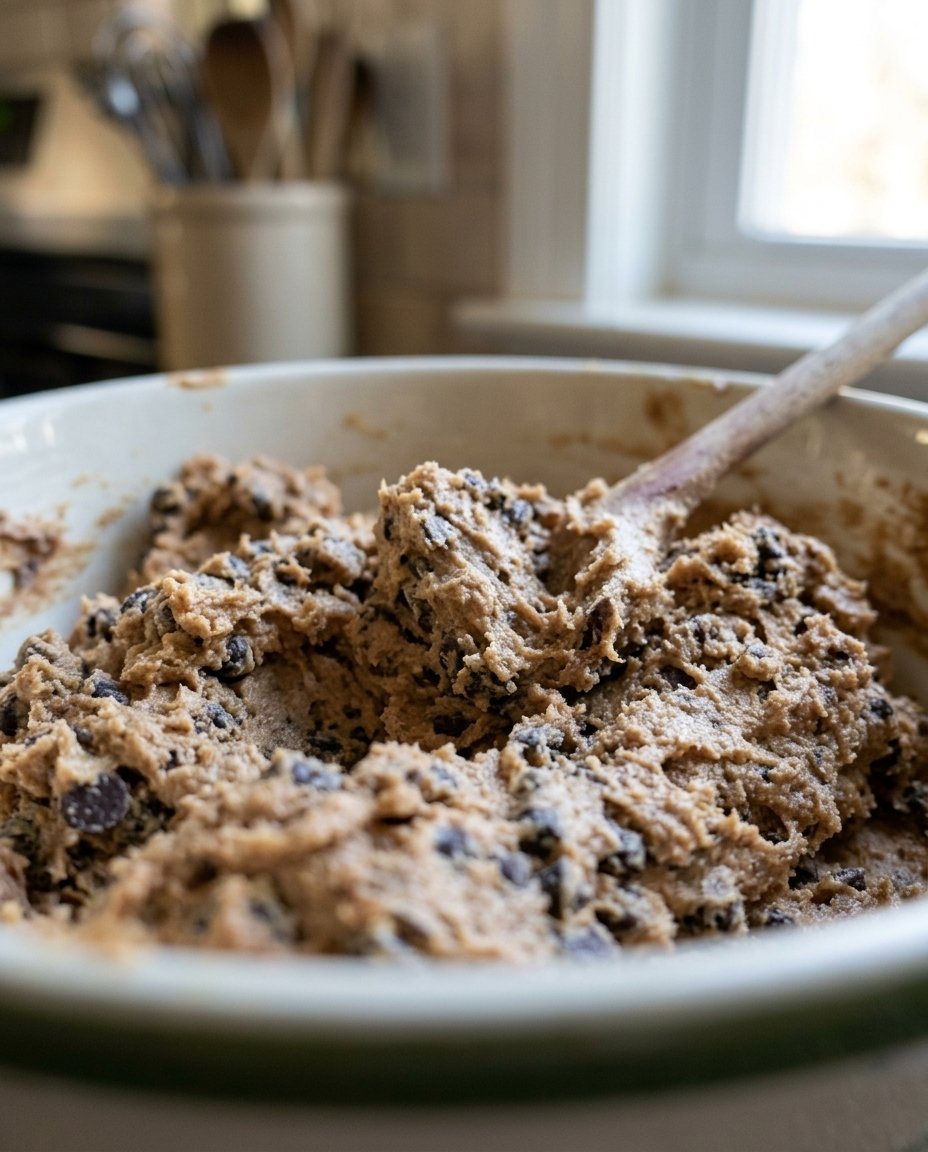
Step 4: Mix the Dough
Set your mixer to the lowest setting and add the peanut-flour mixture all at once. The dough will be quite stiff. Mix only until it becomes uniform, then use your hands to knead it lightly into a smooth ball. Flatten it into a disc and wrap it tightly.
Step 5: The Chill and Roll
Refrigerate the dough for at least 30 minutes. This rest allows the flour to hydrate and the butter to firm up. Preheat your oven to 350°F (180°C). On a lightly floured surface, roll the dough extremely thin—about 1/8 inch. If they are too thick, the final sandwich will be difficult to eat. Use a cutter to shape your cookies and transfer them to a parchment-lined sheet.
Step 6: The Iconic Design
Take your dough scraps and mix them with a teaspoon of hot water at a time until you have a smooth paste with a frosting consistency. Place this into a piping bag with a tiny tip and pipe a cross-hatch or barbell design on top of each cookie. This gives them that classic look. Bake for about 12 minutes until firm, then cool completely on the pan.
Step 7: The Creamy Filling
Cream the butter, peanut butter, cream cheese, powdered sugar, and vanilla for a full 5 minutes. This long mixing time is the secret to a filling that isn’t gritty. Pipe the filling onto half the cookies and top with the remaining wafers. Let them set in the fridge for a few hours before serving.
Mehmet’s Texture Wisdom for Lasting Freshness
The most important tip for this recipe is to never skip the sifting process. If your peanut particles are too large, the structural integrity of the thin cookie is compromised, leading to a brittle texture rather than a tender snap. Also, remember that these cookies continue to firm up as they cool; pull them out when they are just firm to the touch but not yet browned. For more ideas on keeping your pantry stocked, check out our Quick & Easy Cookies. Another secret is to use a metal spatula to lift the raw dough; this prevents stretching the shapes, which keeps the texture consistent across the whole batch. If you find the dough getting too soft while rolling, don’t hesitate to pop it back in the fridge for ten minutes. For those who want to see the original inspiration for this technique, you can find the base method at Serious Eats.
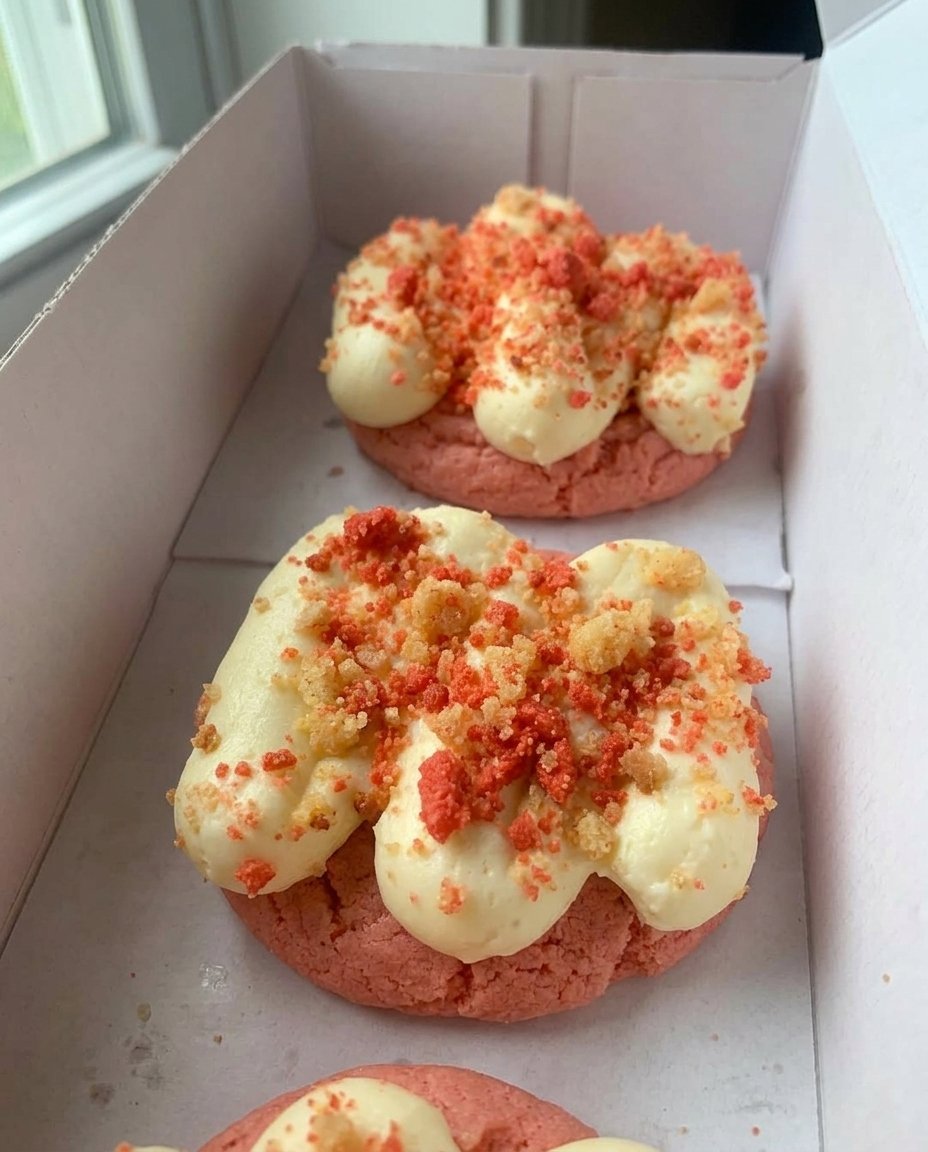
Heritage Changes and Flavor Options
While the classic peanut flavor is hard to beat, you can tweak this recipe to suit your family traditions. For a bit of a twist, try dipping half of the finished sandwich in melted dark chocolate. This creates a wonderful balance against the saltiness of the peanuts. If you are looking for a lighter version, you can substitute the all-purpose flour with a high-quality gluten-free blend, though you may need to add an extra teaspoon of water to keep the dough from cracking. I often suggest looking through our Wholesome Cookie Options for ways to incorporate different nut butters like almond or cashew, which offer a completely different but equally delicious texture profile. You can also add a pinch of cinnamon to the dough for a warm, spiced note that pairs beautifully with the roasted peanuts.
How to Serve and Store for Maximum Freshness
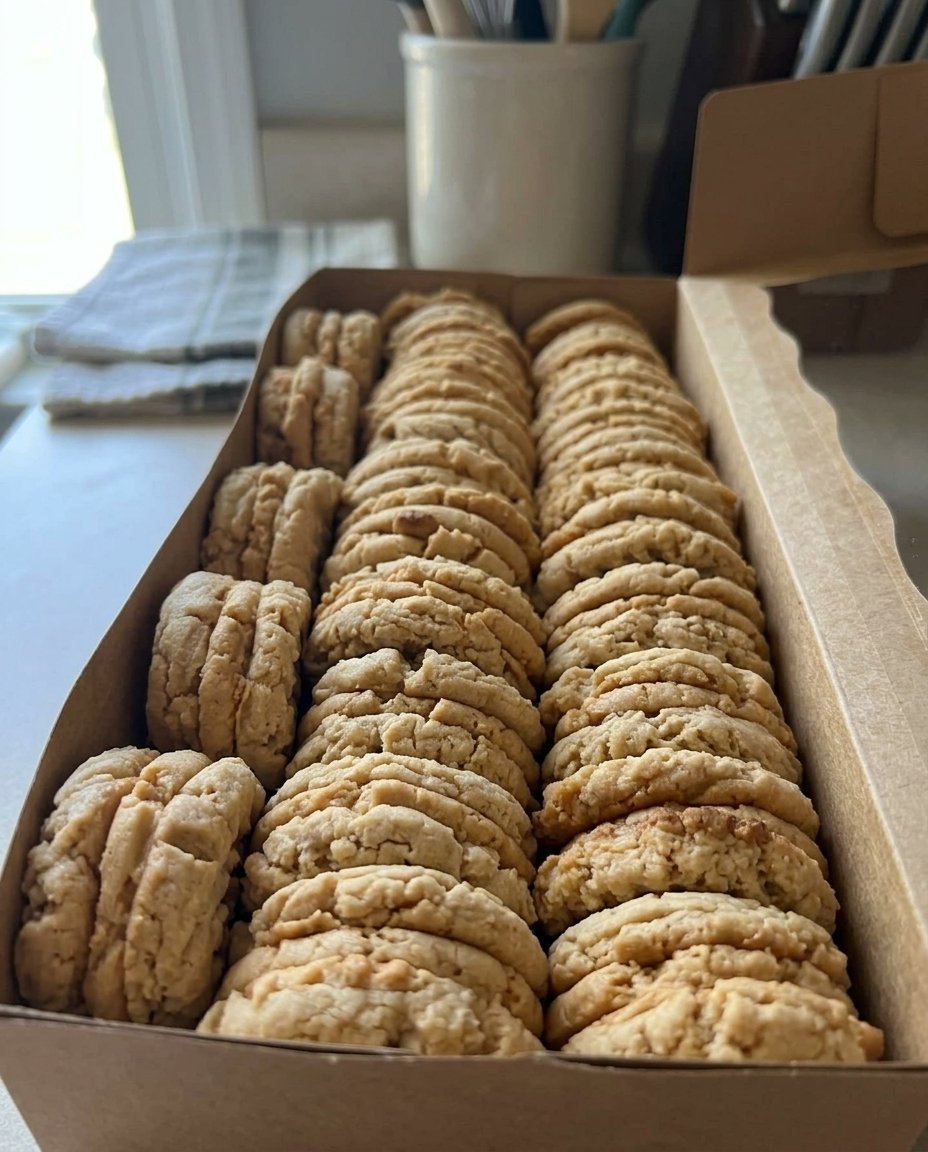
These cookies are best enjoyed at room temperature, but I actually prefer them after they have sat in the cookie jar for about 24 hours. This allows the moisture from the filling to migrate slightly into the wafers, creating a cohesive, tender bite that is simply heavenly. When serving for guests, a cold glass of milk is the traditional partner, but they also pair wonderfully with a hot cup of black coffee. If you are interested in other treats that hold up well in a jar, browse our Classic Cookie Recipes. Always store these in an airtight container; a vintage glass jar with a good seal is perfect for maintaining that ‘just-baked’ feel for up to a full week. If they do start to get a bit firm after day five, a quick five-second zap in the microwave will revive that buttery softness instantly.
A Legacy of Soft Peanut Butter Perfection
Perfecting the texture of this Nutter Butter Copycat has been a journey of respecting the past while applying a bit of baker’s science to stop the staling process. These cookies represent everything we love at Cookies Fresh: reliable recipes that bring comfort and stay fresh long enough to be shared. Whether you are filling your own cookie jar or gifting them to a neighbor, these sandwiches are a true treasure. For more festive ideas, don’t miss our Holiday Cookie Celebrations. I would love to see your creations and hear how your family enjoys them. Please share your photos and follow us for more texture-perfected recipes on Instagram, Pinterest, and Facebook. Happy baking!

