I remember the distinct, sweet aroma of toasted coconut wafting from Grandma’s kitchen every Sunday afternoon. She would carefully pull out a stained, yellowed index card from her wooden box, the ink fading but the love behind the recipe still shining through clearly. These cookies were her way of welcoming every grandchild who walked through her door, a simple gesture that became a cherished family tradition.

This recipe for Oatmeal Coconut Cookies is a true heritage treasure that combines the heartiness of old-fashioned oats with the gentle crunch of shredded coconut. It is a simple drop cookie that has stood the test of time, remaining a permanent fixture in our family cookie jar for over eighty years. I am so grateful to share this little piece of my childhood with your kitchen today.
A Timeless Classic for Your Cookie Jar
There is something profoundly comforting about a cookie that does not try too hard to be fancy. In our modern world, we often see treats piled high with toppings and complex fillings, but this recipe returns to the honest roots of American baking. These cookies offer a perfect balance of textures: the edges are crisp and golden, while the centers remain soft and chewy thanks to the brown sugar and hearty oats.
This recipe hails from an era when ingredients were treated with respect and nothing was wasted. The addition of coconut provides a subtle tropical flair that was considered quite a special treat in the 1940s. It provides a natural sweetness and a wonderful chew that sets these apart from your standard oatmeal raisin variety. When you bite into one, you are tasting a piece of history that has been perfected over generations of Sunday afternoons.
Another reason you will treasure this recipe is its reliability. These cookies are sturdy enough to be packed into a lunchbox or sent in a care package, yet they are tender enough to melt in your mouth alongside a cold glass of milk. They represent the heart of what we do here at Cookies Fresh—preserving the simple, honest flavors that make a house feel like a home. Every batch is a reminder that the best things in life are often the ones passed down through handwritten notes and shared stories.
Print
Oatmeal Coconut Cookies
- Total Time: 25 mins
- Yield: 36 cookies
- Diet: Vegetarian
Description
These classic heritage cookies combine the hearty texture of rolled oats with the sweet, tropical crunch of shredded coconut for a timeless treat. Perfectly balanced with crisp golden edges and soft, chewy centers, this reliable recipe brings a touch of nostalgic warmth to any kitchen.
Ingredients
- 1 cup unsalted butter, softened
- 1 cup granulated sugar
- 1 cup brown sugar
- 2 large eggs
- 2 teaspoons pure vanilla extract
- 2 1/2 cups all-purpose flour
- 1 teaspoon baking soda
- 1 teaspoon baking powder
- 1 teaspoon salt
- 1 cup sweetened shredded coconut
- 2 cups old-fashioned rolled oats
- 1 teaspoon almond extract (optional)
Instructions
- Preheat your oven to 350 degrees F (175 degrees C) and prepare baking sheets by lightly greasing them or lining them with parchment paper.
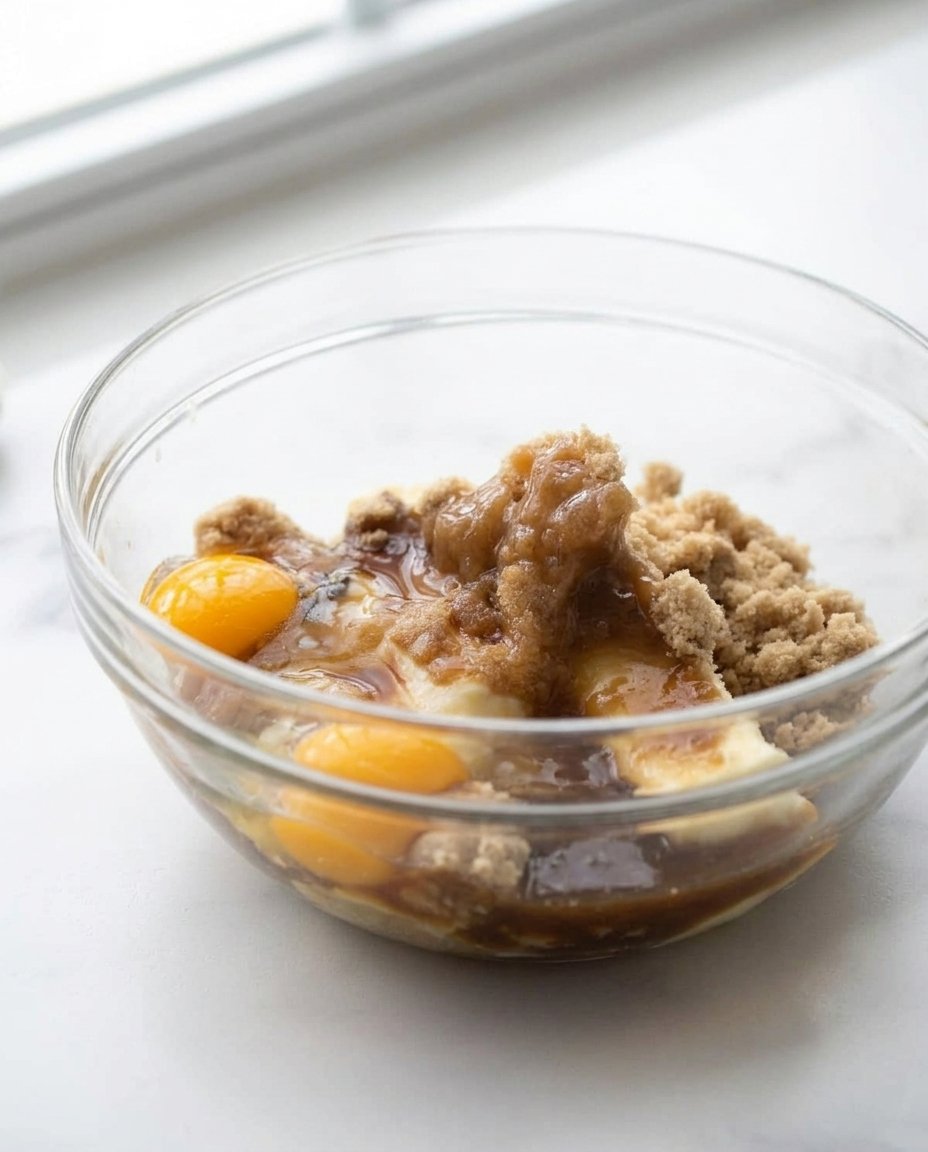
- In a large mixing bowl, cream together the softened butter, granulated sugar, and brown sugar until light and fluffy.
- Add the eggs one at a time, followed by the vanilla extract and optional almond extract, beating until the mixture is smooth.
- In a separate medium bowl, whisk together the all-purpose flour, salt, baking soda, and baking powder.
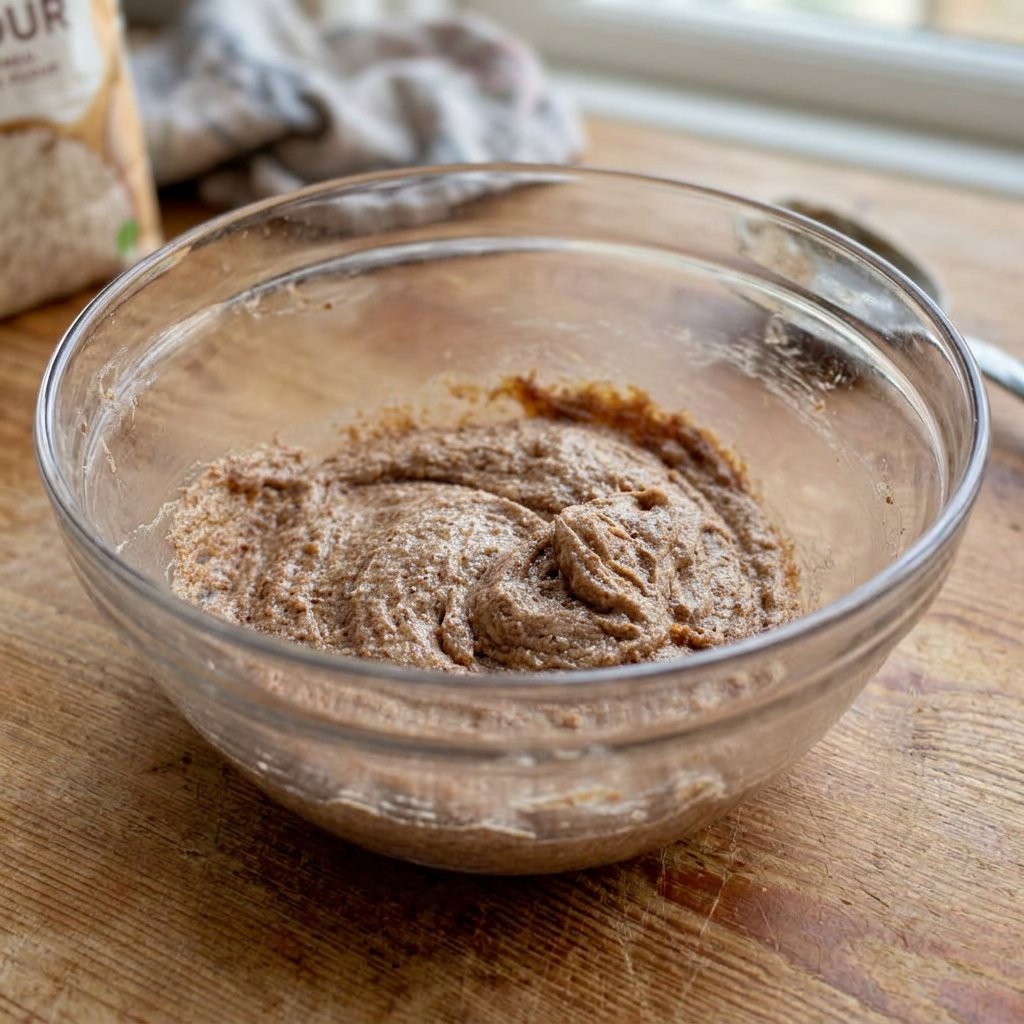
- Gradually add the dry ingredients to the wet ingredients and mix until no streaks of flour remain.
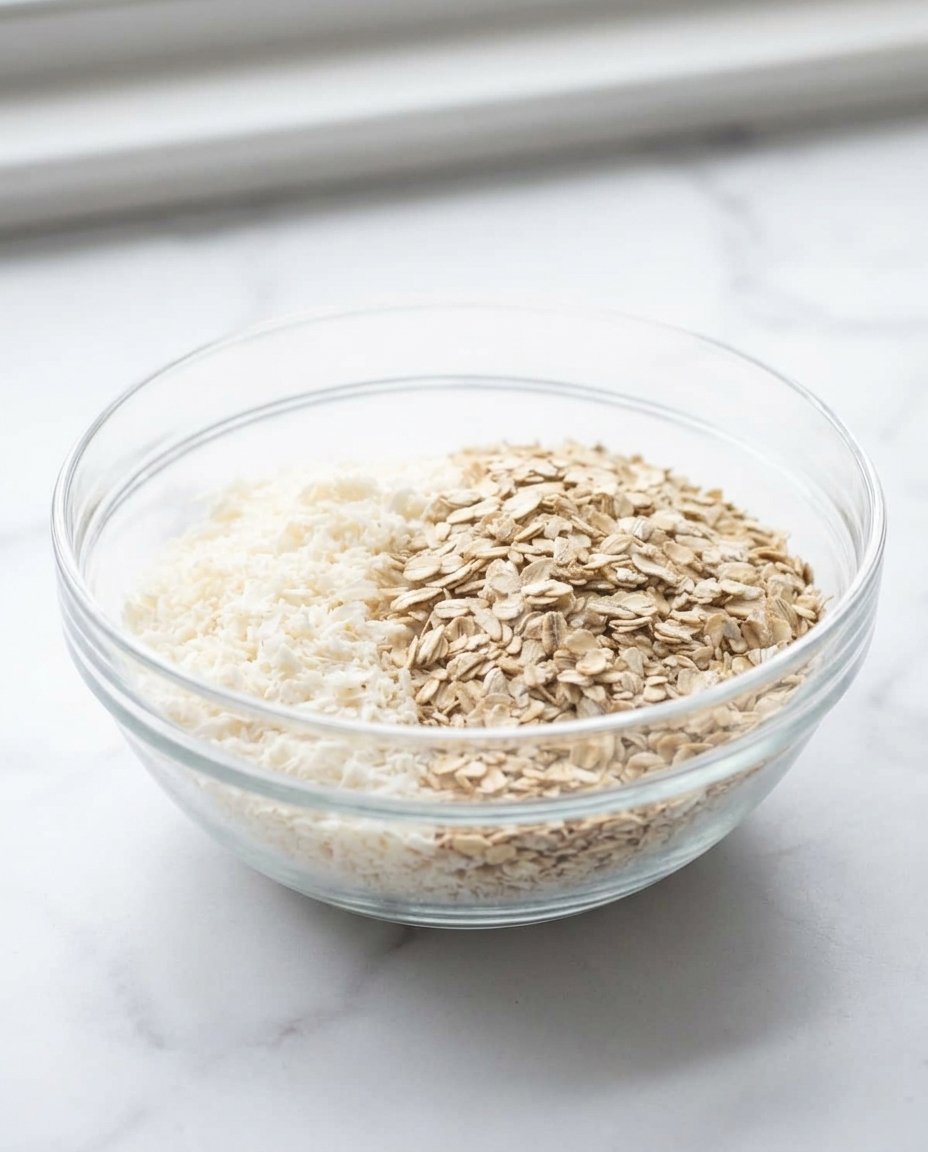
- Fold in the shredded coconut and oatmeal using a sturdy spoon until evenly distributed.
- Drop rounded tablespoonfuls of dough onto the prepared baking sheets, spacing them two inches apart.
- Bake for 8 to 10 minutes until edges are golden brown, then let cool on the sheet for a few minutes before moving to a wire rack.
Notes
For a deeper flavor profile, try browning the butter before cooling and creaming it, or slightly toast the oats in the oven for five minutes before mixing them into the dough. If you find your cookies are spreading too much, ensure your butter wasn’t too melted or try cooling your baking sheets between batches.
- Prep Time: 15 mins
- Cook Time: 10 mins
- Category: Dessert
- Method: Baking
- Cuisine: American
Pantry Staples from the Heritage Cupboard
To recreate this vintage masterpiece, you will need simple, high-quality ingredients that you likely already have in your pantry. We believe that when you use honest ingredients, the natural flavors shine through without the need for artificial enhancements.
- Unsalted Butter (1 cup): Always use real butter for that authentic, rich flavor. Ensure it is softened to room temperature so it creams perfectly with the sugars.
- Granulated Sugar (1 cup): Provides the sweetness and helps create those lovely crisp edges we all adore.
- Brown Sugar (1 cup): This is the secret to a chewy center. The molasses in the brown sugar adds a deep, caramel-like undertone that pairs beautifully with oats.
- Large Eggs (2): These act as the binder, giving our cookies structure and a bit of lift.
- Pure Vanilla Extract (2 teaspoons): Never settle for imitation vanilla. A high-quality extract brings a warm, floral depth to the dough.
- All-Purpose Flour (2 1/2 cups): This provides the base of our cookie. Be sure to spoon and level your flour rather than scooping directly with the cup to avoid a dry cookie.
- Baking Soda and Baking Powder (1 teaspoon each): These traditional leavening agents give the cookies the perfect amount of rise and a tender crumb.
- Salt (1 teaspoon): A pinch of salt is essential to balance the sweetness and bring out the nutty flavor of the oats.
- Shredded Coconut (1 cup): Use sweetened shredded coconut for the most traditional flavor. It adds a wonderful texture and a hint of sweetness.
- Oatmeal (2 cups): Old-fashioned rolled oats provide the best texture and a hearty, rustic feel. Quick oats can be used in a pinch, but the texture will be slightly softer.
- Almond Extract (1 teaspoon, optional): Grandma sometimes added a drop of almond extract to give the cookies a professional, bakery-style finish. It is a lovely heritage touch.
The Classic Way to Bake
Step 1: Prep Your Heritage Kitchen
Before you begin mixing, preheat your oven to 350 degrees F (175 degrees C). Prepare your baking sheets by lightly greasing them or lining them with parchment paper. This ensures your cookies release easily and maintain their beautiful shape once baked.
Step 2: Creaming the Butter and Sugars
In a large mixing bowl, cream together the softened butter, granulated sugar, and brown sugar until the mixture is light and fluffy. Add the eggs one at a time, followed by the vanilla extract. If you are using the optional almond extract, add it now. Continue to beat until the mixture is smooth and well-incorporated. This step builds the foundation of the cookie’s texture.
Step 3: Mixing the Dry Ingredients
In a separate medium bowl, whisk together the all-purpose flour, salt, baking soda, and baking powder. Mixing the dry ingredients separately ensures that the leavening agents are evenly distributed throughout the dough, preventing any uneven rising during the baking process.
Step 4: Combining the Mixtures
Gradually add the dry ingredient mixture to the wet ingredients. Mix well until no streaks of flour remain. Be careful not to overmix at this stage, as overworking the dough can lead to a tougher cookie. Use a gentle hand and a sturdy wooden spoon for that traditional touch.
Step 5: Adding the Heart and Soul
Fold in the shredded coconut and the oatmeal. At this point, the dough will be thick and heavy, full of wonderful texture. Use your spoon to ensure the coconut and oats are distributed evenly so every bite is perfectly balanced.
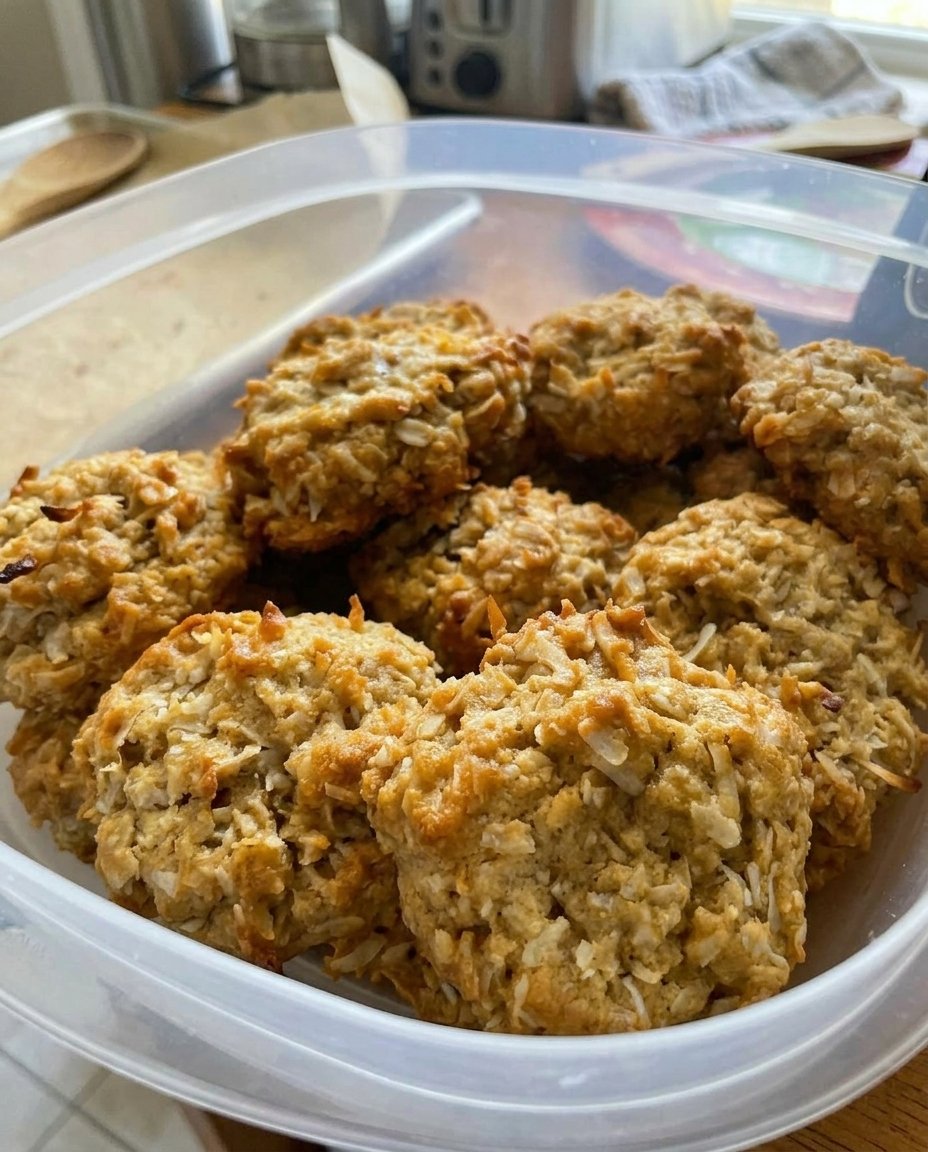
Step 6: Portioning and Baking
Drop rounded tablespoonfuls of dough onto your prepared baking sheets, spacing them about two inches apart to allow for spreading. Bake for 8 to 10 minutes, or until the edges are just beginning to turn a golden brown. The centers may look slightly soft, but they will firm up as they cool on the sheet for a few minutes before you move them to a wire rack.
Grandma’s Secrets for the Perfect Batch
One of the most important lessons my mother taught me was to feel the dough. If the kitchen is particularly warm, the butter might soften too much, causing the cookies to spread. In such cases, chilling the dough for thirty minutes before baking can help maintain that thick, chewy profile we love. For those looking for more time-saving techniques, our guide on Quick & Easy Cookies offers many wonderful ways to fill your jar without spending all day in the kitchen.
Always ensure your baking soda is fresh to get the right lift. You can test it by putting a small amount in a bowl and adding a drop of vinegar; if it bubbles vigorously, it is ready for your heritage baking. For more insights on achieving the perfect texture, you might find this detailed look at coconut oatmeal cookies quite helpful. Lastly, remember to store these in a tin or a glass jar with a tight-fitting lid to keep them fresh for up to a week.
Family Favorites and Heritage Twists
While the original recipe is perfection on its own, our family has enjoyed a few variations over the years depending on the season. During the colder months, adding a half-cup of dark chocolate chips creates a rich, indulgent treat that children especially adore. If you prefer a nuttier profile, chopped walnuts or pecans can be folded in alongside the oats for added crunch. For more inspiration on traditional bakes, look through our collection of Classic Cookie Recipes.
Some cousins prefer to swap the vanilla for maple extract and add a dash of cinnamon to the flour mixture. This gives the cookies a warm, autumnal flavor that is lovely for harvest festivals. You can also toast the coconut in a dry pan for a few minutes before adding it to the dough to deepen the nutty flavor and add a beautiful golden hue to the finished product. No matter which path you choose, the heart of the recipe remains timeless and true.
Sharing the Tradition and Filling the Jar
These cookies are best served just as Grandma did—on a clean porcelain plate with a cold glass of milk for the children and a hot cup of tea or coffee for the adults. They are the perfect companion for a mid-afternoon break when you need a moment of quiet reflection. If you are looking for treats that fit a specific lifestyle, you might also enjoy our Wholesome Cookie Options for more recipe ideas.
For a special family gathering, I like to stack these in a large glass jar tied with a simple twine ribbon. They make a beautiful centerpiece on a dessert table and invite guests to help themselves. These cookies also freeze wonderfully; simply place them in an airtight container with layers separated by parchment paper. This way, you always have a piece of heritage ready to share with unexpected visitors.
The Sweet Heritage of Home Baking
Baking these Oatmeal Coconut Cookies is about more than just satisfying a sweet tooth; it is about carrying forward the stories and traditions of those who came before us. Every time I hear the click of the cookie jar lid, I am transported back to Grandma’s kitchen, feeling the same warmth and safety I felt as a child. I hope this recipe brings that same sense of peace and joy to your home. For more recipes that celebrate the seasons and special moments, visit our Holiday Cookie Celebrations page. We would love to see your beautiful bakes, so please share them with our community on Pinterest, Instagram, and Facebook. Keep the tradition alive and keep your cookie jars full!

