I still remember the soft crinkle of the white paper bag as Grandma reached into the pantry on Sunday afternoons. Those thin, crisp cookies with the dark chocolate centers were a rare treat, a little bit of elegance that felt so much more sophisticated than our usual oatmeal drops. We would sit at the small kitchen table, the sun pouring through the lace curtains, and savor every buttery bite as if it were a secret we shared with the world.

Recreating that specific texture—the lacy, snap-crisp oat base and the smooth, rich chocolate filling—took many afternoons of trial and error at my own kitchen counter. This recipe is a tribute to those quiet moments, using simple pantry staples to produce a cookie that tastes exactly like home. It is a delicate balance of butter and sugar that creates a lacey crumb, making every bite feel like a cherished memory from a simpler time.
A Timeless Jar Favorite
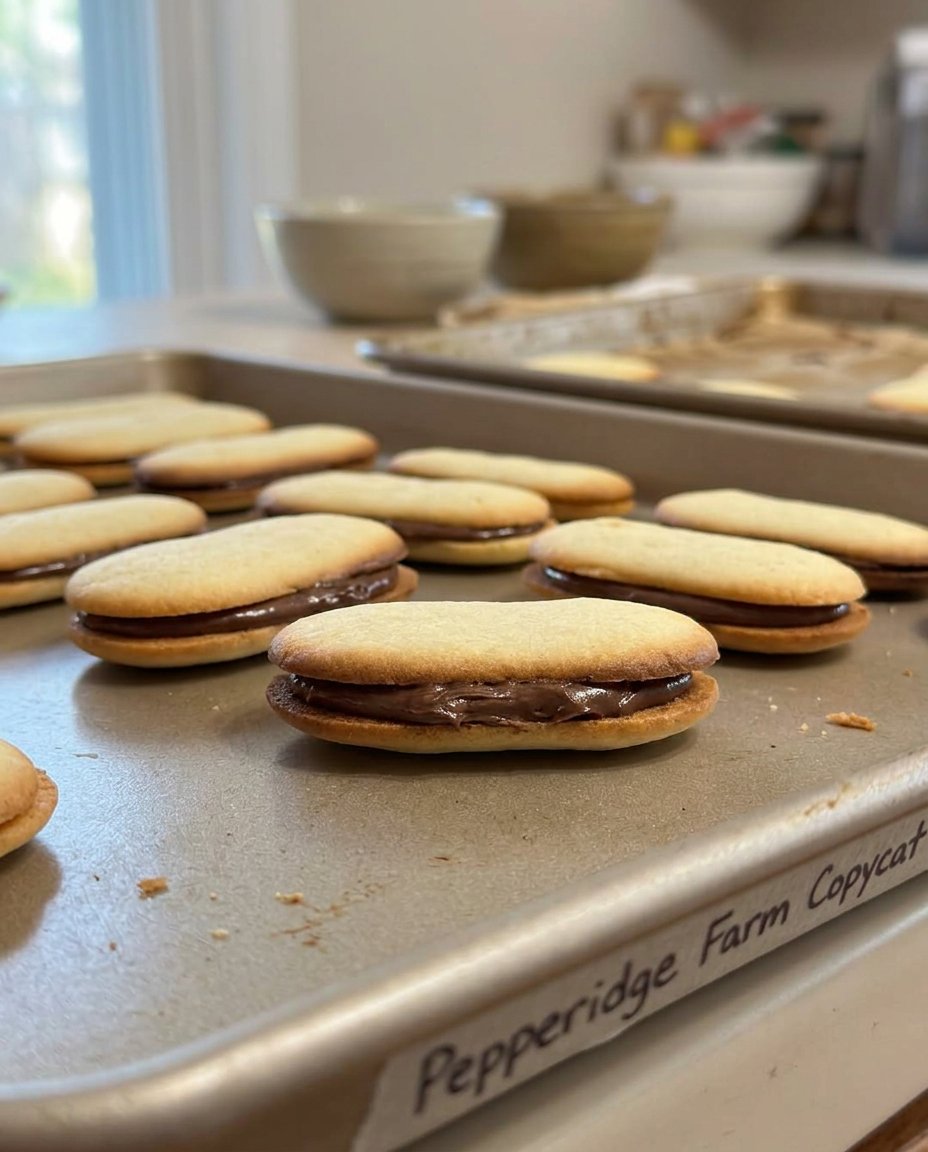
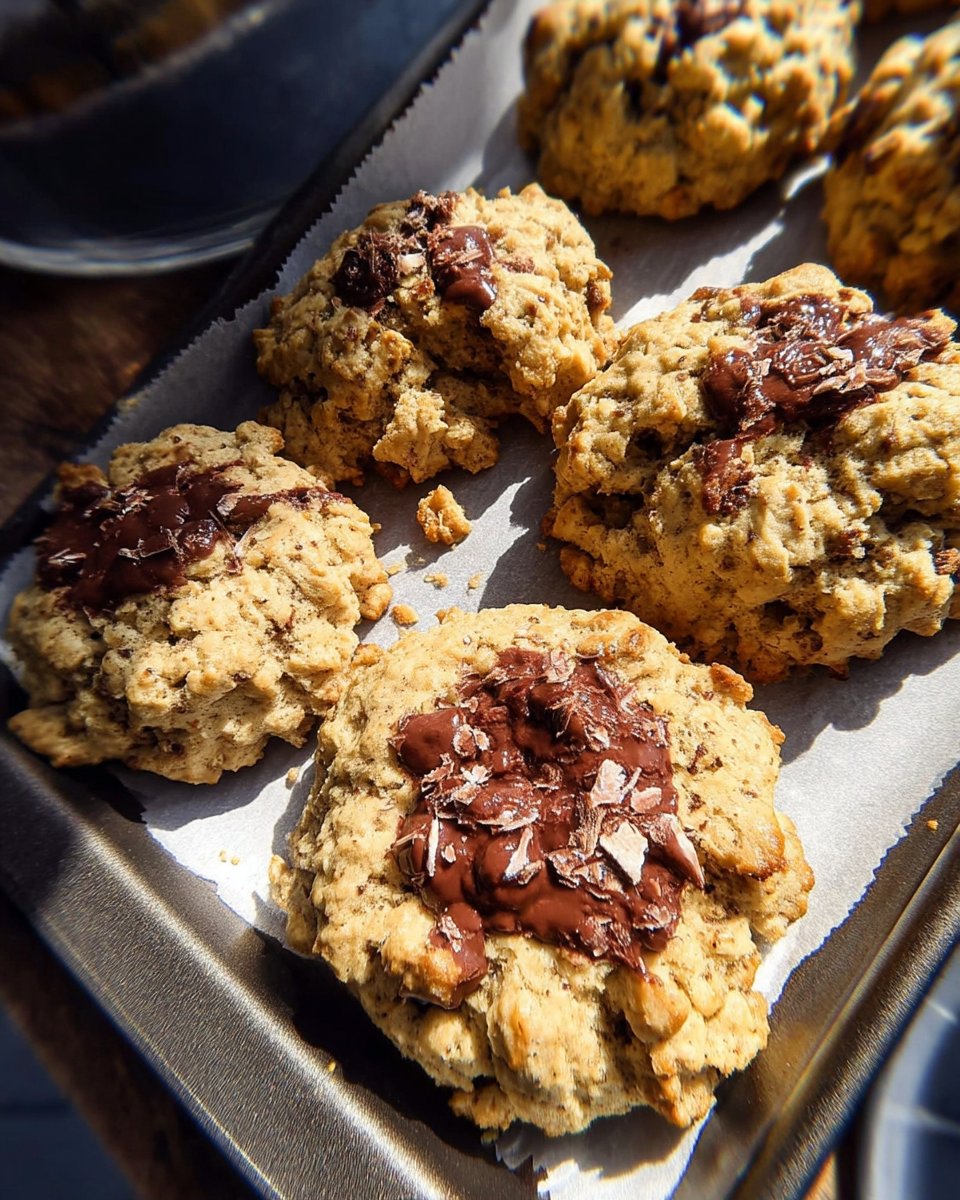
There is something truly special about a cookie that manages to be both delicate and deeply satisfying. This Pepperidge Farm Copycat captures that elusive magic perfectly, offering a crunch that gives way to a meltingly smooth chocolate center. Unlike many modern recipes that rely on complex additions, this heritage-style treat celebrates the honest flavors of real butter, toasted oats, and pure vanilla.
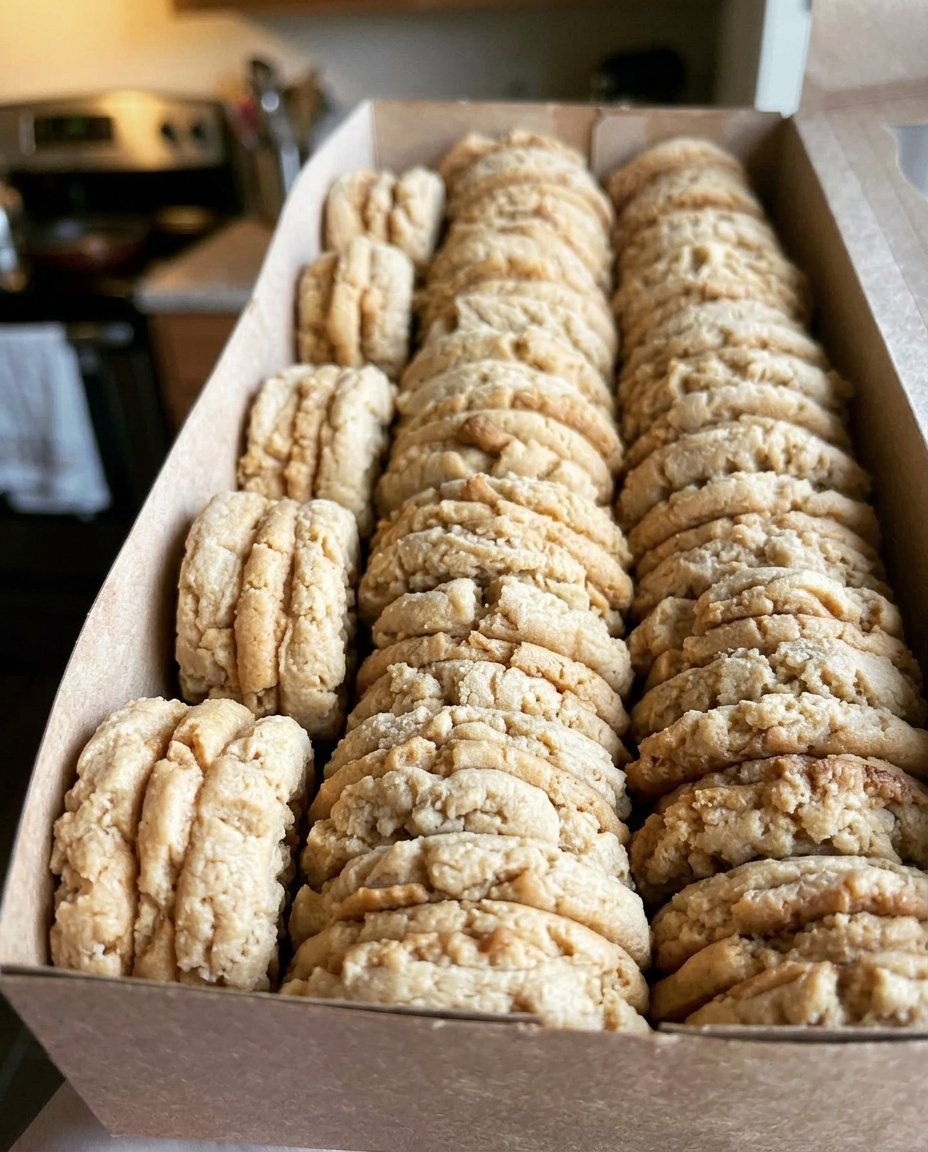
You will love these because they are light enough for a mid-afternoon snack but decadent enough to serve at a formal gathering. They keep beautifully in a glass cookie jar, and their unique appearance always sparks a conversation about old-fashioned baking traditions. In a world of oversized, doughy cookies, these thin and crispy sandwiches stand out as a testament to the beauty of classic techniques.
Print
Pepperidge Farm Brussels Copycat Cookies
- Total Time: 50 mins
- Yield: 24 cookies
- Diet: Vegetarian
Description
These delicate, lacy oat cookies are a perfect homemade version of the classic store-bought treat. Featuring a crisp, buttery snap and a rich dark chocolate center, they bring a touch of elegance to any cookie jar.
Ingredients
- 1 cup granulated sugar
- 1/2 cup unsalted butter, room temperature
- 1 teaspoon pure vanilla extract
- 1 tablespoon whole milk or cream
- 1 cup all-purpose flour
- 3/4 cup quick or instant oats, processed into coarse flour
- 1/2 teaspoon baking soda
- 1/4 teaspoon salt
- 4 ounces semisweet or bittersweet chocolate, finely chopped
Instructions
- Preheat your oven to 325°F (165°C) and line a large baking sheet with parchment paper or a silicone mat.
- Pulse the quick oats in a mini-food processor until they resemble a coarse flour.
- In a medium bowl, cream together the softened butter and granulated sugar with an electric mixer on high until light and fluffy.
- Turn the mixer to low and blend in the vanilla extract and milk or cream.
- Whisk together the all-purpose flour, processed oat flour, baking soda, and salt in a separate bowl.
- Gradually add the dry ingredients to the butter mixture, blending on low until no white streaks remain.
- Scoop level teaspoons of dough and place them at least 3 inches apart on the baking sheet to allow for spreading.
- Roll each scoop into a smooth ball and bake for 10 to 13 minutes until the edges are light golden brown.
- Allow cookies to cool on the pan for a few minutes before transferring to a wire rack to cool completely.
- Melt three-quarters of the chocolate in the microwave at 50% power, stir in the remaining chocolate until smooth, and sandwich pairs of cookies together with a generous layer of chocolate.
Notes
To ensure the perfect lace-like texture, make sure your butter is softened but not greasy, and never skip the step of grinding the oats into a coarse flour. If your kitchen is warm, chill the assembled sandwiches for five minutes to help the chocolate center set quickly without losing its glossy finish.
- Prep Time: 20 mins
- Cook Time: 13 mins
- Category: Dessert
- Method: Baking
- Cuisine: American
Simple Ingredients for a Heritage Treat

Gathering the ingredients for these cookies feels like stepping back into Grandma’s kitchen. We use only the basics, but the quality of each makes all the difference in the final result. Here is what you will need from your pantry:
- Granulated Sugar: Provides the sweetness and the essential structure for that crisp, lacy snap.
- Unsalted Butter: Ensure it is at room temperature to achieve the perfect creamed consistency. Real butter is the heart of this cookie’s flavor.
- Pure Vanilla Extract: Adds that warm, nostalgic aroma that fills the house as they bake.
- Whole Milk or Cream: A small touch to bind the dough and add a hint of richness.
- All-Purpose Flour: Just enough to give the cookies body without making them heavy.
- Quick or Instant Oats: We process these into a coarse flour to provide that signature nutty texture and flavor.
- Baking Soda and Salt: Essential for the right lift and to balance the sweetness of the chocolate.
- Semisweet or Bittersweet Chocolate: Use a high-quality chocolate for the filling, as it is the star of the sandwich.
By using these simple staples, you are honoring a tradition of baking that doesn’t need fancy bells and whistles to be extraordinary. The oats are the secret ingredient here; once they are ground down, they create a unique texture that you simply cannot find in a standard flour-only cookie.
The Classic Way to Bake
Step 1: Prepare Your Kitchen
Preheat your oven to 325°F (165°C). Line a large baking sheet with parchment paper or a silicone mat. In my kitchen, parchment paper is like a trusted friend—it ensures nothing sticks and helps the cookies brown evenly.
Step 2: Process the Oats
Place your quick oats into a mini-food processor and pulse until they resemble a coarse flour. You want them fine enough to blend into the dough but with enough texture to provide that heritage oat flavor. Set this aside for a moment.
Step 3: Cream the Butter and Sugar
In a medium bowl, combine your softened butter and sugar. Using an electric mixer on high speed, beat them together until the mixture is light, pale, and fluffy. This step is where the magic starts; taking your time here creates the airiness the cookies need.
Step 4: Blend the Liquids
Turn your mixer to low and add the vanilla extract and the milk or cream. Blend just until they are incorporated. It may look a little separated at first, but keep going—it will come together beautifully.
Step 5: Incorporate the Dry Ingredients
In a separate bowl, whisk together the all-purpose flour, your processed oat flour, baking soda, and salt. Gradually add this dry mixture to the butter mixture, blending on low speed until the flour is just tucked in and no white streaks remain.
Step 6: Portion the Dough
Scoop out exactly one teaspoon of dough for each cookie. These cookies are famous for their spread, so place the mounds at least 3 inches apart on your baking sheet. Use a small spatula to help the dough out of the spoon if needed.
Step 7: Shape and Bake
Roll each little mound into a smooth ball between your palms and place it back on the sheet. Bake for 10 to 13 minutes. You are looking for a light golden brown color around the edges. They will look soft in the middle, but they will crisp up as they cool.
Step 8: Cool and Match
Let the cookies rest on the pan for a few minutes before moving them to a wire rack. Once they are completely cool, find pairs that are similar in size and shape so they make a perfect match for your sandwiches.
Step 9: Prepare the Chocolate Filling
Chop your chocolate into fine shards. Melt three-quarters of it in the microwave at 50% power. Once smooth, stir in the remaining chocolate until it melts. This simple method keeps the chocolate glossy and stable.
Step 10: Assemble the Sandwiches
Spread a thick, generous layer of chocolate on the flat side of one cookie. Press another cookie on top, flat side down, until the chocolate just reaches the edges. Let them set completely on parchment paper before tucking them into your cookie jar.
Grandma’s Secrets for Success

One of the most important things to remember with this Pepperidge Farm Copycat is the spacing. These cookies love to wander across the pan, so giving them a full 3 inches of room is vital to keep them from becoming one giant sheet. If you find your cookies are spreading too much or too little, check that your butter was truly at room temperature and not melted. For those looking for more traditional inspiration, you can find many Classic Cookie Recipes that rely on this same careful creaming method. Another secret is to use a high-quality chocolate bar rather than chips for the filling; the higher cocoa butter content in a bar makes for a much smoother bite. You can find more details on this technique in this guide to brussels cookies. Always allow the chocolate to set at room temperature for the best snap, though a quick stint in the fridge can help if your kitchen is particularly warm.
Heritage Twists on a Favorite
While the classic dark chocolate filling is what we all remember, there are several family-approved ways to put your own stamp on these treats. Some of my relatives prefer a milk chocolate center for a sweeter, creamier finish that reminds them of childhood birthday parties. You might also try adding a half-teaspoon of orange zest to the dough for a bright, citrusy note that pairs wonderfully with the dark chocolate. For those who enjoy a bit of salt, a tiny pinch of sea salt on top of the wet chocolate before sandwiching the cookies adds a lovely modern touch. If you are looking for lighter alternatives, our Wholesome Cookie Options offer similar textures with different grains. You can even try adding finely crushed walnuts to the chocolate filling for an extra layer of crunch that feels very much like a holiday specialty.
Cookie Jar Time and Sharing Tradition
These cookies are at their best when served with a cold glass of milk or a hot cup of Earl Grey tea. In our family, we love to place them in a clear vintage glass jar on the counter so everyone can see the beautiful chocolate layers. They make a wonderful gift when tucked into a tin with a bit of tissue paper, perfect for a new neighbor or a friend who needs a bit of comfort. If you need something faster for a last-minute guest, check out our Quick & Easy Cookies for more simple ideas. These sandwiches are also delightful when served alongside a bowl of vanilla bean ice cream, providing a satisfying crunch to a soft dessert. Sharing these cookies is about more than just the sugar; it is about sharing a piece of history and a moment of connection across the table.
Timeless Joy in Every Bite
Baking these cookies is a way to keep the stories of the past alive in our modern kitchens. Every time I smell that buttery oat aroma, I am transported back to Grandma’s house and the feeling of being completely loved. I hope this recipe brings that same sense of warmth and heritage to your home. Whether you are baking for a holiday or just to fill the jar for the week, remember that the best ingredient is always the love you fold into the dough. For more ways to celebrate the seasons, visit our Holiday Cookie Celebrations page. Please share your baking photos with me on Pinterest, Instagram, or Facebook. Happy baking, from my kitchen to yours!
