I remember finding a tattered recipe card for potato chip cookies in an old kitchen drawer, but the original version always turned into dry crumbs by the second day. My mission was to fix that texture problem while keeping the salty crunch we all love. These cookies are my solution, using specific moisture-retaining ingredients to ensure they stay soft and chewy for nearly a week.

This recipe blends the nostalgic flavor of a vintage kitchen with modern texture science. By balancing the sugars and choosing the right potato chip, we create a treat that offers a perfect bite every single time. You get all the sweet and salty satisfaction without the worry of a stale cookie jar.
A Perfect Balance of Sweet and Salty
You are going to love how these cookies manage to stay pillowy soft while hiding a secret crunch inside. Most people worry that adding chips to a dough will make it greasy or hard, but this method locks in moisture. The brown sugar works hard here to keep the center tender, providing a beautiful contrast to the salty ridges of the potato chips.
Another reason these are a favorite is their longevity. In my kitchen, a cookie is only as good as it tastes on day three. These maintain their integrity and flavor, making them the ultimate jar classic for busy families. They offer a comforting, familiar taste that reminds you of childhood snacks but with a much more satisfying, professional chew.
Print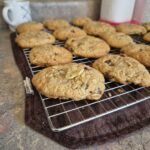
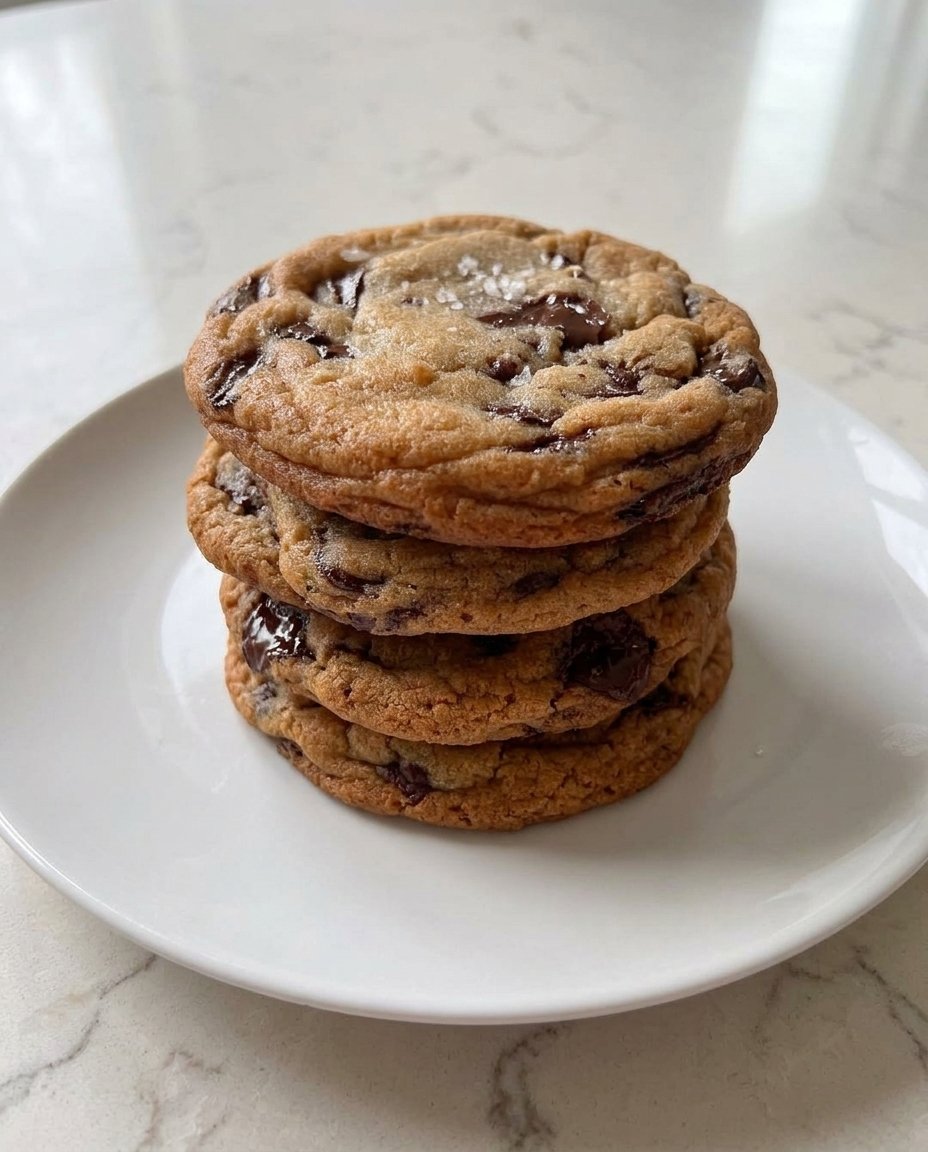
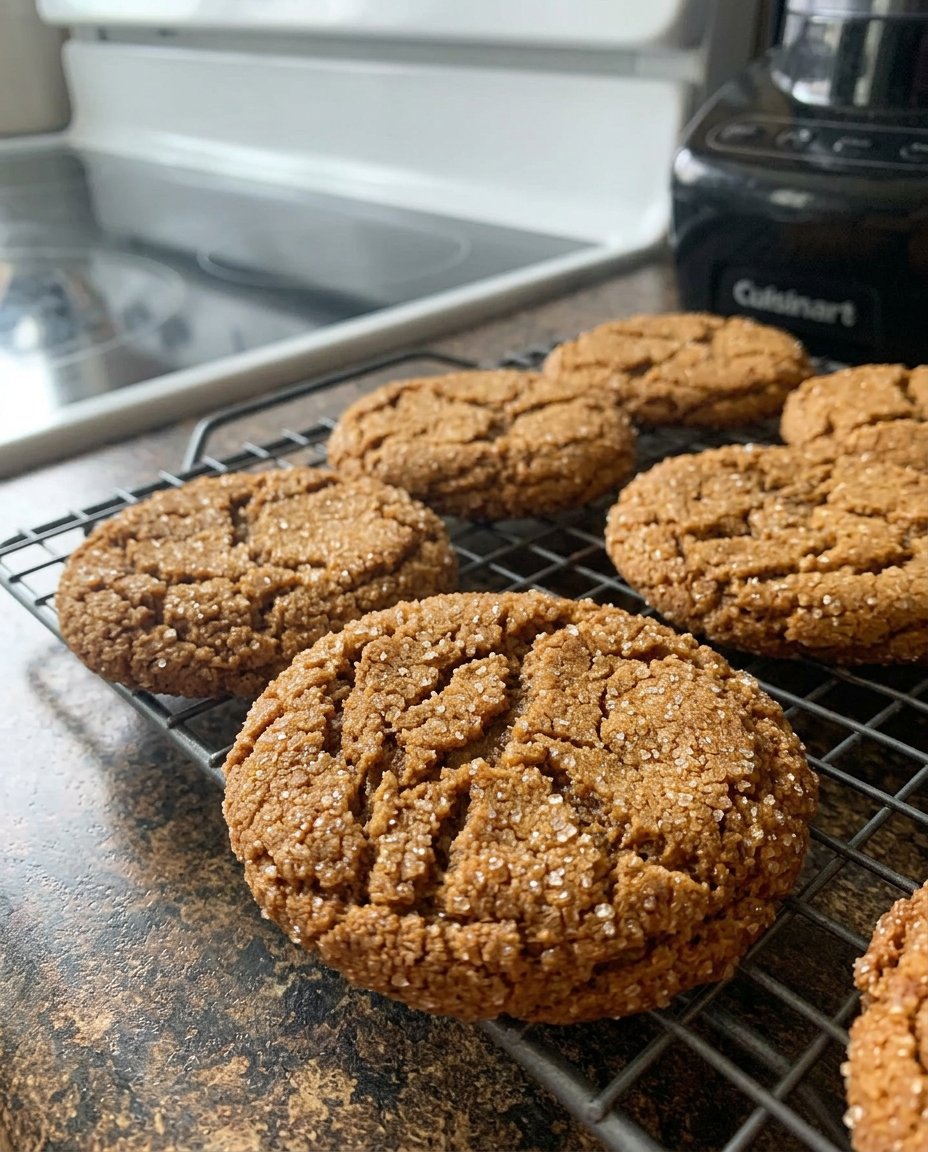
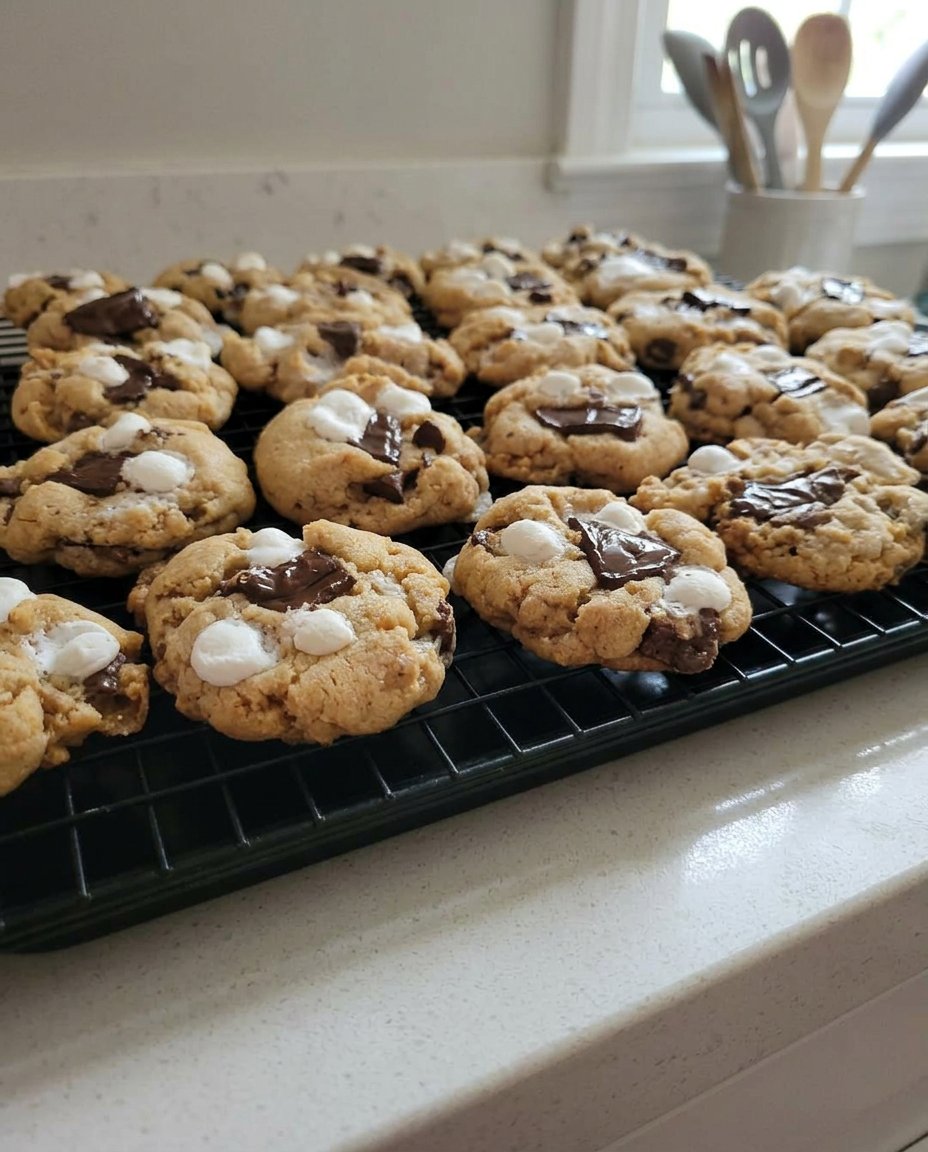
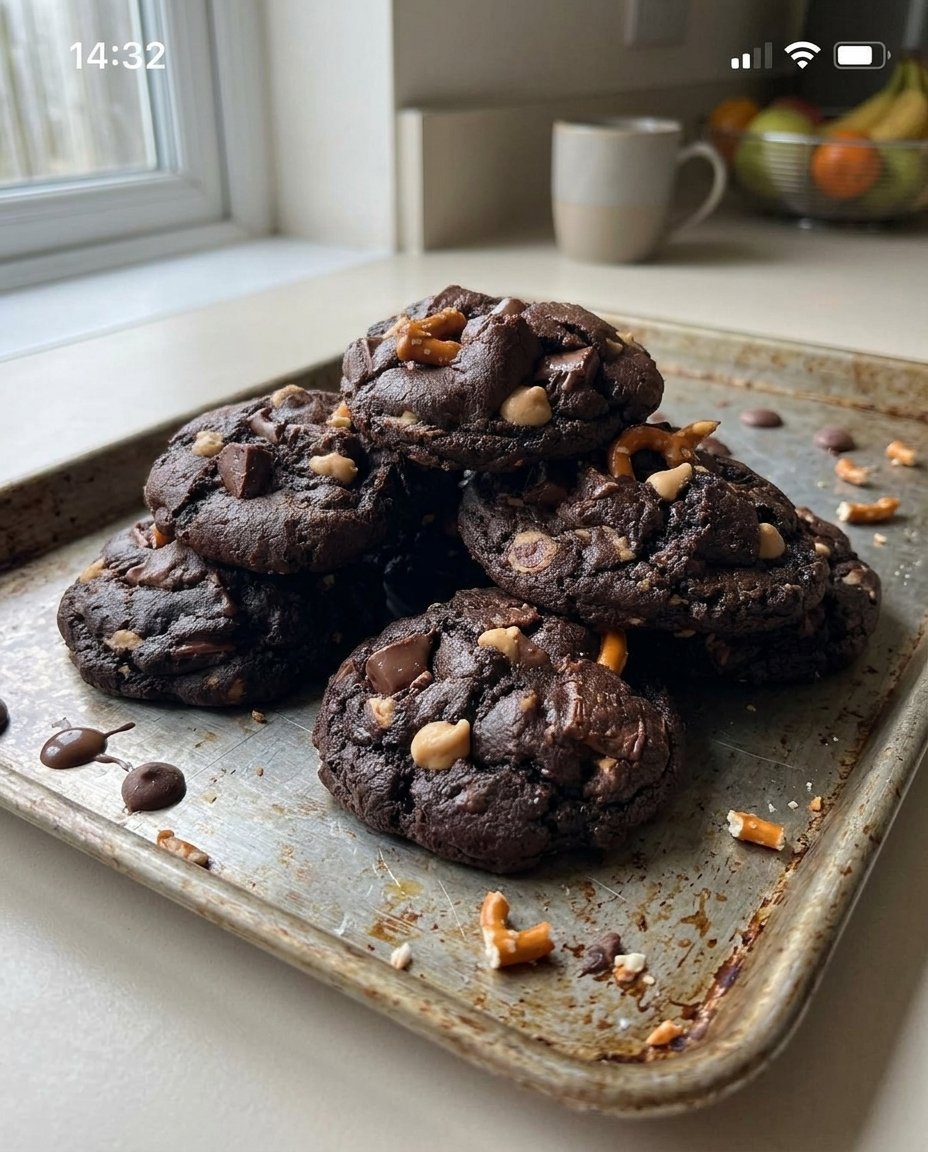
Potato Chip Chocolate Chip
- Total Time: 1 hour 32 mins
- Yield: 24 cookies
- Diet: Vegetarian
Description
These unique cookies offer the ultimate sweet and salty experience by combining the buttery richness of a classic chocolate chip dough with the irresistible crunch of wavy potato chips. Designed to stay soft and chewy for days, they are the perfect addition to any cookie jar.
Ingredients
- 1 cup unsalted butter, softened
- 1 cup light brown sugar, packed
- 1/2 cup granulated white sugar
- 2 large eggs
- 1 teaspoon vanilla extract
- 2 1/2 cups self-rising flour
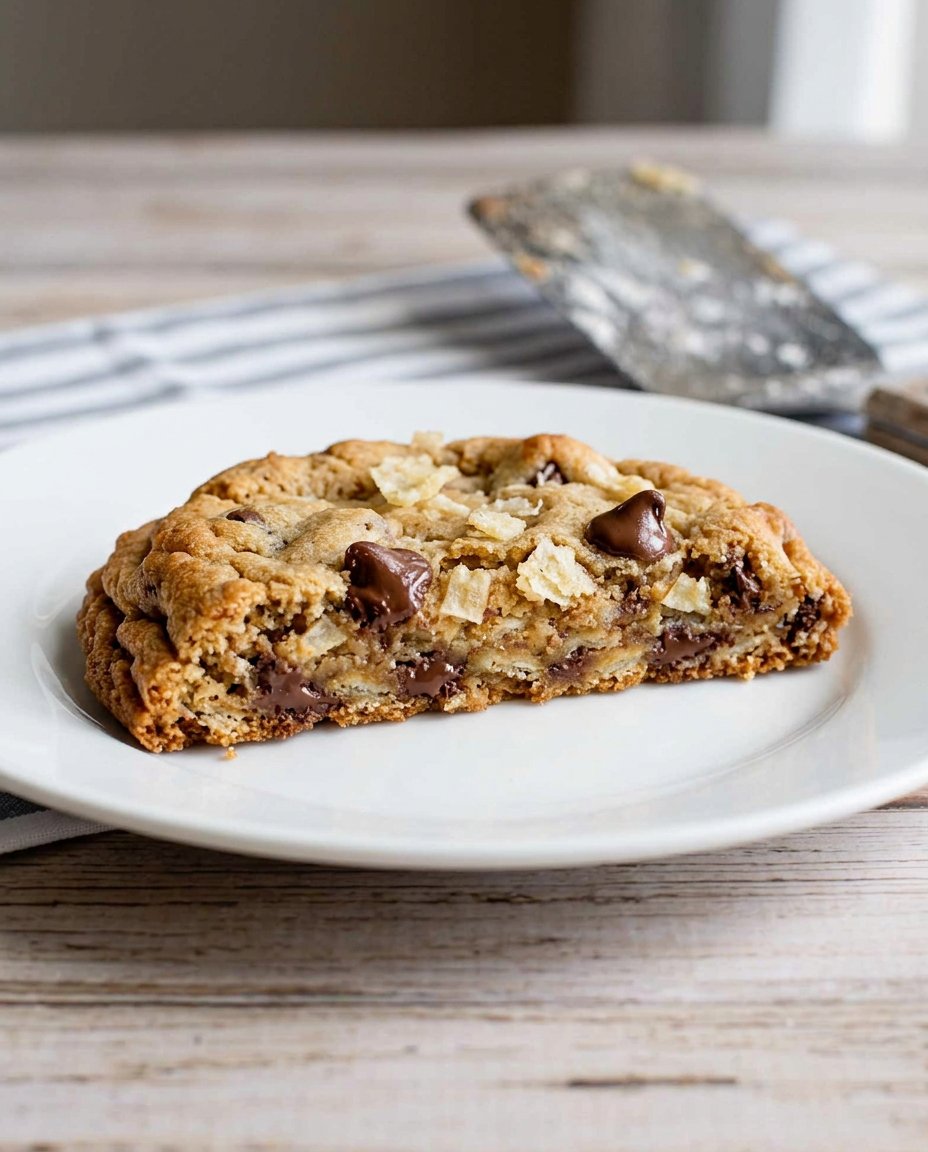
- 2 cups wavy potato chips, coarsely crushed
- 1 cup semi-sweet chocolate chips
Instructions
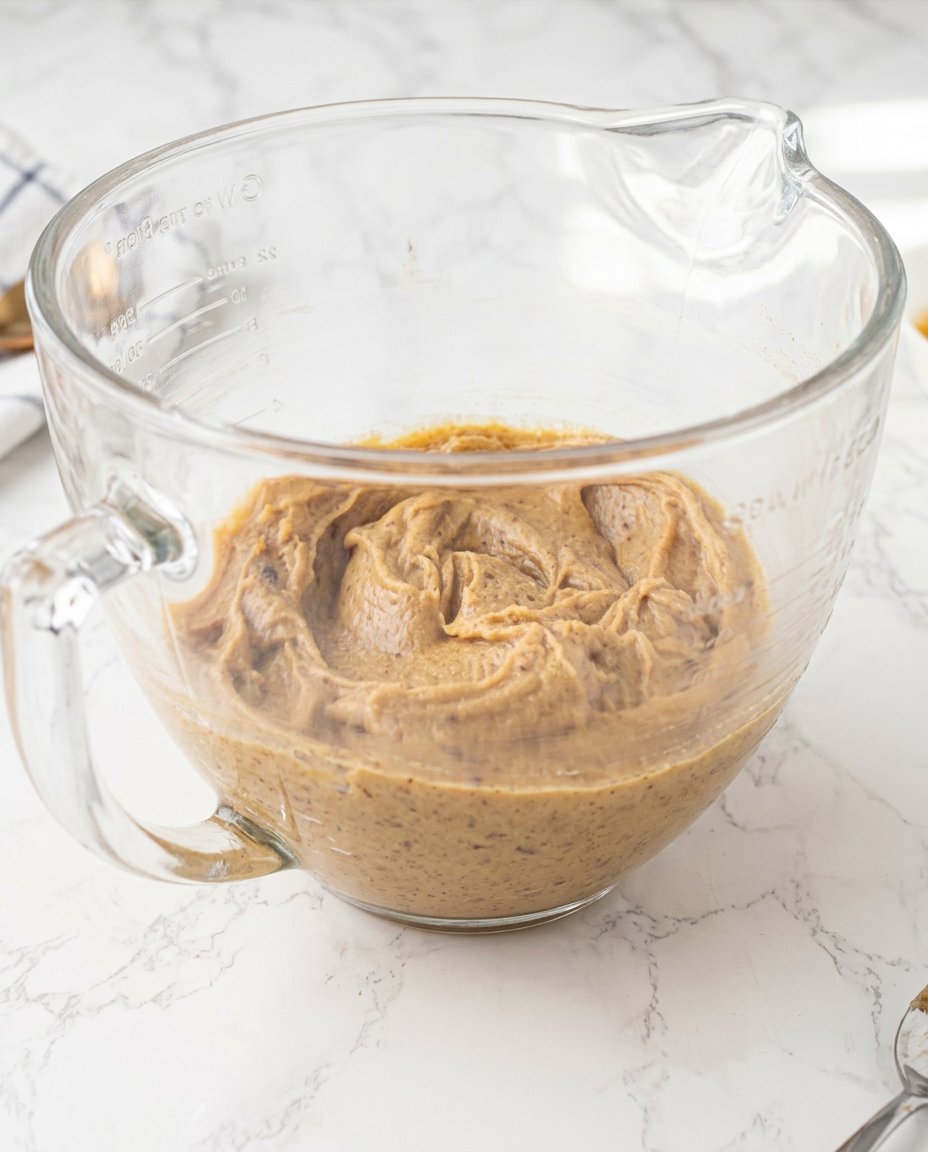
- Cream together the softened butter, brown sugar, and white sugar with an electric mixer on medium speed for about three minutes until pale and fluffy.
- Beat in the eggs one at a time, then add the vanilla extract and self-rising flour, mixing until just combined.
- Using a spatula, gently fold in the chocolate chips and crushed wavy potato chips until evenly distributed.
- Cover the dough and refrigerate for at least one hour to prevent excessive spreading during baking.
- Preheat oven to 350°F (175°C) and scoop dough onto a greased sheet, baking for 10 to 12 minutes until edges are golden but centers remain soft.
Notes
For the most consistent results, measure your flour using the spoon-and-level method to avoid a dry cookie. If your kitchen is particularly warm, keep the dough in the fridge between baking batches to ensure the fat stays cold and prevents the cookies from thinning out too much.
- Prep Time: 20 mins
- Cook Time: 12 mins
- Category: Dessert
- Method: Baking
- Cuisine: American
The Secret to Jar-Fresh Texture
To get that perfect chew that lasts for days, we have to look closely at our building blocks. Each ingredient plays a specific role in preventing dryness and maintaining that wonderful soft-centered bite.
- Unsalted Butter: At room temperature, this allows for proper aeration during the creaming stage, which creates a lighter crumb.
- Light Brown Sugar: This is our moisture hero. The molasses in the brown sugar draws in humidity, keeping the cookies from turning into rocks.
- Self-Rising Flour: By using self-rising flour, we get a consistent lift and a tender structure that holds up the heavy mix-ins.
- Wavy Potato Chips: These provide the best texture because they are sturdier than thin chips and won’t vanish into the dough.
- Semi-Sweet Chocolate Chips: I prefer high-quality chips like Ghirardelli because they melt smoothly and provide a deep cocoa contrast to the salt.
The ratio of white to brown sugar is carefully balanced here. While white sugar gives us those slightly crisp edges, the brown sugar ensures the heart of the cookie remains moist and flexible. Choosing a thick, ridged potato chip is non-negotiable if you want to actually feel that satisfying crunch in every bite.
The Texture-First Baking Method
Step 1: Cream the Base for Softness
Start by placing your softened butter and both sugars into a large mixing bowl. Use an electric mixer on medium speed for at least three minutes. You are looking for a pale, creamy consistency where the sugar granules have mostly dissolved into the fat. This step is vital for a cookie that isn’t dense or heavy.
Step 2: Incorporate the Bind
Add your eggs one at a time, followed by the vanilla and the self-rising flour. Beat the mixture again until the flour is just incorporated. Be careful not to overmix at this stage; overworking the dough can lead to a tough, bready texture instead of a soft, melt-in-your-mouth feel.
Step 3: Fold in the Crunch
Switch to a sturdy spatula and gently fold in your chocolate chips and the coarsely crushed potato chips. You want the chips to be in distinct pieces, not a fine powder. This ensures that every bite has a varied landscape of textures, from gooey chocolate to salty crunch.
Step 4: The Essential Chill
Cover your dough and place it in the refrigerator for at least one hour. Chilling the dough allows the flour to fully hydrate and the fats to solidify. This prevents the cookies from spreading too thin in the oven, which is the main cause of crispy, dry edges that go stale quickly.
Step 5: Scoop and Bake
Preheat your oven to 350°F (175°C). Using a cookie scoop, place portions of dough two inches apart on a lightly greased sheet. Bake for 10 to 12 minutes. The secret is to pull them out when the edges are just barely golden but the centers still look slightly underdone. They will finish setting on the hot pan, resulting in a perfectly soft finish.
Mehmet’s Freshness Secrets
To ensure your cookies stay soft for days, never let them cool completely on the baking sheet. Move them to a wire rack after about five minutes so the bottoms don’t continue to cook and harden. If you find your cookies are getting a bit firm after a few days, placing a single slice of white bread in the cookie jar will help restore their moisture. For more ways to keep your treats tasting like they just came out of the oven, check out our other Classic Cookie Recipes.
When crushing your potato chips, do it by hand inside the bag rather than using a food processor. You want some pieces to be about the size of a fingernail. This variation in size creates a much more interesting mouthfeel and prevents the salt from becoming overwhelming in a single bite. Always use fresh chips; if the bag has been open for a week, the chips will be stale before they even hit the dough.
Heritage Tweaks and Flavor Swaps
You can easily adapt this recipe to suit your family traditions. If you want an even deeper flavor, try using dark chocolate chunks instead of semi-sweet chips. For those who enjoy a bit more complexity, adding half a cup of chopped pecans provides a different kind of crunch that complements the potato chips beautifully. I also recommend checking out this Southern Plate inspiration for more ideas on salty-sweet pairings.
If you are short on time and need something fast, you can skip the chilling step, though the cookies will be thinner and crisper. For more ideas on fast baking, look at our Quick & Easy Cookies section. You can even try using BBQ flavored chips for a bold, smoky twist that surprisingly works well with the chocolate if you are feeling adventurous.
Serving and Storing Your Jar Classics

These cookies are best served slightly warm with a cold glass of milk to balance the salty notes. If you are serving them for a gathering, they look wonderful piled high on a vintage ceramic platter. To keep that just-baked softness, you can pop a room-temperature cookie into the microwave for exactly eight seconds before serving. For more festive presentation ideas, browse our Holiday Cookie Celebrations guide.
When storing them in a cookie jar, try to keep them in a cool, dry place away from the stove. Heat and humidity are the enemies of a good cookie texture. If you are taking these to a potluck, layer them with parchment paper in your container so the chocolate chips don’t stick together and ruin that beautiful finish.
The Final Word on Freshness
Mastering the potato chip cookie is all about respecting the balance of salt and sugar while protecting the moisture of the dough. These treats prove that you don’t have to choose between a crunchy snack and a soft cookie. For more mindful baking tips, explore our Wholesome Cookie Options. I would love to see how your batch turns out, so please share your photos and tag us! You can find more inspiration on our Instagram, Pinterest, and Facebook pages.
