Grandma’s red velvet cake was a weekend-long project, but these red velvet cookies 2 bring that same cocoa-rich magic to my kitchen in a fraction of the time. I remember her standing over the mixer for ages, while I prefer this quick drop method that lets me get treats on the table before the school bus arrives. It is all about keeping those heritage flavors alive without needing a whole free Saturday to make it happen.

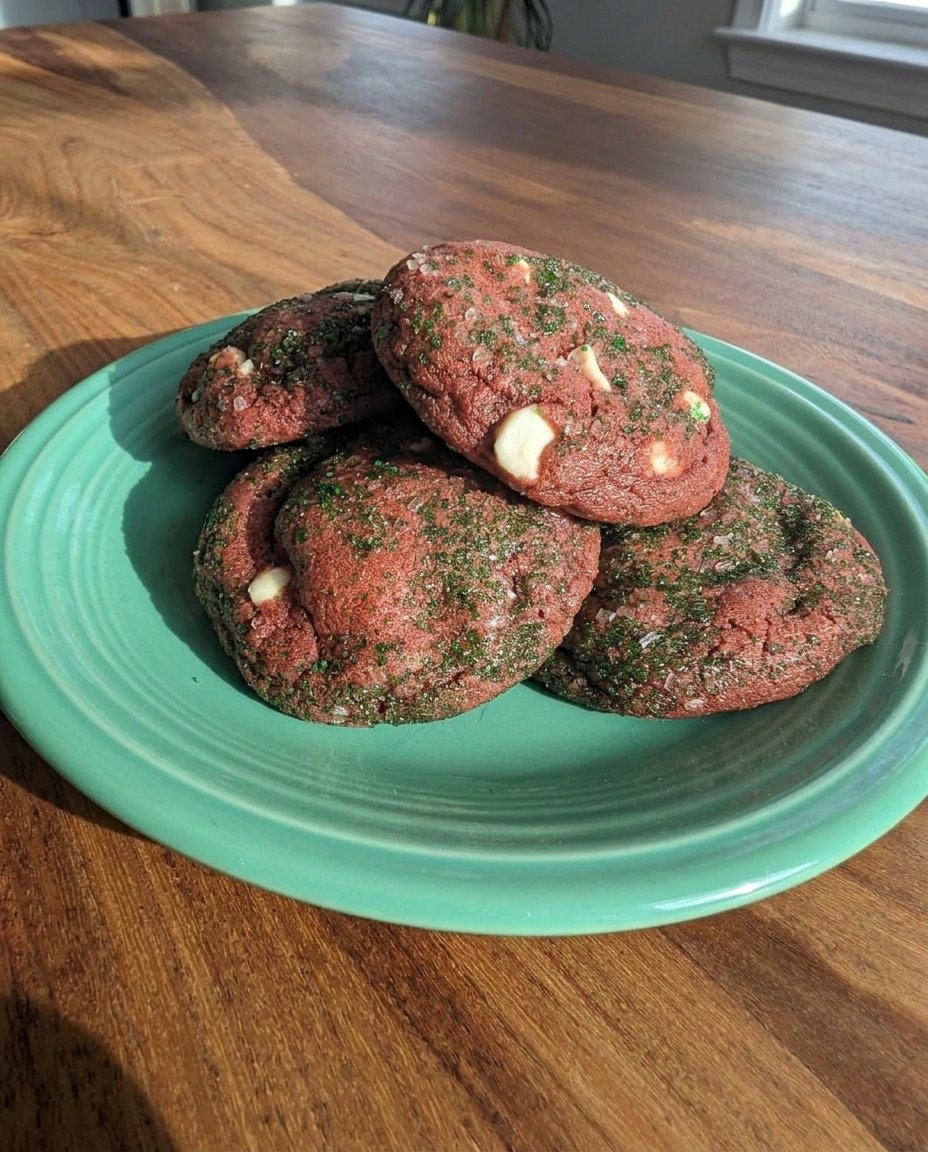
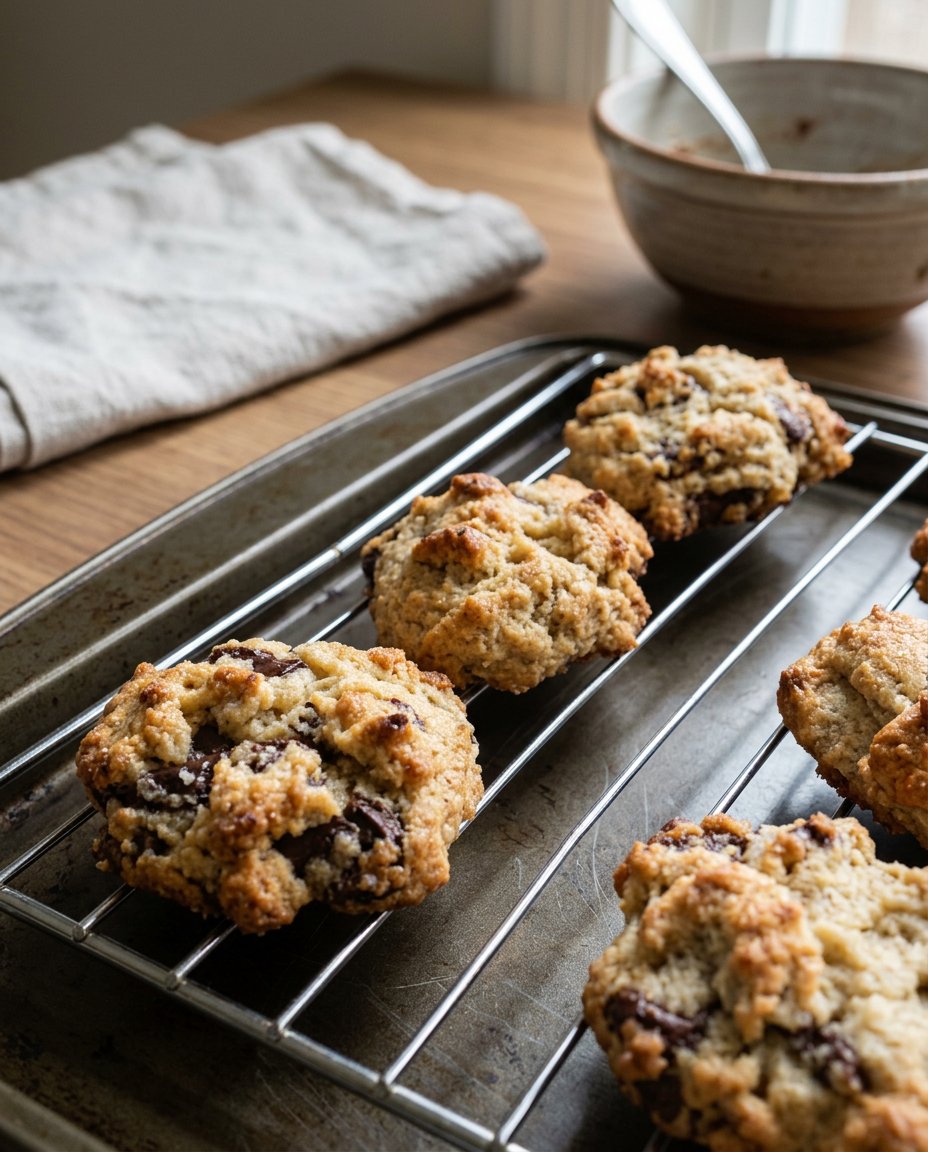
These soft-baked gems are everything you want in a classic cookie—chewy edges, tender centers, and just enough chocolate to satisfy a serious craving. By adapting the traditional cake profile into a sturdy dough, we get all that vibrant color and subtle tang in a portable, easy-to-share format that fits perfectly into a modern schedule.
Why This Modern Nostalgia Works
You are going to love how these cookies bring the sophistication of a fancy layer cake into a simple, handheld treat. The beauty of this recipe lies in its balance; the cocoa powder provides a deep, earthy base that is brightened by the vanilla and the slight tang of buttermilk. It is a flavor profile that feels special enough for a holiday party but is easy enough to whip up on a random Tuesday when the family needs a little extra love.
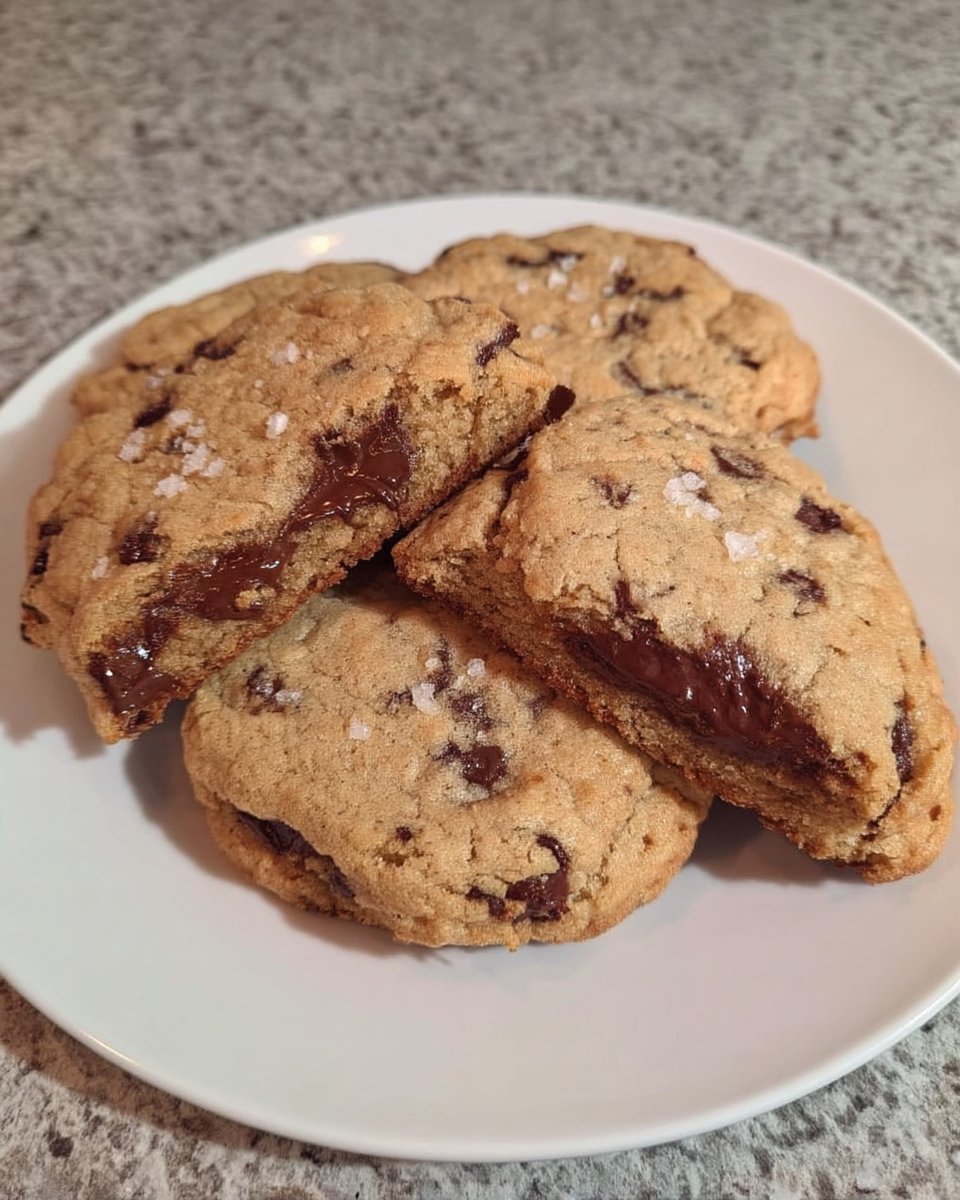
Another reason these are a winner is the texture. Because we use a combination of brown sugar and granulated sugar, the centers stay remarkably soft while the edges get that slight crispness we all crave. There is no need for complicated rolling or chilling for days on end—just a short rest in the fridge and you are ready to bake. It is the ultimate shortcut for anyone who treasures vintage flavors but lacks the time for vintage labor. Plus, the vibrant red color makes them an instant showstopper on any dessert plate.
Print
Red Velvet Cookies 2
- Total Time: 1 hour 27 mins
- Yield: 24 cookies
- Diet: Vegetarian
Description
Enjoy the nostalgic flavor of a classic red velvet cake in these soft-baked, chewy cookies that feature a rich cocoa base and vibrant color. Perfect for busy bakers, this recipe simplifies a heritage favorite into a quick and portable treat with tender centers and crisp edges.
Ingredients
- All-Purpose Flour
- Unsweetened Natural Cocoa Powder
- Baking Soda
- Salt
- Unsalted Butter, softened
- Brown Sugar
- Granulated Sugar
- 1 Egg
- Vanilla Extract
- 1 tablespoon Buttermilk (or Milk)
- Gel Red Food Coloring
- Chocolate Chips (white or semi-sweet)
Instructions
- In a medium bowl, whisk together the flour, cocoa powder, baking soda, and salt until the dry ingredients are evenly distributed.
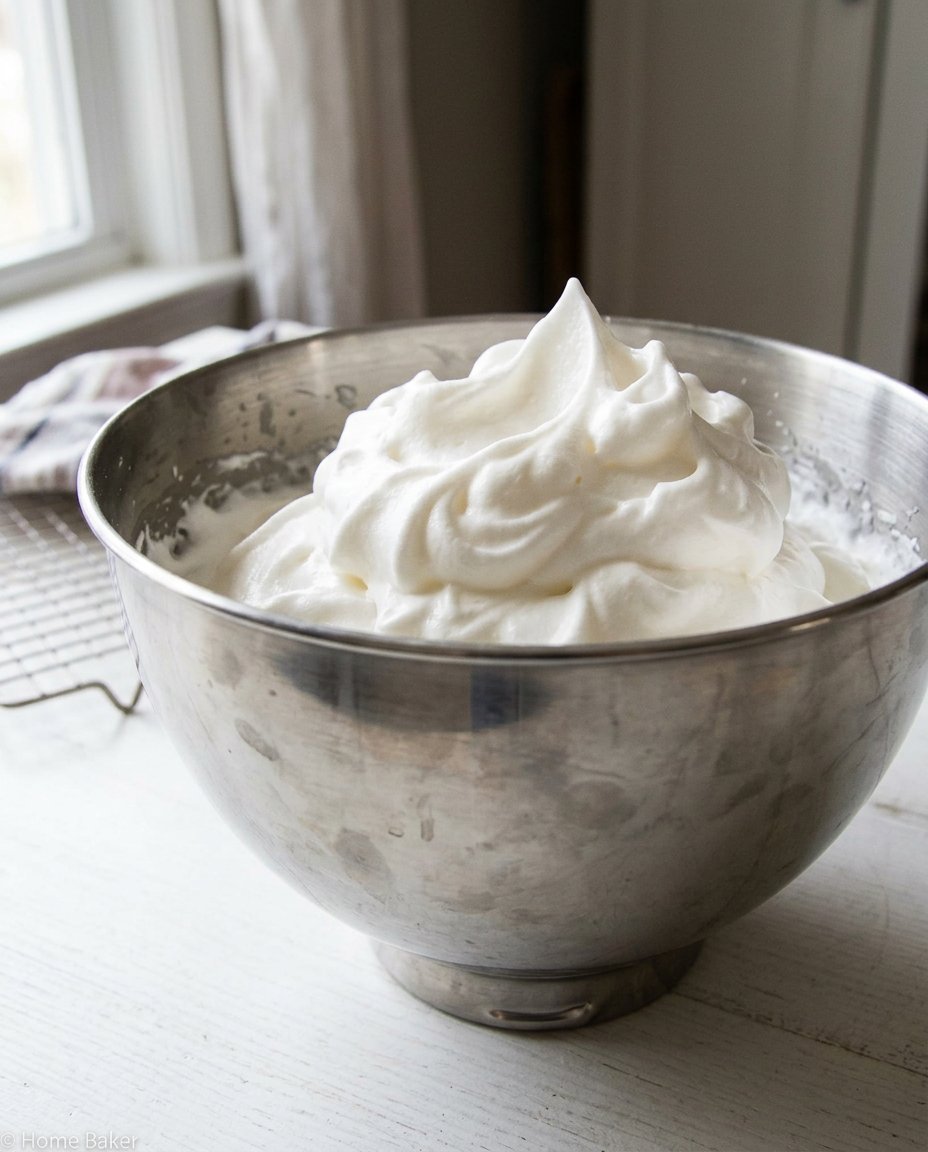
- Using a hand mixer or stand mixer, beat the softened butter with the brown and granulated sugars on medium speed for about 3 minutes until the mixture is pale and creamy.
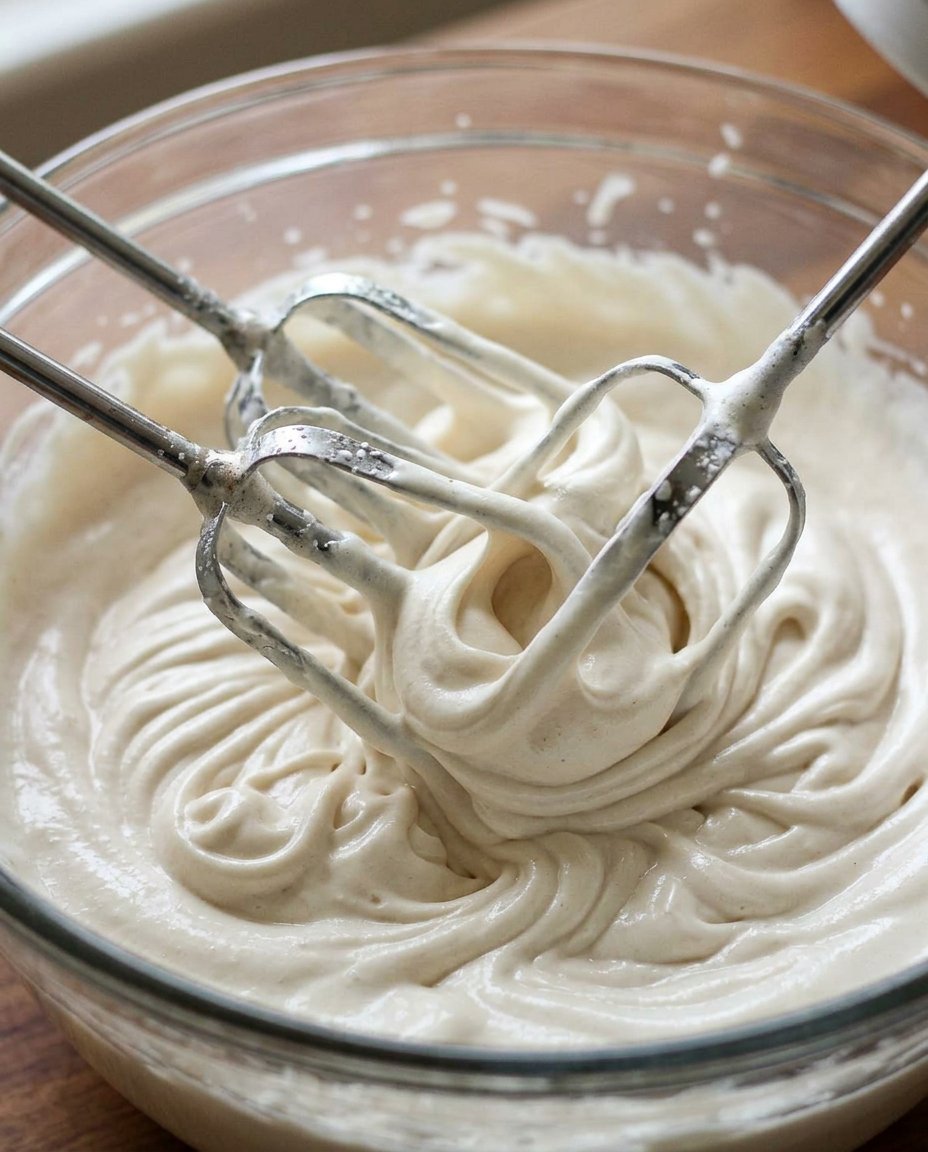
- Add the egg and vanilla extract, mixing on high for approximately 1 minute until the dough is fluffy and well combined.
- Reduce the mixer speed to low and pour in the dry ingredients, followed by the milk and red food coloring, mixing until just combined.
- Fold in the chocolate chips by hand, then cover the bowl and chill the dough in the refrigerator for at least 1 hour.
- Preheat your oven to 350°F (177°C) and line baking sheets; scoop 1.5-tablespoon balls of dough onto the pans 3 inches apart and bake for 11 to 13 minutes.
Notes
For the most consistent results, always use a cookie scoop to ensure even baking across the entire batch. If you have extra time, pressing a few additional chocolate chips into the tops of the cookies immediately after they leave the oven provides a professional, bakery-style finish.
- Prep Time: 15 mins
- Cook Time: 12 mins
- Category: Dessert
- Method: Baking
- Cuisine: American
What You’ll Need for These Red Gems
To get that perfect red velvet result, we rely on a handful of pantry staples that work together to create magic. Here is a look at the key players in your mixing bowl:
- All-Purpose Flour: This provides the structure. Make sure to spoon and level your flour so the cookies don’t turn out too cakey or dry.
- Unsweetened Natural Cocoa Powder: This gives the cookies their signature mild chocolate flavor. It also reacts with the other ingredients to create that classic red velvet depth.
- Unsalted Butter: Make sure it is softened to room temperature so it creams properly with the sugars. This creates the air pockets needed for a soft bite.
- Brown and Granated Sugars: We use more brown sugar than white to keep the cookies moist and chewy. The molasses in the brown sugar adds a lovely hint of caramel.
- Buttermilk (or Milk): A single tablespoon makes a world of difference. It adds that hint of acidity that defines the red velvet experience.
- Gel Red Food Coloring: Gel is best because it provides a concentrated color without adding too much liquid to the dough. If you prefer a more natural look, you can skip this entirely for a delicious light brown chocolate chip cookie.
- Chocolate Chips: Whether you choose white chocolate for a sharp contrast or semi-sweet for a double-chocolate hit, these add the final touch of indulgence.
Simple Steps for Perfect Cookies
Step 1: Whisk the Dry Ingredients
In a medium bowl, combine your flour, cocoa powder, baking soda, and salt. Use a whisk to make sure everything is evenly distributed. This step is vital to avoid any clumps of cocoa or leavening agent in your finished cookies.
Step 2: Cream the Butter and Sugars
Using your hand mixer or stand mixer, beat the softened butter with both sugars. You want to go for about 3 minutes on medium speed until the mixture looks pale and creamy. This step builds the foundation for a soft, melt-in-your-mouth texture.
Step 3: Add the Wet Ingredients
Turn the mixer to high and add the egg and vanilla extract. Mix for about a minute until the dough is well combined and fluffy. Scrape down the sides of the bowl to make sure no butter is left unmixed at the bottom.
Step 4: Mix the Dough and Color
Lower the mixer speed and pour in the dry ingredients, followed by the milk and the red food coloring. Mix until just combined. The dough will be quite sticky and vibrant. If the color isn’t as bright as you want, add a tiny bit more gel coloring now.
Step 5: Fold in the Chips and Chill
Fold in your chocolate chips by hand or on the lowest mixer setting. Once combined, cover the bowl and put it in the fridge. Chilling for at least 1 hour is non-negotiable—it prevents the cookies from spreading too thin and helps the flavors meld.
Step 6: Scoop and Bake
Preheat your oven to 350°F (177°C) and line your pans. Scoop about 1.5 tablespoons of dough for each cookie, rolling them into neat balls. Space them 3 inches apart. Bake for 11 to 13 minutes. They will look very soft in the center, but they will firm up as they cool on the pan.
Quick Wins for Busy Bakers
One of my favorite time-saving moves is using a medium cookie scoop. It makes certain that every cookie is the same size, which means they all bake evenly. If you find your dough has chilled for longer than two hours and feels like a rock, let it sit on the counter for 15 minutes before you try to scoop it. This makes the process much faster and saves your wrists from the strain.
Always use parchment paper or a silicone mat. Not only does it make cleanup a breeze, but it also prevents the bottoms of these colorful cookies from browning too much. If you want to see how this method compares to other favorites, check out our Classic Cookie Recipes for more foundational techniques that make baking faster. Also, if you want a professional look, press a few extra chocolate chips into the tops of the cookies immediately after they come out of the oven.
Easy Changes for Every Occasion
You can easily adapt these red velvet cookies 2 to fit whatever you have in the pantry. If you aren’t a fan of white chocolate, dark chocolate chunks provide a sophisticated bitterness that cuts through the sweetness beautifully. For those who want to skip the food coloring, the cookies will turn a lovely shade of light brown, similar to a traditional chocolate chip cookie but with that unique cocoa-buttermilk tang.
For a festive twist, you can find inspiration in our Holiday Cookie Celebrations guide. You might even try adding a half-teaspoon of peppermint extract for a wintery version. If you are looking for even more ways to play with this flavor profile, I often look at Sally’s Baking Addiction for inspiration on how different fats and sugars change the final spread of the cookie.
Modern Sharing for Busy Families
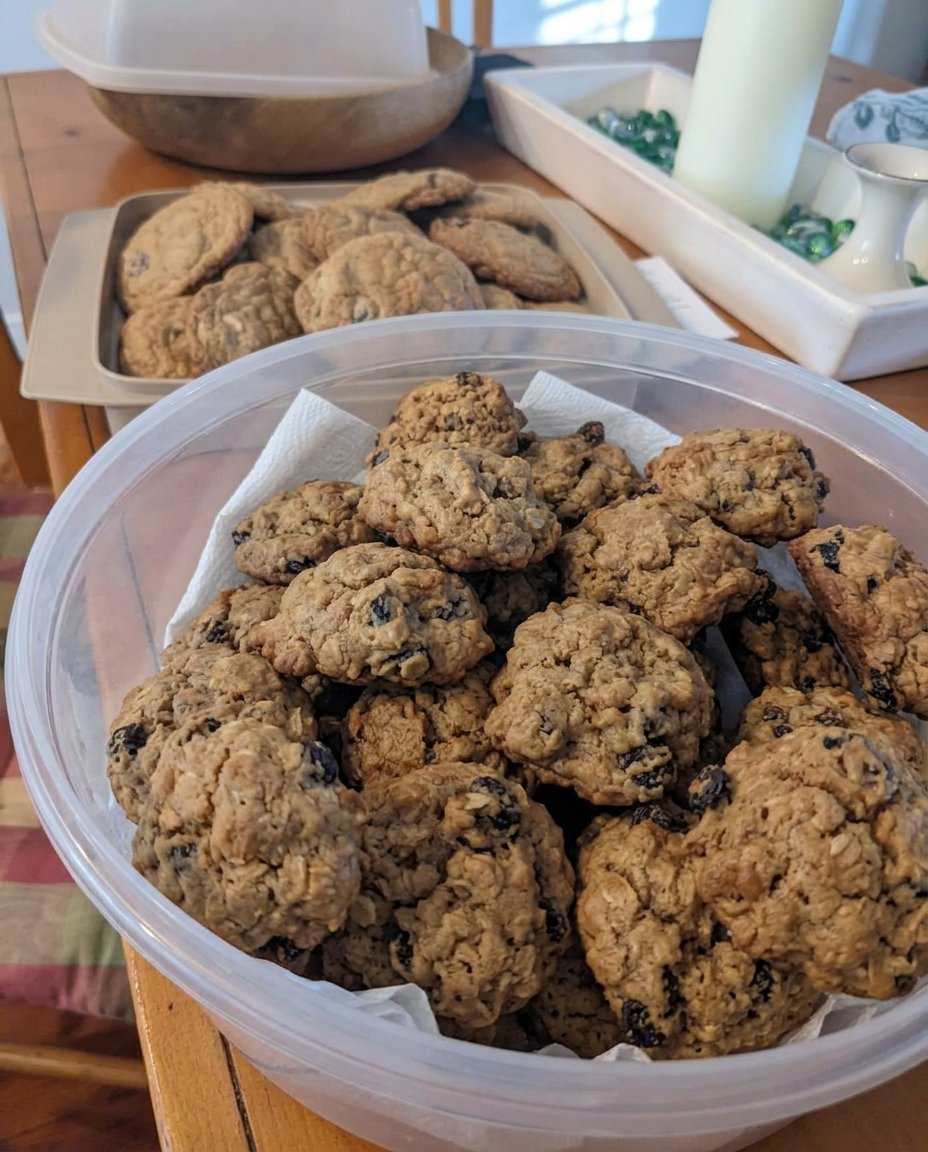
These cookies are the perfect addition to a weekday lunchbox or an after-school snack plate. Because they stay soft for up to a week when stored in an airtight container, they are great for prepping on a Sunday night. If you are heading to a neighborhood potluck, these red gems stand out beautifully on a tray of mixed treats. For more ideas on quick treats that travel well, take a look at our Quick & Easy Cookies section.
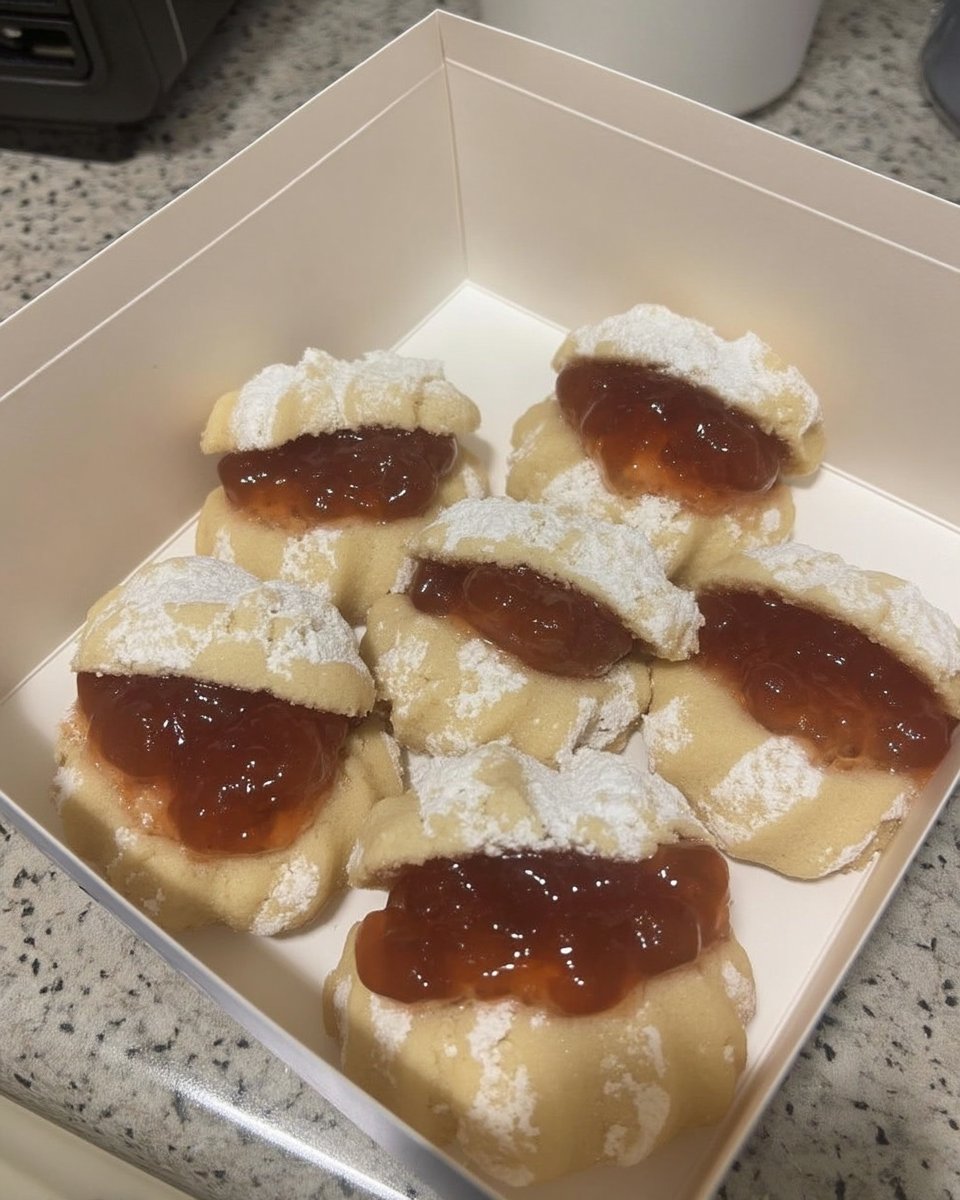
To make them feel like a real dessert, serve them slightly warm with a cold glass of milk. You can even sandwich a scoop of cream cheese frosting between two cookies to create a red velvet whoopie pie. It is a simple way to take a basic drop cookie and make it feel like a gourmet bakery find without spending hours in the kitchen.
Heritage Rediscovered in Your Kitchen
Bringing Grandma’s favorite flavors into the modern era doesn’t have to be a chore. These cookies prove that you can have all the nostalgic joy of red velvet without the stress of a multi-layer cake. Whether you are baking for a holiday or just a quiet evening at home, these treats provide the perfect balance of tradition and speed. If you want to learn more about making your bakes look as good as they taste, visit our Cookie Decorating Traditions page for simple finishing touches. We would love to see your creations, so please share your photos with us on Pinterest, Instagram, or Facebook. Happy baking!
