My grandmother’s recipe box is a treasure chest of buttery memories, but her method for these classic German sand cookies usually took all afternoon. I’ve found a way to keep that melt-in-your-mouth texture while making the process fit into a busy modern Tuesday. It is about finding that sweet spot where heritage meets efficiency without losing the soul of the recipe.

These cookies are the definition of simple elegance, relying on just a few pantry staples to create a delicate crumb. They are perfect for when you want a heritage treat without a complicated grocery list or hours of chilling. Ready in a fraction of the time, they bring Grandma’s kitchen right into your modern home.
Modern Nostalgia in Every Bite
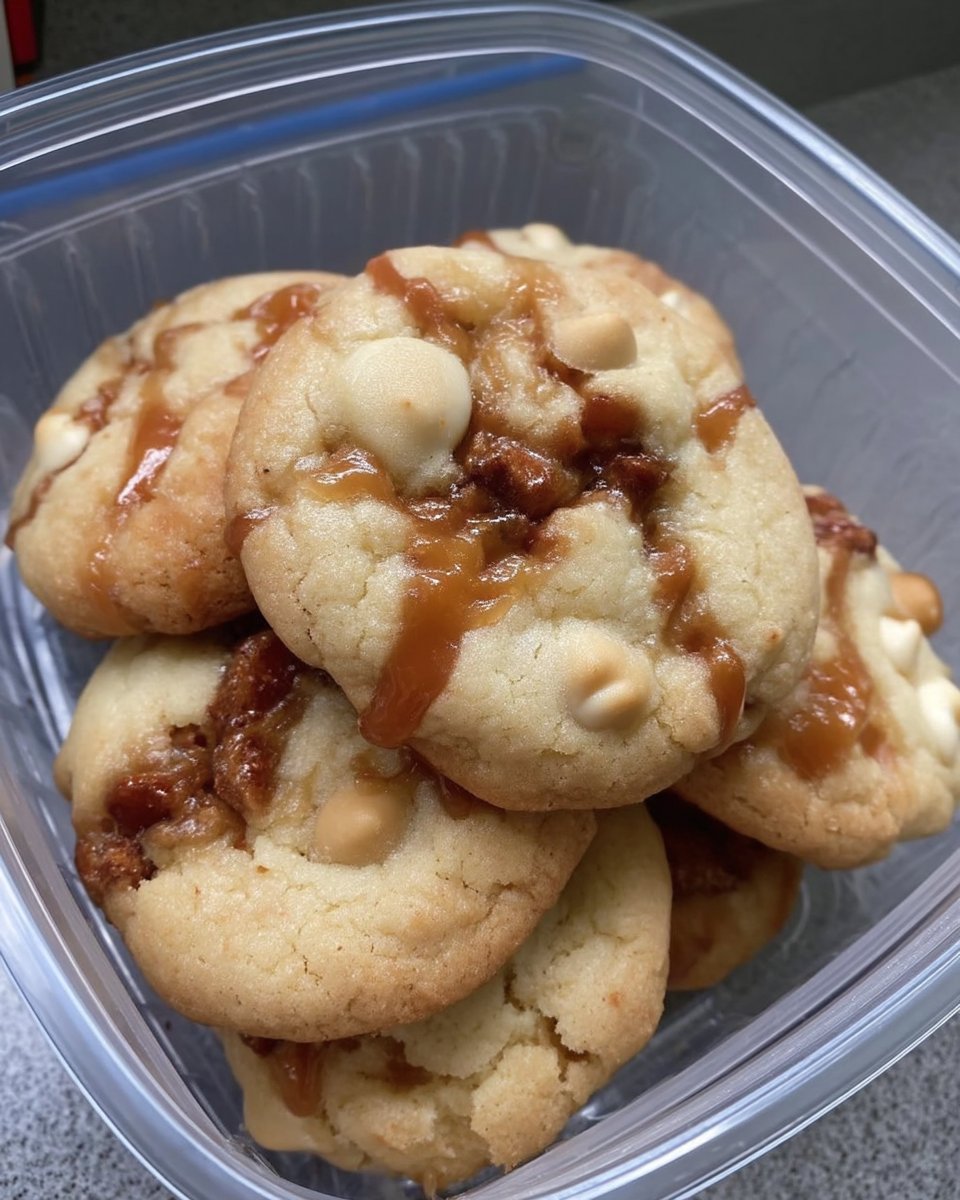
You will love these because they bring the sophisticated flavor of a European bakery right into your kitchen with minimal effort. They offer that perfect balance of a crisp edge and a tender center that literally crumbles like sand—hence the name! It is the kind of reliable recipe you can whip up for unexpected guests or a quiet evening tea.
Ready in about 20 minutes of active time, these taste like you spent all day in the kitchen. I find myself returning to this recipe because it uses the simplest pantry items to create something that feels truly special. Unlike some modern recipes that hide behind mountains of chocolate or frosting, this one celebrates the pure, comforting taste of butter and vanilla. It is a testament to the idea that you do not need a lot of ingredients to make a lasting impression on your family and friends. This is Grandma’s flavor, but with modern speed that respects your busy schedule.
Print
Sandkuchen Cookies
- Total Time: 1 hour 31 mins
- Yield: 24 cookies
- Diet: Vegetarian
Description
These delightful German sand cookies offer a sophisticated, melt-in-your-mouth experience with a delicate, crumbly texture. Perfect for a quick afternoon treat, this simplified heritage recipe captures the rich butter and vanilla flavors of a traditional European bakery in a fraction of the time.
Ingredients
- 1 cup unsalted butter, softened
- 1/2 cup soft white sugar
- 1 tablespoon vanilla sugar (or 1 teaspoon vanilla extract)
- 1 large egg yolk
- 2 cups all-purpose flour
- 1 pinch salt
Instructions
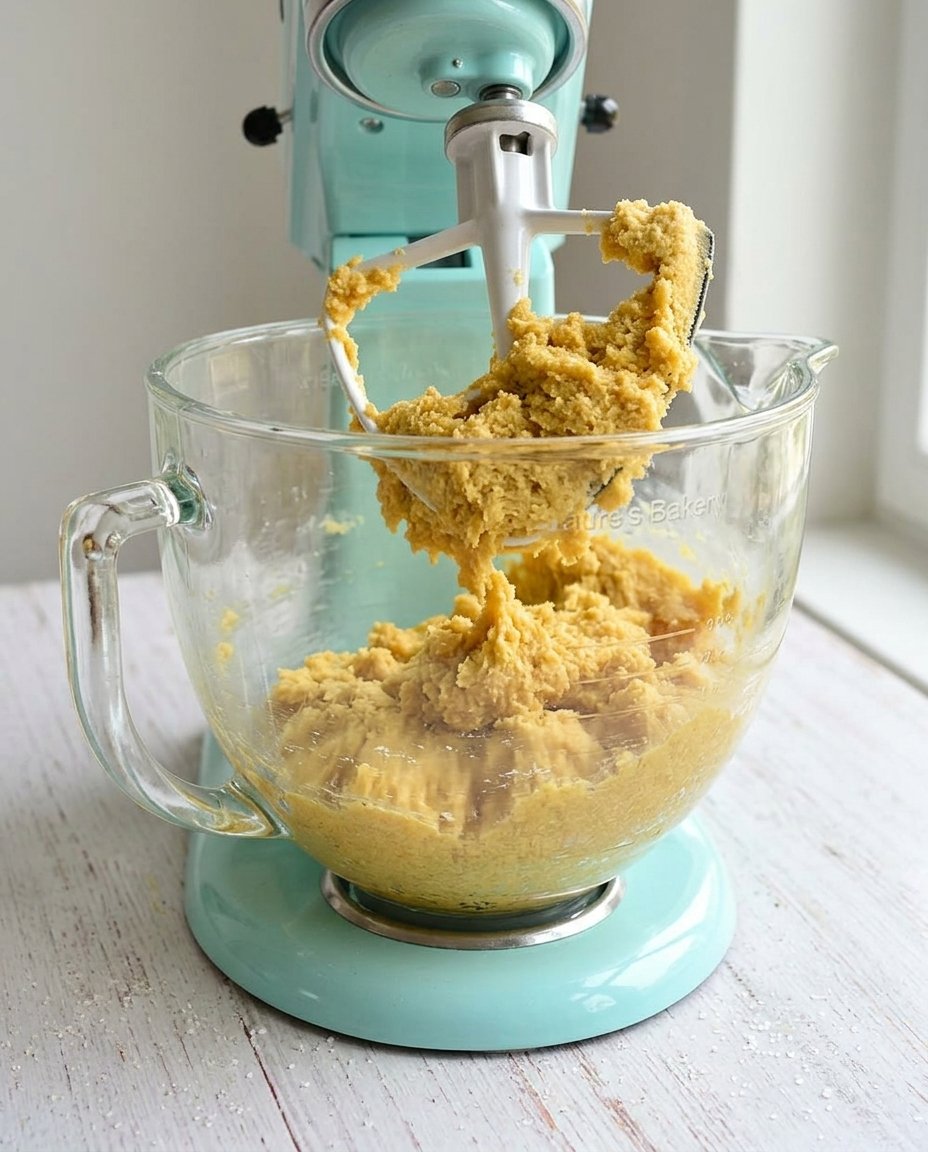
- In a large bowl or stand mixer, cream together the softened butter, white sugar, and vanilla sugar until the mixture is pale and fluffy.
- Add the single egg yolk to the butter mixture and mix thoroughly until the dough looks smooth and consistent.
- Slowly add the flour and a pinch of salt to the wet ingredients, kneading just until a firm, cohesive dough forms.
- Wrap the dough tightly in cling film and refrigerate for at least one hour to allow the butter to firm up and the flour to hydrate.
- Preheat your oven to 180°C (350°F) and line a baking tray with greaseproof paper.
- Roll the chilled dough into walnut-sized balls, place them on the baking tray, and flatten each slightly with a fork.
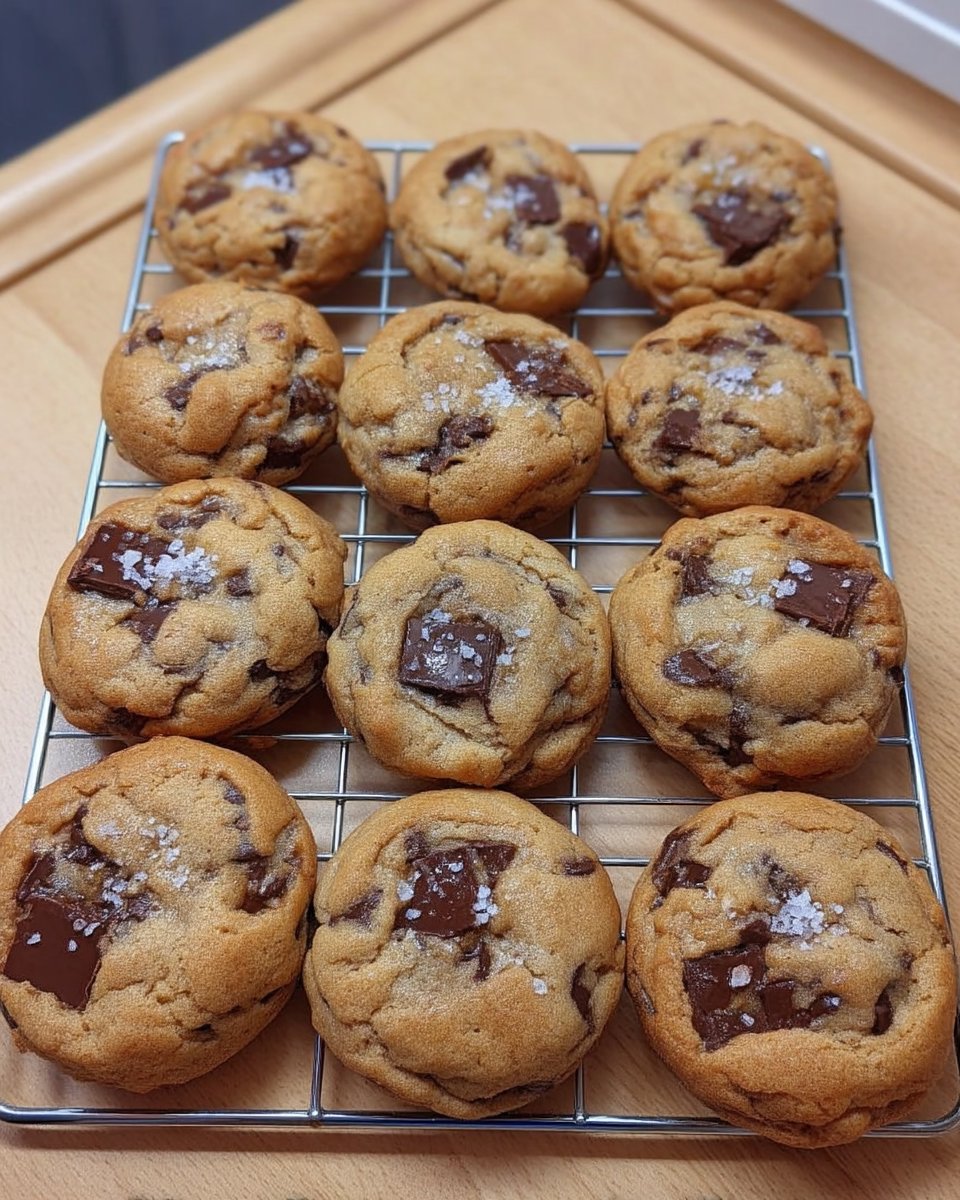
- Bake for approximately 16 minutes until the edges are just turning a light golden brown, then cool on the tray before moving to a wire rack.
Notes
For the best results, use high-quality European-style butter as it has a higher fat content which enhances the sandy, shortbread-like texture. If you find the dough is too crumbly to roll after chilling, let it sit at room temperature for five minutes to slightly soften before shaping.
- Prep Time: 15 mins
- Cook Time: 16 mins
- Category: Dessert
- Method: Baking
- Cuisine: German
Quick Pantry Ingredients
To get that signature sandy texture, we use basic ingredients that you likely already have in your cupboard. Quality is key here since there are so few components to hide behind. Using real butter and good vanilla makes all the difference in the world for the final taste profile.
- Unsalted Butter: This provides the rich base; make sure it is softened but not melted. Softened butter creams much better with the sugar, creating the tiny air pockets that lead to a light crumb.
- Soft White Sugar & Vanilla Sugar: These provide sweetness and that characteristic aromatic depth. If you cannot find vanilla sugar, a good splash of high-quality vanilla extract is a perfect modern substitute that preserves the original heart of the recipe.
- Egg Yolk: This adds richness and helps bind the dough without making it too tough. It provides the fat needed for that melt-in-your-mouth experience that whole eggs just cannot replicate.
- Flour & Salt: All-purpose flour gives the structure, while a pinch of salt balances the sweet buttery notes. I always recommend weighing your flour to make sure your dough isn’t too dry, which can happen if you pack the measuring cup too tightly.
How to Make It
Step 1: Cream the Base
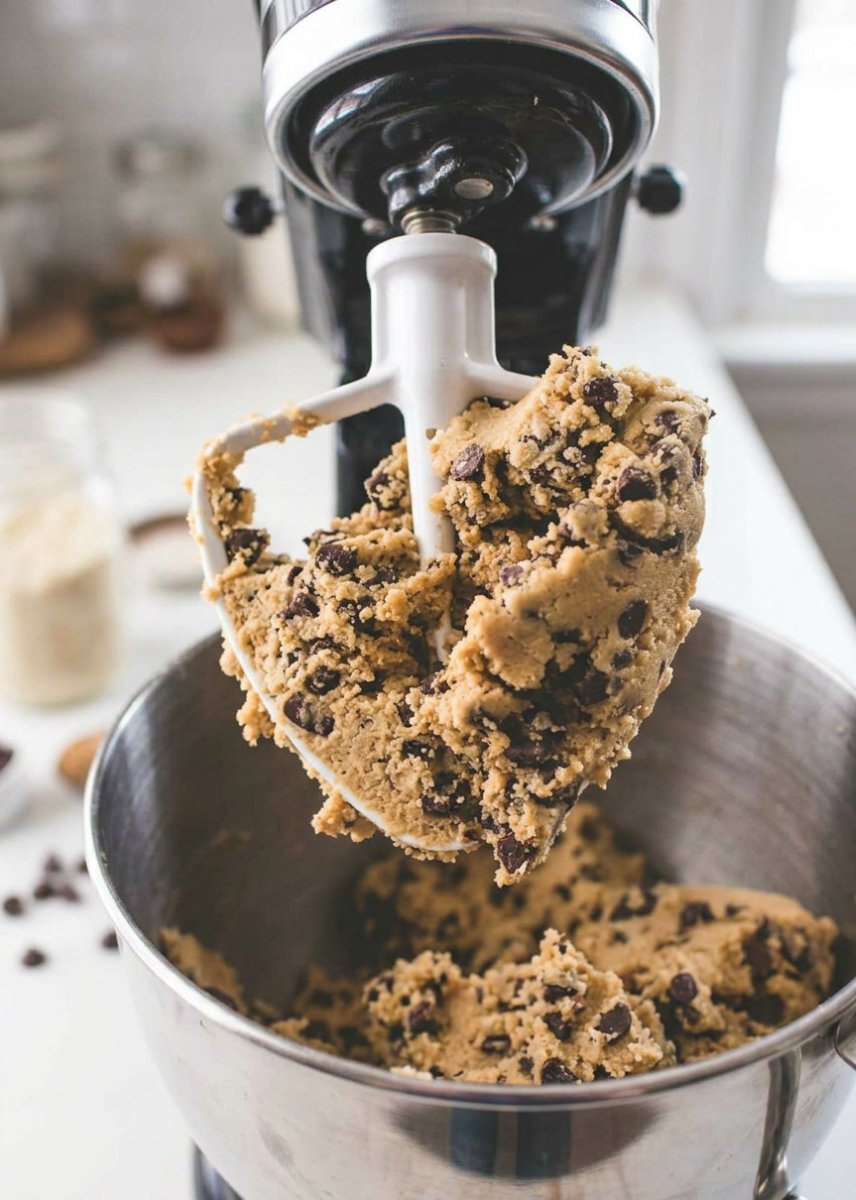
Start by creaming together your softened butter, white sugar, and vanilla sugar in a large bowl. You can use a stand mixer to save time, beating until the mixture looks pale and fluffy. This step is where you build the foundation of that signature texture, so take a minute to get it right.
Step 2: Incorporate the Yolk
Add the single egg yolk to the butter mixture. Mix it in thoroughly until the dough looks smooth and consistent. The yolk is the secret to a rich, golden color and a crumb that stays tender even after the cookies have cooled completely.
Step 3: Mix the Dry Ingredients
Slowly add your flour and a pinch of salt to the wet ingredients. Knead the mixture just until a firm, cohesive dough forms. I prefer using a mixer on low for this, but finishing it by hand helps you feel when the dough is just right. Be careful not to overwork it, or the cookies will lose their delicate nature.
Step 4: The Quick Chill
Wrap your dough tightly in cling film and let it rest in the refrigerator for at least one hour. This step is vital for the texture, as it allows the flour to hydrate and the butter to firm up. While Grandma might have left hers overnight, an hour is usually plenty to make the dough easy to handle in a modern kitchen.
Step 5: Shape and Bake
Preheat your oven to 180°C (350°F). Roll the chilled dough into small balls about the size of a walnut. Place them on a baking tray lined with greaseproof paper and flatten them slightly with a fork. Bake for about 16 minutes until the edges are just turning a beautiful golden brown.
Step 6: Cool and Set
Leave the cookies to cool for a few minutes on the baking tray before transferring them to a wire rack to cool completely. Remember that they will be soft when they first come out, but they will harden into that perfect sandy crumb as they sit. The buttery aroma will fill your kitchen as they bake, a nostalgic scent that brings back memories of family gatherings.
Time-Saving Tips for Busy Bakers

To get the best results without the wait, try using a metal bench scraper to quickly portion out the dough balls into equal sizes. Always use parchment paper instead of greasing the pan to make sure you get an even bake and a faster cleanup. For more helpful advice on mastering the basics, check out our Classic Cookie Recipes for reliable results every time.
If you are in a real hurry, you can pop the dough in the freezer for about 20 minutes instead of an hour in the fridge. This heritage shortcut keeps the butter cold enough to prevent spreading while getting you to the baking stage faster. Also, make sure your egg yolk is at room temperature so it incorporates into the creamed butter without causing it to seize up.
Quick Flavor Changes
While the classic vanilla is hard to beat, you can easily change these up with a few simple add-ins. Try dipping half of the cooled cookie in melted dark chocolate for a more indulgent treat that looks like it came from a professional shop. You might also consider adding a teaspoon of almond extract or some lemon zest to the dough for a bright, citrusy note that pairs well with tea. For a traditional Dutch perspective on this style, you can see this Dutch sand cookies recipe for more inspiration.
If you enjoy experimenting with seasonal flavors, take a look at our Holiday Cookie Celebrations. You can even roll the dough balls in cinnamon sugar before flattening them to create a quick sand version of a snickerdoodle. Adding a handful of finely chopped pecans can also give these an extra crunch that stays true to their vintage roots.
Modern Sharing and Enjoyment

These cookies are the ultimate companion for a morning cup of coffee or an afternoon tea break. They pack beautifully into lunchboxes because they are sturdy enough to travel well without breaking, making them a great after-school snack. For a quick dessert platter, serve them alongside some fresh berries and a dollop of whipped cream for a touch of class.
If you are looking for more ways to share treats with friends, browse our Quick & Easy Cookies section. These also make wonderful gifts when stacked in a simple glass jar with a ribbon. Because they stay fresh for 4-6 weeks in an airtight container, they are the perfect treat to have on hand for unexpected guests.
The Sweet Balance
Baking these cookies brings a touch of old-world charm to our busy modern lives without requiring hours of labor. It is a wonderful way to honor the past while keeping things practical for today’s schedule. We hope these become a new tradition in your home, proving that quick can still be classic. If you want more wholesome treats, look through our Wholesome Cookie Options for your next baking project. Share your baking success with us on Facebook, Pinterest, and Instagram. We love seeing how you make these heritage recipes your own!

