I still remember the first time I tried to fill a holiday tin with four different recipes in one night. I ended up with a sink full of dishes and cookies that turned rock-hard by the next morning. That’s when I realized the power of a master dough—one that allows for endless variety but preserves that crucial soft, buttery texture we crave.

This slice and bake cookie recipe is my solution for the busy baker who refuses to compromise on quality. By using two simple base doughs to create four distinct flavors—from spicy chai to rich dark chocolate cherry—you get a stunning assortment that stays tender and fresh-tasting for days.
Why These Are the Ultimate Holiday Saver
Texture Perfection
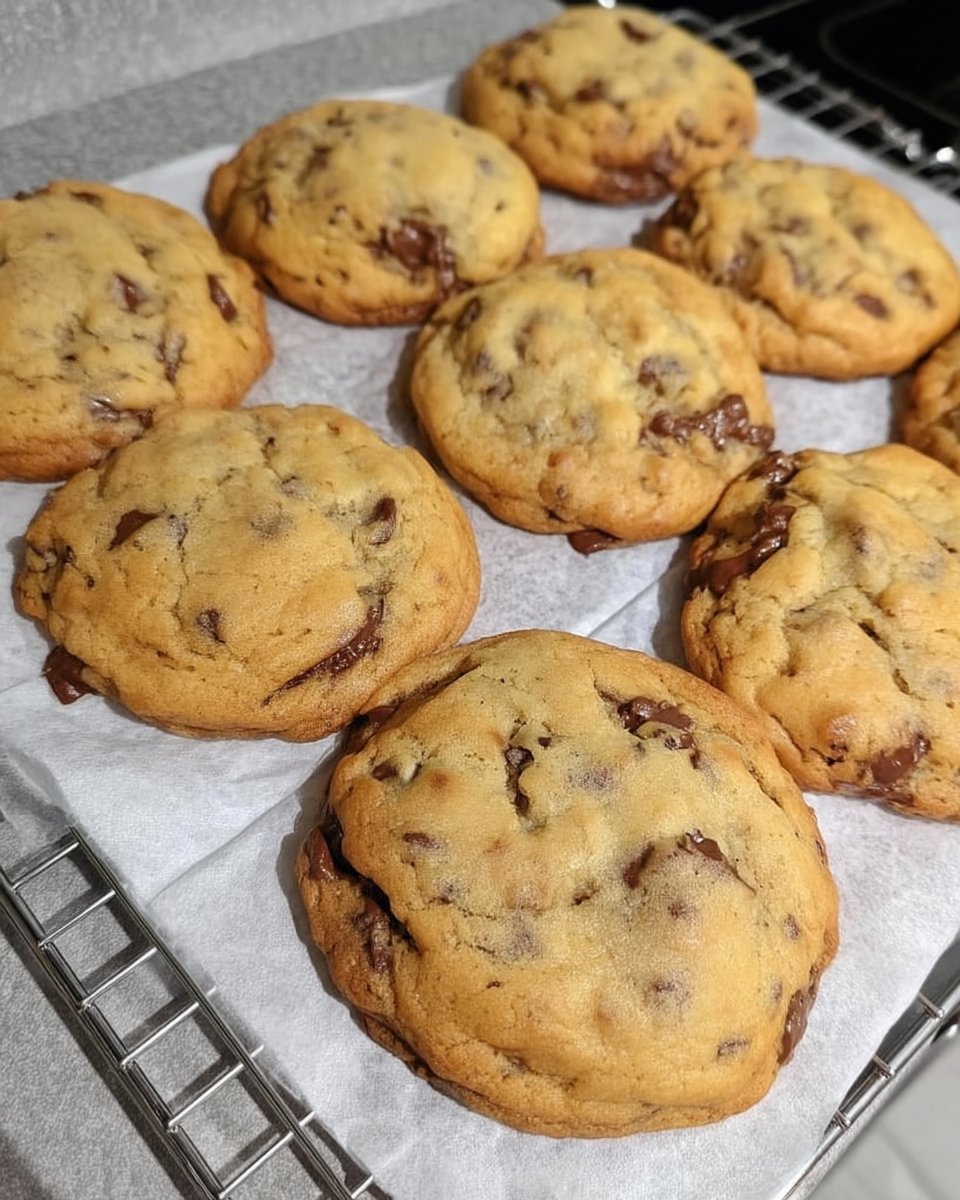
Unlike store-bought logs that bake up hard and sandy, these cookies rely on a specific butter-to-flour ratio that ensures a fine, tender crumb. They melt in your mouth rather than snapping in your hand, offering that home-baked comfort in every bite.
Efficiency and Variety
You get four distinct flavor profiles—spiced, fruity, nutty, and minty—in the time it usually takes to make a single batch. Because the dough freezes beautifully, you can keep logs ready for unexpected guests, slicing off just what you need for fresh, warm cookies on demand.
Print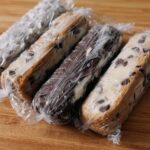
Slice And Bake Cookies
- Total Time: 3 hours
- Yield: 48 cookies
- Diet: Vegetarian
Description
Simplify your holiday baking with this versatile master dough recipe that yields four distinct, buttery cookie flavors from two simple bases. These tender treats are designed to be prepped ahead and sliced whenever you need a fresh, warm batch of gourmet cookies.
Ingredients
- 1 cup unsalted butter, room temperature (for vanilla base)
- 1/2 cup light brown sugar
- 1/4 cup granulated sugar
- 1 teaspoon vanilla bean paste
- 1/2 teaspoon salt
- 2 cups all-purpose flour
- 1 teaspoon ground cinnamon
- 1/2 teaspoon ground cardamom
- 1/2 teaspoon ground ginger
- 1/4 teaspoon ground allspice
- 1/3 cup dried cherries, chopped
- 2/3 cup dark chocolate, chopped and divided
- 1 cup unsalted butter, room temperature (for chocolate base)
- 3/4 cup granulated sugar
- 1 teaspoon vanilla extract
- 1/2 teaspoon salt
- 1 3/4 cups all-purpose flour
- 1/4 cup dark cocoa powder
- 1/2 cup hazelnuts, roughly chopped
- 1/2 teaspoon peppermint extract
- 1/2 cup white chocolate chips
- 1 teaspoon neutral oil
- 2 tablespoons crushed candy canes
- Raw sugar and cinnamon-sugar for coating
- 1 egg, beaten (optional for egg wash)
Instructions
- In a large bowl, cream the first batch of butter with brown and granulated sugars until pale and fluffy. Mix in vanilla bean paste, salt, and flour until just combined.
- Divide the vanilla dough into two portions. Fold cinnamon, cardamom, ginger, and allspice into one portion (Chai). Fold dried cherries and half of the chopped dark chocolate into the other portion (Cherry).
- In a separate bowl, cream the second batch of butter and granulated sugar. Mix in vanilla, salt, flour, and dark cocoa powder to create the chocolate base.
- Divide the chocolate dough in half. Mix roughly chopped hazelnuts into one half. To the remaining half, add peppermint extract and the rest of the chopped dark chocolate.
- Form each of the four dough portions into logs approximately 8-9 inches long. Wrap tightly in plastic wrap and chill in the refrigerator for at least 2 hours or overnight.
- Roll the chilled logs in their respective coatings (raw sugar for Cherry, cinnamon-sugar for Chai, or chopped nuts for Hazelnut). Slice each log into 12 even rounds.
- Preheat oven to 350°F (175°C) and bake cookies on parchment-lined sheets for 15-18 minutes until edges are set but centers remain soft.
- Once the peppermint cookies are cool, melt white chocolate with oil and dip half of each cookie, then sprinkle with crushed candy canes.
Notes
For the cleanest slices, use a sharp, non-serrated knife and wipe it clean between cuts. If your dough feels too hard after chilling overnight, let it sit on the counter for 5-10 minutes before slicing to prevent crumbling and ensure even baking.
- Prep Time: 40 mins
- Cook Time: 18 mins
- Category: Dessert
- Method: Baking
- Cuisine: American
The Secret to Soft Slice-and-Bake
Unsalted Butter
This is the foundation of your texture. It must be truly at room temperature to aerate properly with the sugar. If it’s too cold, you won’t get that light, tender structure; too warm, and the cookies will spread into puddles.
Sugars (Brown & Granulated)
For the vanilla base, I use a mix of light brown and granulated sugar. The brown sugar introduces moisture and a slight chew, preventing the cookies from drying out in the jar, while the granulated sugar keeps the edges crisp.
Vanilla Bean Paste
Since these are simple butter cookies at heart, high-quality vanilla makes a huge difference. The paste adds those lovely speckles and a depth of flavor that extract alone can’t quite match.
The Mix-Ins
From dried cherries to toasted hazelnuts, the mix-ins provide texture contrast. The key is chopping them to the right size so the dough slices cleanly without crumbling.
How to Make These Holiday Staples
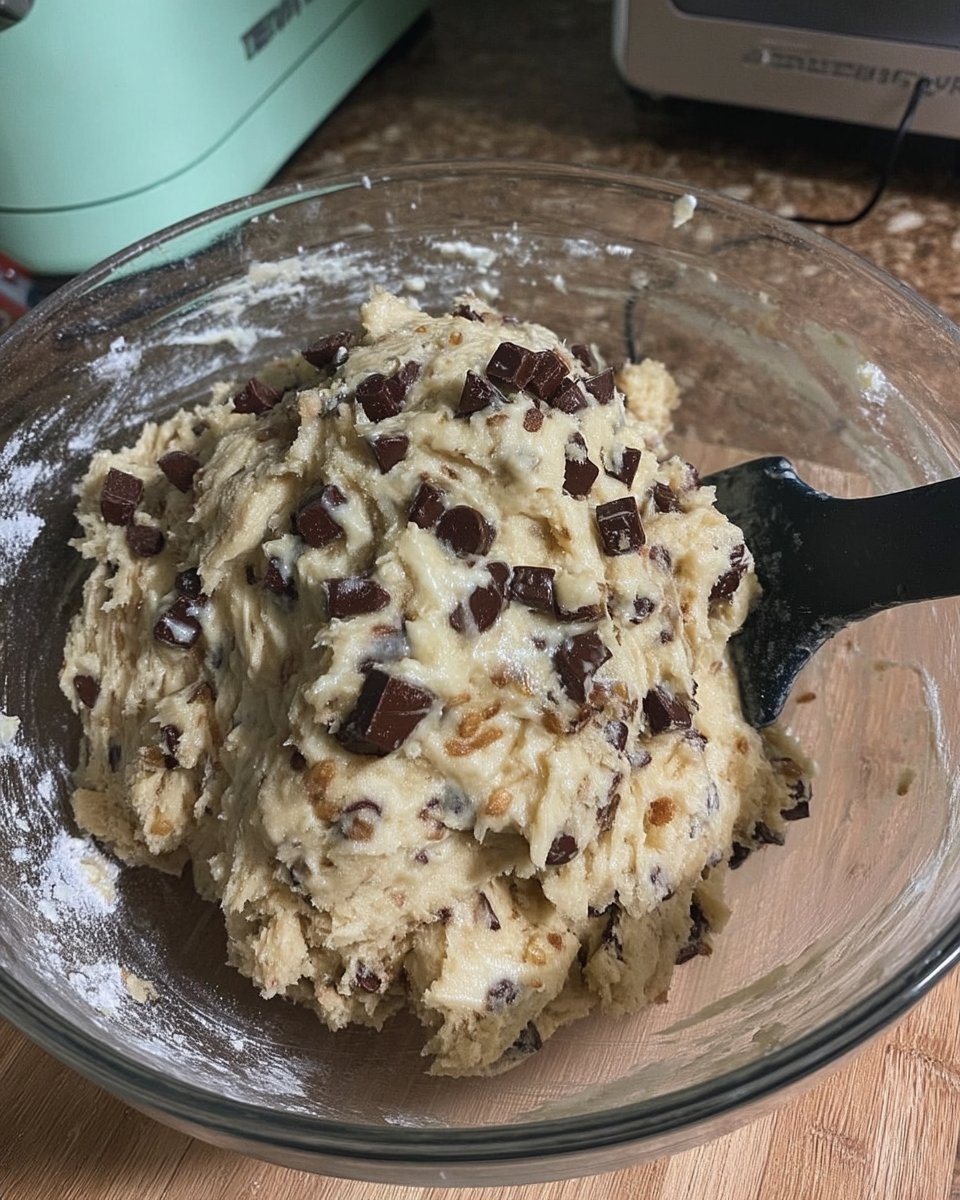
Step 1: Create the Vanilla Dough Base
In a large mixing bowl or stand mixer fitted with the paddle attachment, cream the room temperature butter, brown sugar, and granulated sugar until the mixture is pale and fluffy. This aeration is crucial for a soft cookie. Mix in the vanilla bean paste and salt, followed by the flour. Stop the mixer just before the flour is fully gone and switch to a rubber spatula to finish by hand. This prevents overworking the gluten, ensuring your cookies stay tender.
Step 2: Flavor the Chai and Cherry Variations
Split the vanilla dough, keeping one half slightly larger. To the larger half, gently fold in the cinnamon, cardamom, ginger, and allspice until swirled through. For the smaller half, mix in the chopped dark chocolate and dried cherries. Avoid kneading aggressively; just fold until combined.
Step 3: Create the Chocolate Dough Base
Scrape out your bowl (no need to wash it yet) and cream the second batch of butter and granulated sugar until fluffy. Add the vanilla and salt, then mix in the flour and dark cocoa powder. Again, switch to a spatula for the final mix to keep the dough short and tender.
Step 4: Flavor the Hazelnut and Peppermint Variations
Split the chocolate dough in half. To one half, mix in the roughly chopped hazelnuts. To the remaining dough in the bowl, add the peppermint extract and chopped dark chocolate, mixing until the extract is evenly distributed.
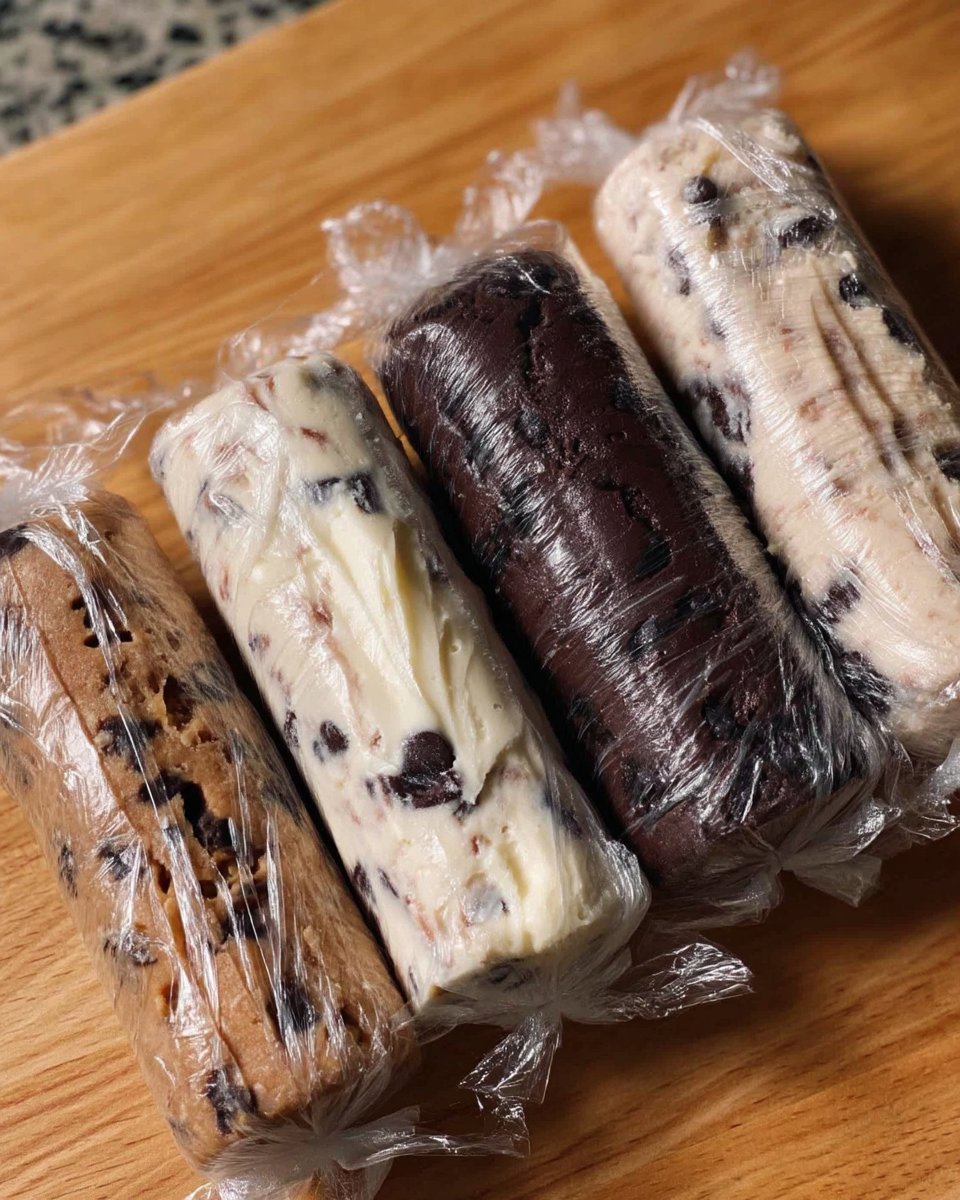
Step 5: Roll and Chill
Lay out sheets of plastic wrap. Form each dough portion into a log about 8-9 inches long. Wrap the logs tightly, twisting the ends like a candy wrapper to compress the dough into a nice cylinder. Chill in the refrigerator for at least 2 hours, or overnight. This step solidifies the butter, preventing the cookies from spreading too much in the oven.
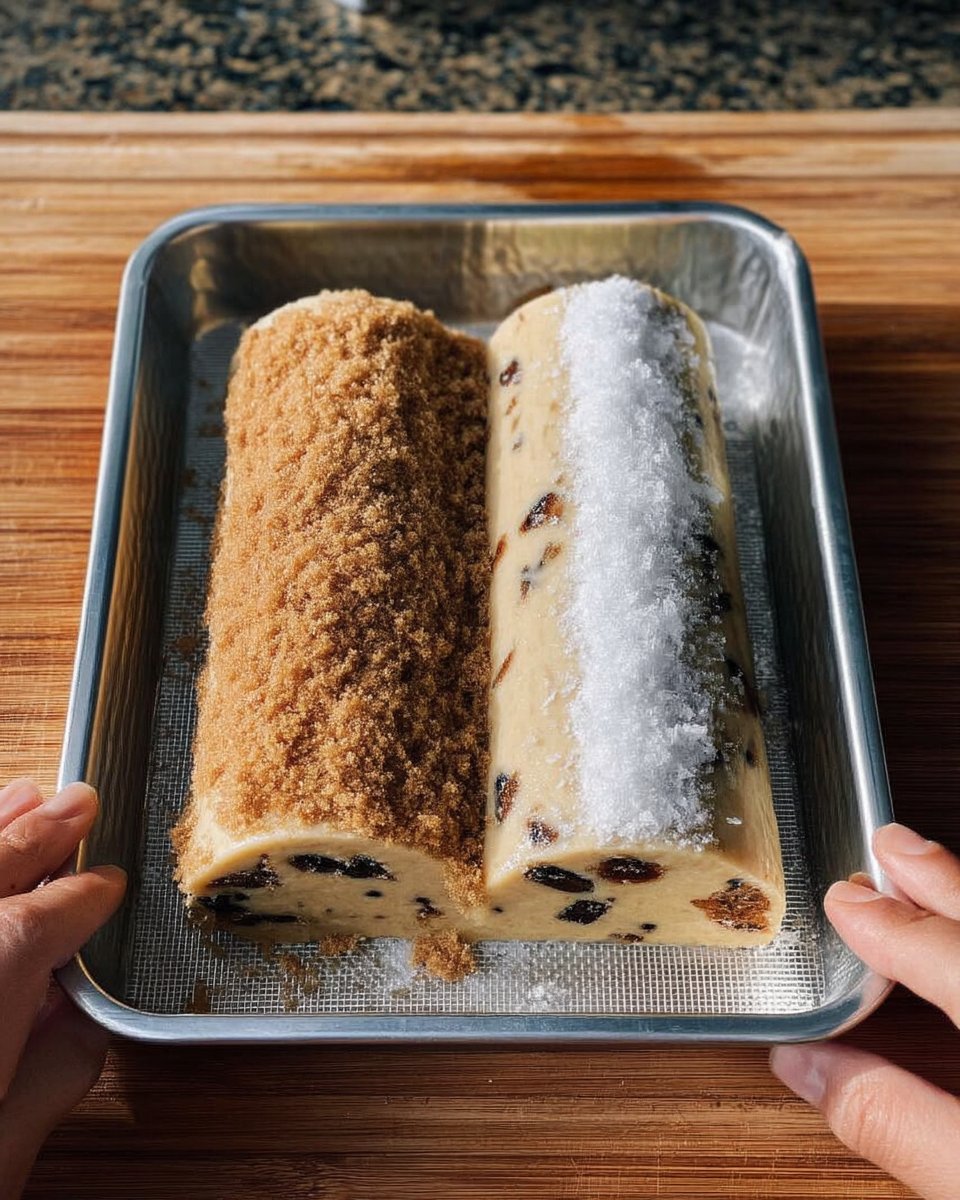
Step 6: Coat and Slice
Once chilled solid, roll the Dark Chocolate Cherry log in raw sugar, the Chai log in the cinnamon-sugar mixture, and the Hazelnut log in finely chopped hazelnuts. If the coatings don’t stick, a light brush of egg wash helps. Slice each log into roughly 12 even rounds.
Step 7: Bake for Perfect Texture
Preheat your oven to 350°F (175°C). Place cookies on a parchment-lined baking sheet, spaced 2 inches apart. Bake for 15-18 minutes. You want the edges to be a very pale golden brown and the tops matte. Do not overbake, or they will lose their soft texture once cooled.
Step 8: Dip the Peppermint Cookies
Once cooled, melt the white chocolate with a little oil in the microwave. Dip half of each peppermint cookie and sprinkle with crushed candy canes. Let them set in the fridge for 15 minutes before serving.
Mehmet’s Tips for Flawless Logs
Mastering the Shape
To prevent your cookies from having a flat bottom, rotate the dough logs a quarter turn every time you slice through them. If your logs flattened in the fridge, give them a quick roll on the counter to round them out before slicing. For more festive presentation ideas, check out our Holiday Cookie Celebrations.
The Chill Factor
Never skip the chilling time. The dough needs to be firm to slice cleanly. If the dough gets too soft while you are working, pop it back in the fridge for 10 minutes. This ensures they hold their shape and stay thick and chewy rather than spreading thin.
Storage for Longevity
These cookies rely on their fat content to stay soft. Store them in an airtight container (a vintage tin is perfect) at room temperature. If you find they are drying out after a few days, a slice of white bread in the container will restore moisture overnight.
Creative Twists on the Master Dough
Citrus Burst
For a brighter flavor, add 1 tablespoon of orange zest to the chocolate dough base. The citrus oils pair beautifully with the dark cocoa and help keep the crumb moist and fragrant.
Nutty Crunch
If you prefer pecans or pistachios over hazelnuts, feel free to swap them in. Just ensure you toast the nuts first to bring out their oils, which adds flavor and crunch without drying out the cookie. You can find similar nut-based ideas in our Classic Cookie Recipes.
Toffee Treasure
Instead of dried cherries, try adding toffee bits to the vanilla base. The toffee melts slightly during baking, creating chewy caramel pockets that are absolutely delicious.
Storing and Gifting for Maximum Freshness
Jar Storage
These cookies look stunning stacked in a glass jar, but be careful with flavors. The peppermint cookies are potent and will flavor everything else if stored together. I recommend wrapping the peppermint batch separately or keeping them in their own small tin.
Shipping Tips
Because these are sturdy slice-and-bake cookies, they ship very well. Stack them in groups of three, wrap tightly in plastic, and cushion them well. They make a lovely gift alongside our Cookie Decorating Traditions guides for a complete baking package.
Reviving Texture
If you are serving them a few days after baking, a quick 5-second zap in the microwave can bring back that just-baked softness and aroma.
Keeping Tradition Fresh
This recipe proves that you don’t need days of work to fill a holiday table with variety. By mastering these two simple doughs and focusing on moisture retention, you can produce a bakery-worthy spread that stays soft and delicious for your family and friends. For simpler baking days, you might also enjoy our Quick & Easy Cookies.
I was inspired by the slice-and-bake techniques found on Butternut Bakery, but I’ve tweaked the resting times here to ensure maximum softness in every bite. Happy baking!
Share your cookie boxes with us on Pinterest, Instagram, and Facebook.
