This cherished recipe for slice and bake cookies 2 comes straight from a worn, butter-stained index card I found tucked in Grandma’s wooden recipe box. It was always her favorite, dependable dough to keep resting in the icebox for whenever unexpected company dropped by for coffee. The comforting scent of pure vanilla and sweet butter melting in the oven instantly brings me right back to her sunny, flour-dusted kitchen.

These classic icebox treats use just a handful of simple pantry staples to create something truly magical and timeless. With a delightfully tender crumb and a beautiful, crisp edge, they are the perfect companion for a hot cup of tea or a cold glass of milk. You will love how easily this humble dough comes together before chilling, leaving you with fresh cookies whenever the craving strikes.
A Timeless Jar Favorite
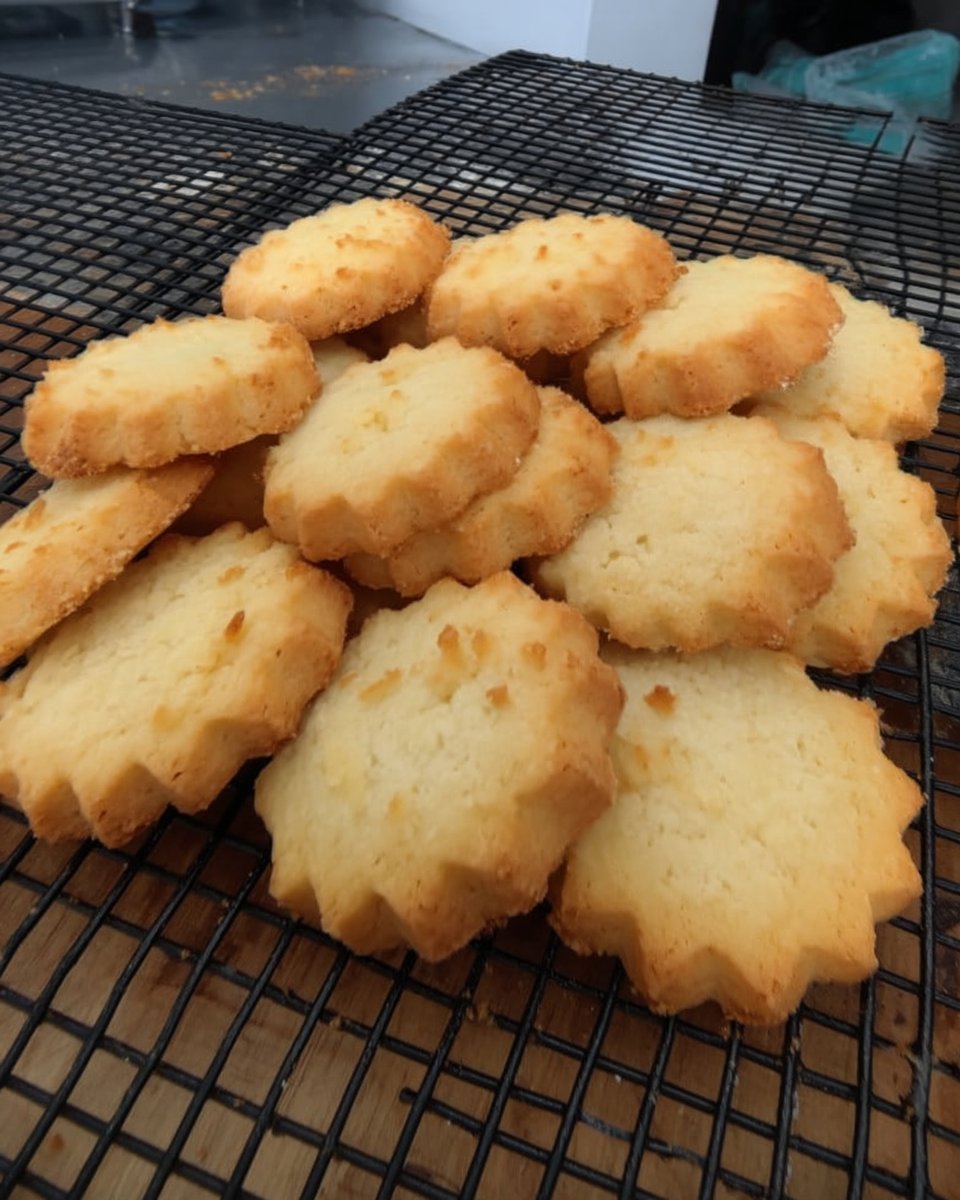
There is a very good reason these slice and bake cookies 2 remain a treasured family tradition year after year. They are incredibly reliable and keep their pretty round shape beautifully when baked, just like the beloved treats Grandma used to serve from her favorite glass jar.
They offer the perfect balance of a rich, buttery flavor and a delicate crunch that melts on the tongue. Plus, the joy of having fresh dough ready to slice at a moment’s notice makes this heritage method an absolute joy to bake.
Print
Slice And Bake Cookies
- Total Time: 3 hours 27 mins
- Yield: 48 cookies
- Diet: Vegetarian
Description
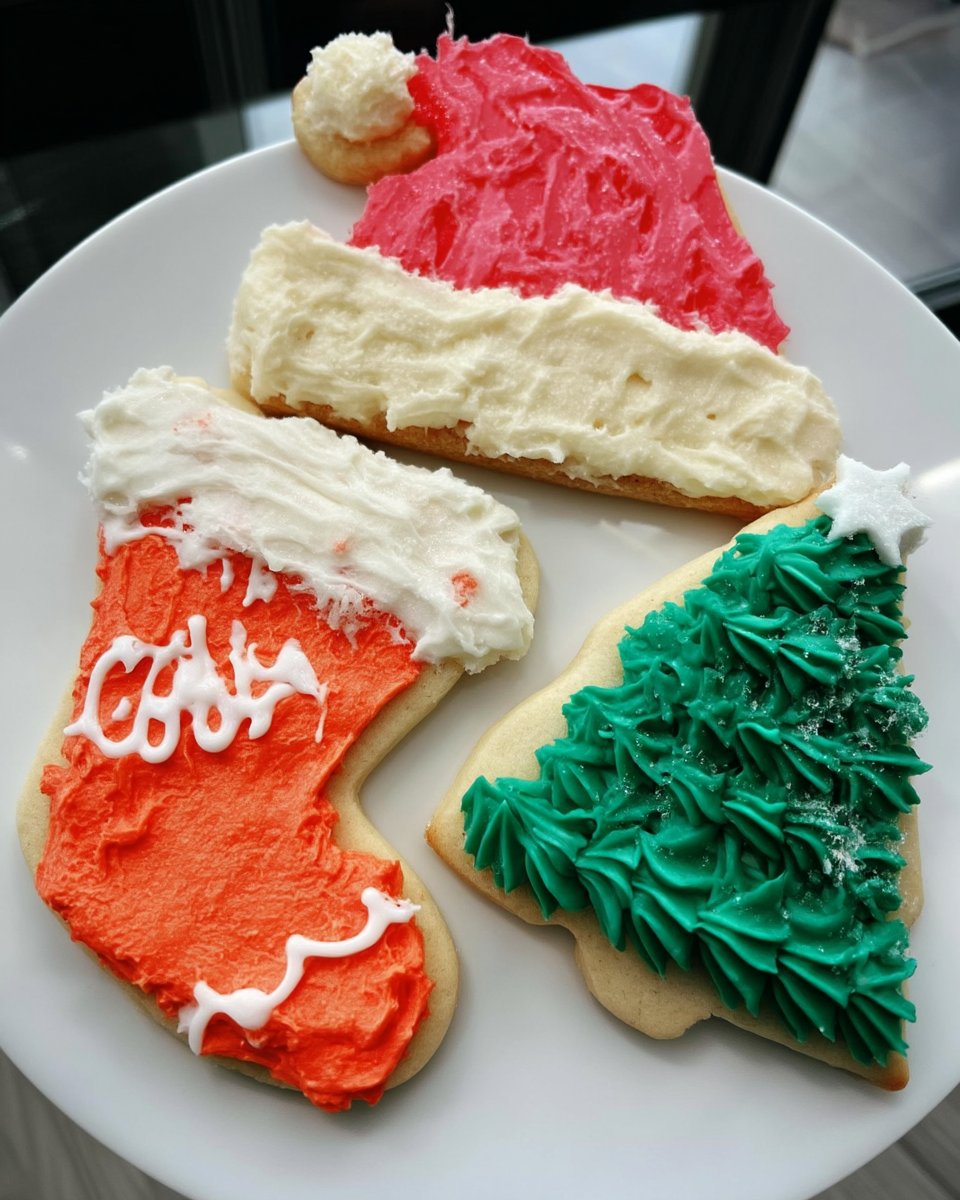
These classic buttery slice and bake cookies offer a delightful tender crumb and festive flair. Perfect for keeping in the freezer, they are a nostalgic heritage treat that pairs beautifully with a warm cup of tea.
Ingredients
- 1 cup (226 g) unsalted butter, softened
- ½ cup (100 g) granulated sugar
- ¼ cup (50 g) light brown sugar, packed
- 1 large egg yolk
- ½ teaspoon salt
- 1 teaspoon pure vanilla extract
- ½ teaspoon almond extract (optional)
- 2 ¼ cups (295 g) all-purpose flour
- 2 ½ Tablespoons colorful nonpareils (optional)
Instructions
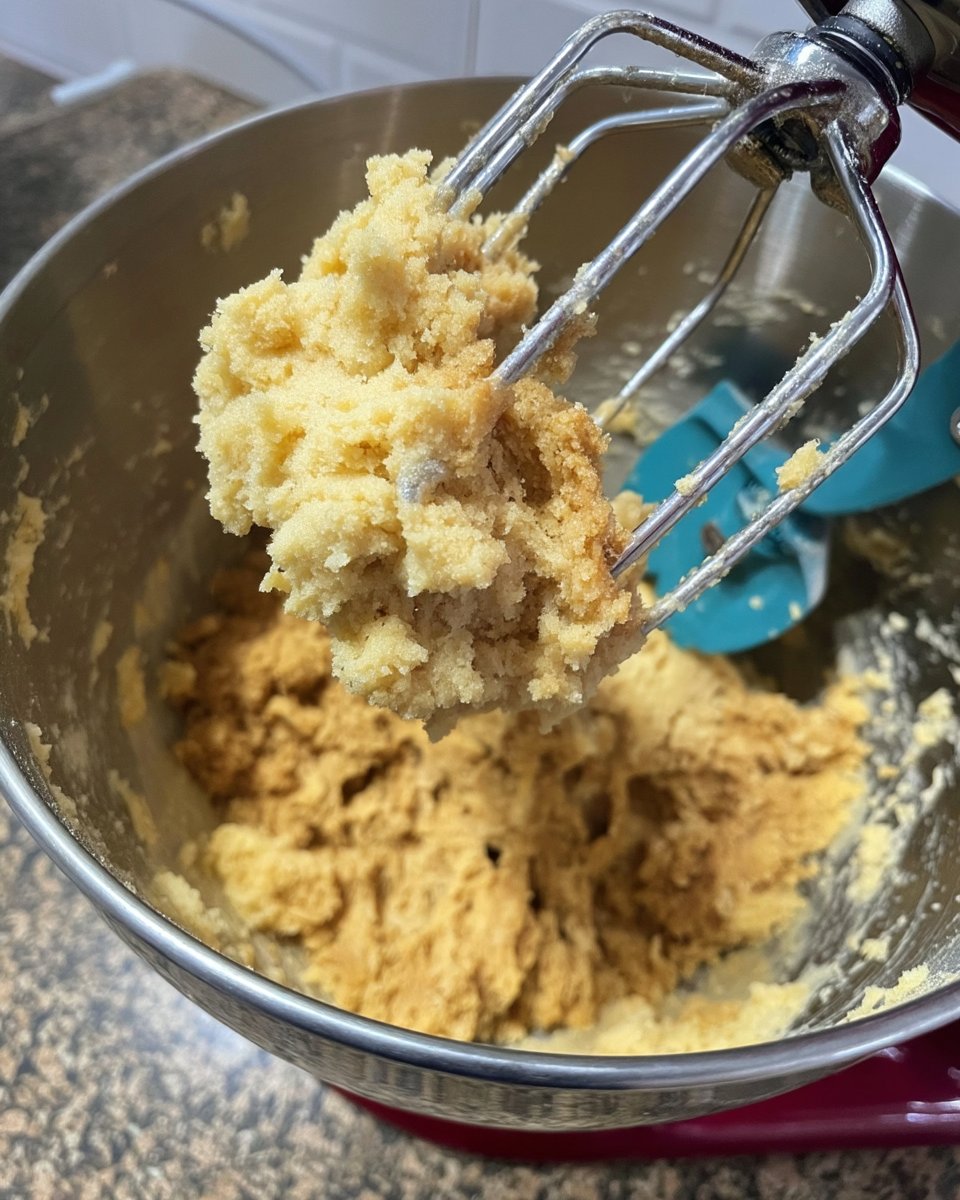
- In a large bowl, cream the softened butter and both sugars with an electric mixer until light and fluffy.
- Beat in the egg yolk, salt, vanilla extract, and almond extract until fully combined.
- Gradually add the flour on low speed, then fold in the nonpareils by hand using a spatula.
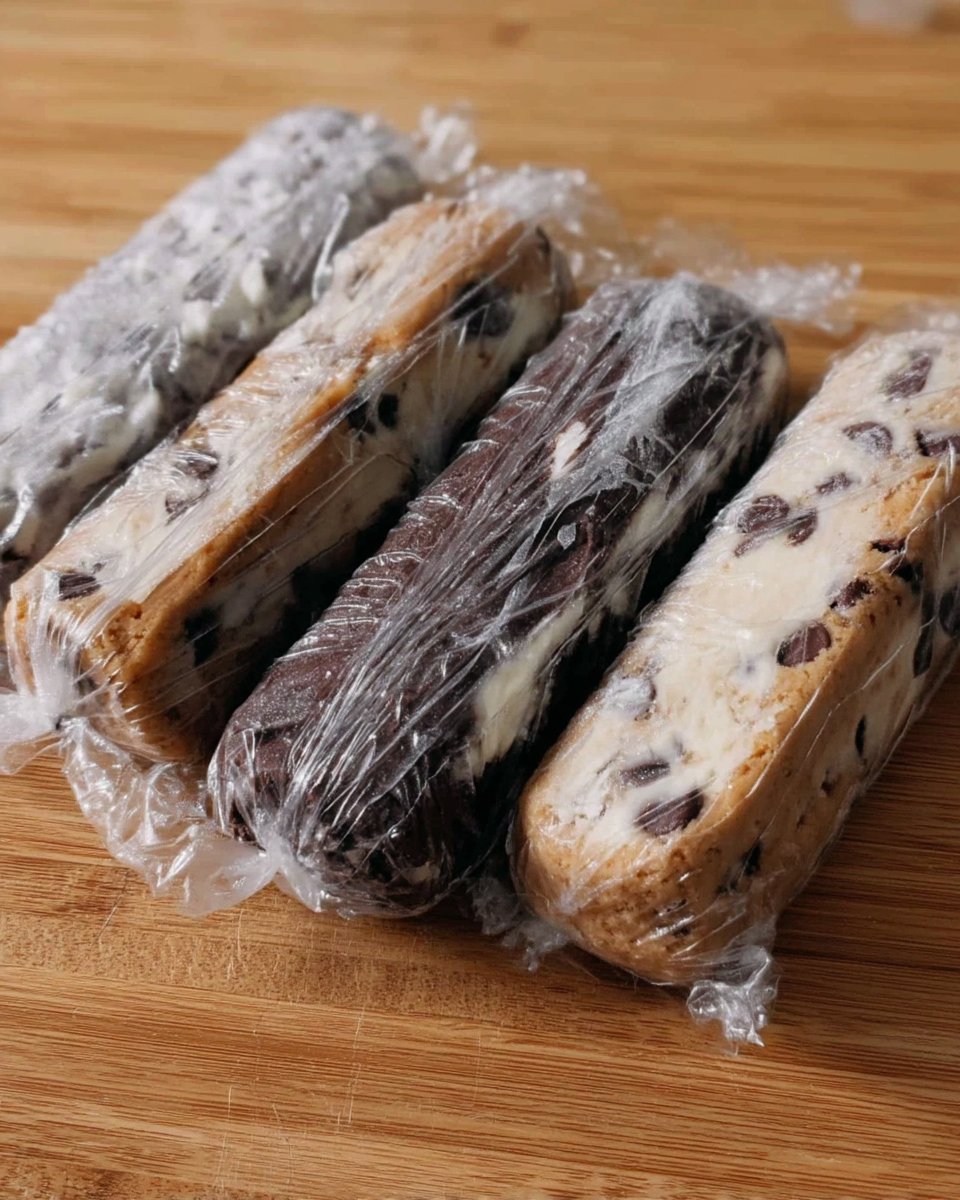
- Divide the dough in half, roll into two 2-inch wide logs using wax paper, and chill in the refrigerator for at least 2 to 3 hours.
- Preheat your oven to 350ºF (175ºC) and slice the chilled logs into ¼-inch rounds using a sharp knife.
- Place slices on a parchment-lined baking sheet and bake for 10-12 minutes until edges are barely golden; allow them to cool on the pan before serving.
Notes
For the cleanest slices, ensure your dough is thoroughly chilled and use a very sharp, thin blade. If the dough logs become too flat on one side while chilling, rotate them every thirty minutes or use a cardboard tube to maintain their round shape.
- Prep Time: 15 mins
- Cook Time: 12 mins
- Category: Dessert
- Method: Baking
- Cuisine: American
Simple Pantry Staples
You only need a few honest, straightforward ingredients to make these comforting cookies. Quality matters here, so pull out your good pure vanilla and real butter for that authentic, old-fashioned taste we all crave.
- 1 cup (226 g) unsalted butter: Softened gently at room temperature for the best creamy texture.
- ½ cup (100 g) granulated sugar: For classic sweetness and crisp edges.
- ¼ cup (50 g) light brown sugar: Tightly packed to add a hint of warm molasses flavor.
- 1 large egg yolk: Binds the dough while keeping the crumb wonderfully tender.
- ½ teaspoon salt: Perfectly balances the sweet sugars.
- 1 teaspoon pure vanilla extract: The heart and soul of traditional baking flavor.
- ½ teaspoon almond extract: Optional, but it adds a lovely, nostalgic bakery touch.
- 2 ¼ cups (295 g) all-purpose flour: The simple foundation of our cookie.
- 2 ½ Tablespoons colorful nonpareils: Optional, for a cheerful, festive finish.
The Heritage Method
Step 1: Cream the Butter and Sugars
Combine your beautifully softened butter, granulated sugar, and light brown sugar in a large mixing bowl or the bowl of a stand mixer. Use an electric mixer to beat them together until they are perfectly creamy and light, taking your time to build that fluffy texture.
Step 2: Add the Flavorings
Gently mix in the egg yolk until it is completely incorporated into the butter mixture. Stir in the salt, pure vanilla extract, and that hint of almond extract if you are using it, beating until well-combined.
Step 3: Blend in the Flour
Turn your mixer to a low speed and gradually add the all-purpose flour. The dough might look a little crumbly at first, but keep working it gently. If needed, use a spatula to scrape the bowl and help the flour absorb. Finally, fold in the colorful nonpareils by hand so their bright colors do not bleed.
Step 4: Shape and Chill
Divide your beautiful dough into two equal portions. Transfer each half onto a sheet of wax paper and gently roll it into a 2-inch wide log. Wrap the logs snugly and transfer them to the refrigerator to chill for at least 2 to 3 hours.
Step 5: Slice and Bake
Once the dough has thoroughly chilled, preheat your oven to 350ºF (175ºC) and line a heavy cookie sheet with parchment paper. Remove one log from the icebox and use a sharp knife to cut it into tidy ¼-inch slices.
Step 6: Cool and Enjoy
Place the lovely little slices onto your prepared cookie sheet, spacing them about an inch apart. Bake for 10 to 12 minutes, just until the edges begin to turn a pale golden brown. Allow them to cool on the baking sheet to set before serving.
Teresa’s Wisdom for Perfect Cookies
One of the best secrets for perfectly round cookies is keeping the dough log tucked inside an empty paper towel tube while it chills in the icebox. Just cut the cardboard tube lengthwise, slip the wax-paper-wrapped dough inside, and it prevents the bottom from flattening out as it rests.
Make sure your butter is gently softened, not melting, to give these treats the absolute best texture possible. If you love learning these classic techniques, you will find plenty of similar gentle wisdom in our Classic Cookie Recipes collection. Finally, always use a very sharp, thin knife to slice the chilled dough to keep the edges neat and tidy.
Family Favorites and Heritage Twists
This basic butter dough is a wonderful, simple canvas for your family’s favorite traditional mix-ins. You can roll the outside of the dough log in coarse sanding sugar or finely chopped walnuts before slicing to create a beautiful, crunchy crust.
For a truly festive occasion, try dipping the baked and cooled halves in melted dark chocolate. You can also try substituting the almond extract with a drop of peppermint or lemon, depending on the season, making them fit right in with any Holiday Cookie Celebrations you might be planning. For another wonderful take on this technique, I always appreciate the charming guidance found in this old-fashioned slice and bake cookies tutorial.
Cookie Jar Time
There is nothing quite like pulling a fresh, crisp cookie straight from the jar to share with a friend or a grandchild. Serve these beautiful little rounds alongside a steaming mug of black coffee or a tall glass of ice-cold milk for dipping.
They look absolutely precious arranged on a vintage floral platter for a sweet afternoon tea gathering. For more lovely ideas to present your baked goods and share the love, take a peek at our Cookie Decorating Traditions to make every single plate feel incredibly special.
The Sweet Heritage of Baking
Baking is such a beautiful, quiet way to pass down love from one generation to the next. I truly hope these simple slice and bake cookies bring a touch of warm comfort and sweet nostalgia to your own family kitchen.
Whether you are baking a quick batch for unexpected guests or just quietly filling the family jar on a Sunday afternoon, they are a reliable treasure. Discover more simple joys in our Quick & Easy Cookies archive. Don’t forget to share your sweet baking memories with us on Facebook, pin this heritage recipe for later on Pinterest, or show us your beautiful, full cookie jars on Instagram!
