I remember Grandma carefully roasting marshmallows over a low flame, a process that took forever but tasted like pure joy. My modern version of Smore Cookies brings that same smoky, sweet magic to your kitchen in just twenty minutes. It is the perfect way to share heritage flavors with your family without needing a backyard bonfire. We keep the tradition of the campfire alive while making it work for our busy weeknights.

These cookies are packed with the iconic trio of graham crackers, melty chocolate, and gooey marshmallows. By using a few simple shortcuts, we get that classic campfire profile in a soft, chewy drop cookie format. You get the crunch and the melt in every single bite without any of the outdoor cleanup.
The Ultimate Quick Nostalgia
You are going to love these because they bring the outdoors inside with zero effort. We often think of s’mores as a summer-only treat, but these cookies make it a year-round reality for your family. The texture is a beautiful balance of soft dough and crunchy graham cracker pieces that stay crisp even after baking.
Another reason to love this recipe is the speed. While we respect the slow pace of Grandma’s kitchen, sometimes we only have twenty minutes to get a treat on the table. These cookies deliver that deep, complex flavor of toasted sugar and chocolate in a fraction of the time. They are reliable, simple, and always a hit at potlucks.
Finally, the cleanup is a breeze. Using parchment paper and a single bowl for the dough means you spend more time eating and less time at the sink. It is a modern solution for a classic craving that never goes out of style. Your kids will love the gooey centers, and you will love how easy they are to pull together.
Print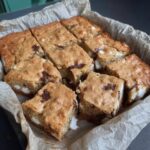
Smore Cookies
- Total Time: 1 hour 26 mins
- Yield: 24 cookies
Description
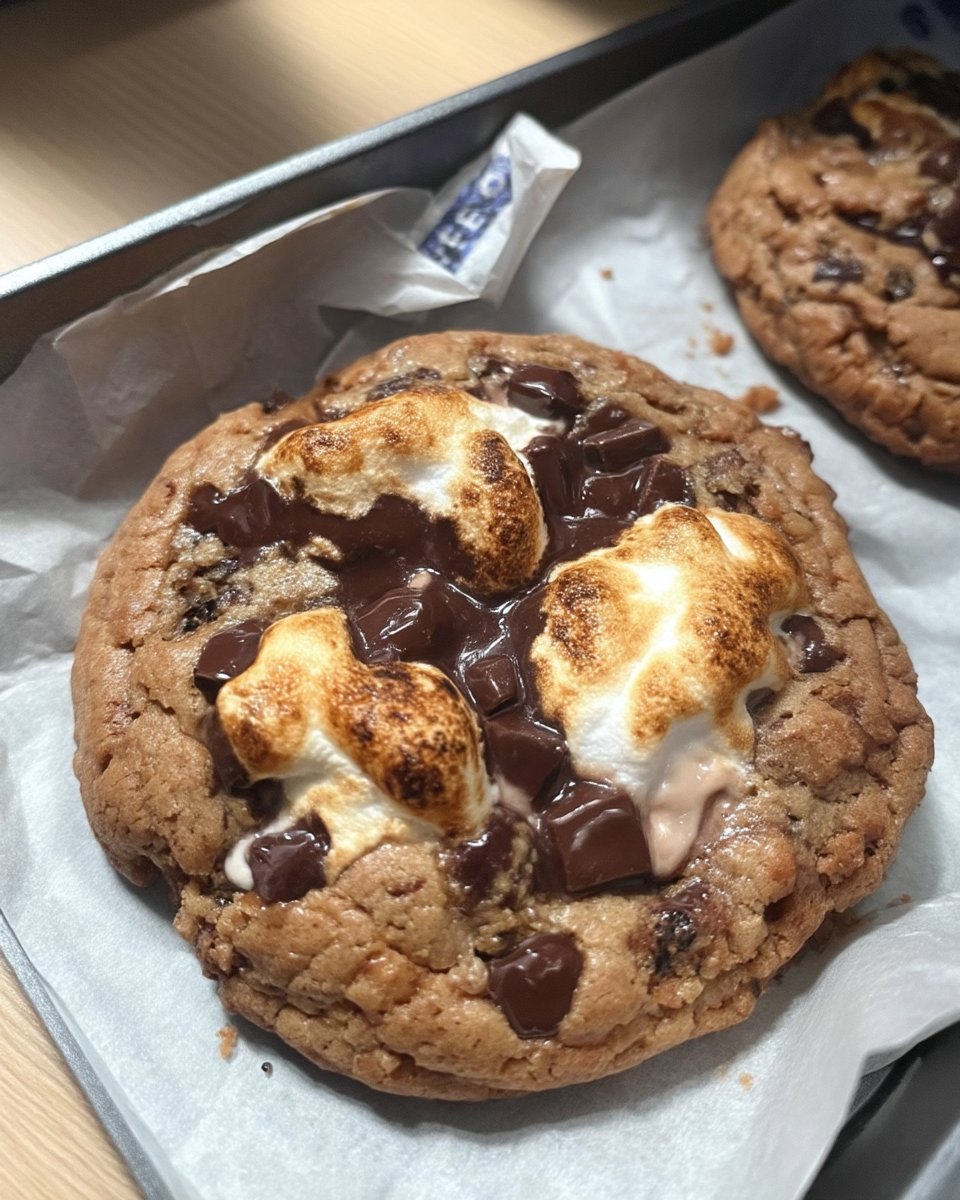
Bring the classic campfire experience indoors with these soft and chewy Smore Cookies. Featuring a nostalgic blend of toasted marshmallows, melty Hershey’s chocolate, and crunchy graham cracker bits, they offer a perfect heritage treat that is ready for any occasion.
Ingredients
- 2 cups all-purpose flour
- 1 teaspoon corn starch
- 1/2 teaspoon baking soda
- 1/2 teaspoon baking powder
- 1/2 teaspoon salt
- 3/4 cup unsalted butter, softened
- 1/2 cup granulated sugar
- 3/4 cup light brown sugar, packed
- 1 large egg
- 1 teaspoon vanilla extract
- 1 cup graham crackers, roughly chopped
- 1 cup mini marshmallows, halved
- 1 Hershey’s Milk Chocolate bar (1.55 oz), chopped
- 1/2 cup chocolate chips
Instructions
- Roughly chop the graham crackers and Hershey’s chocolate bar into various sizes, and tear the mini marshmallows in half.
- In a medium bowl, whisk together the flour, salt, baking powder, baking soda, and cornstarch until the leavening agents are evenly distributed.
- Using a stand mixer or hand mixer, beat the softened butter with the granulated and light brown sugars for two minutes until light and fluffy.
- Incorporate the egg and vanilla extract, beating until well combined and scraping down the sides of the bowl with a spatula.
- Turn the mixer to the lowest speed and gradually add the dry ingredients, mixing only until the white streaks of flour disappear.
- Reserve a small handful of marshmallows and chocolate pieces, then gently fold the remaining mix-ins into the dough by hand.
- Cover the dough and refrigerate for at least one hour to prevent the cookies from spreading too thin during baking.
- Preheat your oven to 350°F and portion two-tablespoon sized balls onto a parchment-lined baking sheet.
- Bake for 8 minutes, then remove the pan to quickly press the reserved marshmallows and Hershey’s pieces into the tops of the warm cookies.
- Return the cookies to the oven for another 2 to 3 minutes, then allow them to cool completely on the baking sheet to firm up.
Notes
For the best results, use room temperature butter to ensure it creams properly with the sugars, creating the ideal aerated texture. If you find your marshmallows spreading too much in the oven, use a circular cookie cutter to gently scoot the edges back toward the center while the cookies are still hot and pliable for a perfect round shape.
- Prep Time: 15 mins
- Cook Time: 11 mins
- Category: Dessert
- Method: Baking
- Cuisine: American
Simple Pantry Staples for S’mores
Gathering your ingredients is the first step toward that nostalgic flavor we all crave. Most of these items are likely already in your pantry, making this a great last-minute baking project. We use all-purpose flour as our base, providing a sturdy structure for all those heavy mix-ins.
- Unsalted Butter: Make sure this is at room temperature so it creams perfectly with the sugars. This provides the rich, golden flavor we want.
- Granulated and Light Brown Sugar: The combination gives us crisp edges and a soft, chewy center that tastes like toasted caramel.
- Graham Crackers: These provide the essential crunch. We roughly chop them so you get distinct pieces throughout the dough.
- Mini Marshmallows: These are the stars of the show. We halve them to keep them from puffing up too much during the bake.
- Hershey’s Chocolate Bar: This is the secret to that authentic heritage taste. While chips are great, the bar pieces melt into beautiful pools of chocolate.
- Corn Starch: Just a teaspoon makes the cookies extra soft and prevents them from spreading too thin.
Using quality ingredients makes a big difference in the final result. I always reach for a real vanilla extract to round out the sweetness of the marshmallows. These simple components come together to create a complex flavor profile that feels much more sophisticated than a standard chocolate chip cookie.
Simple Steps to S’mores Success
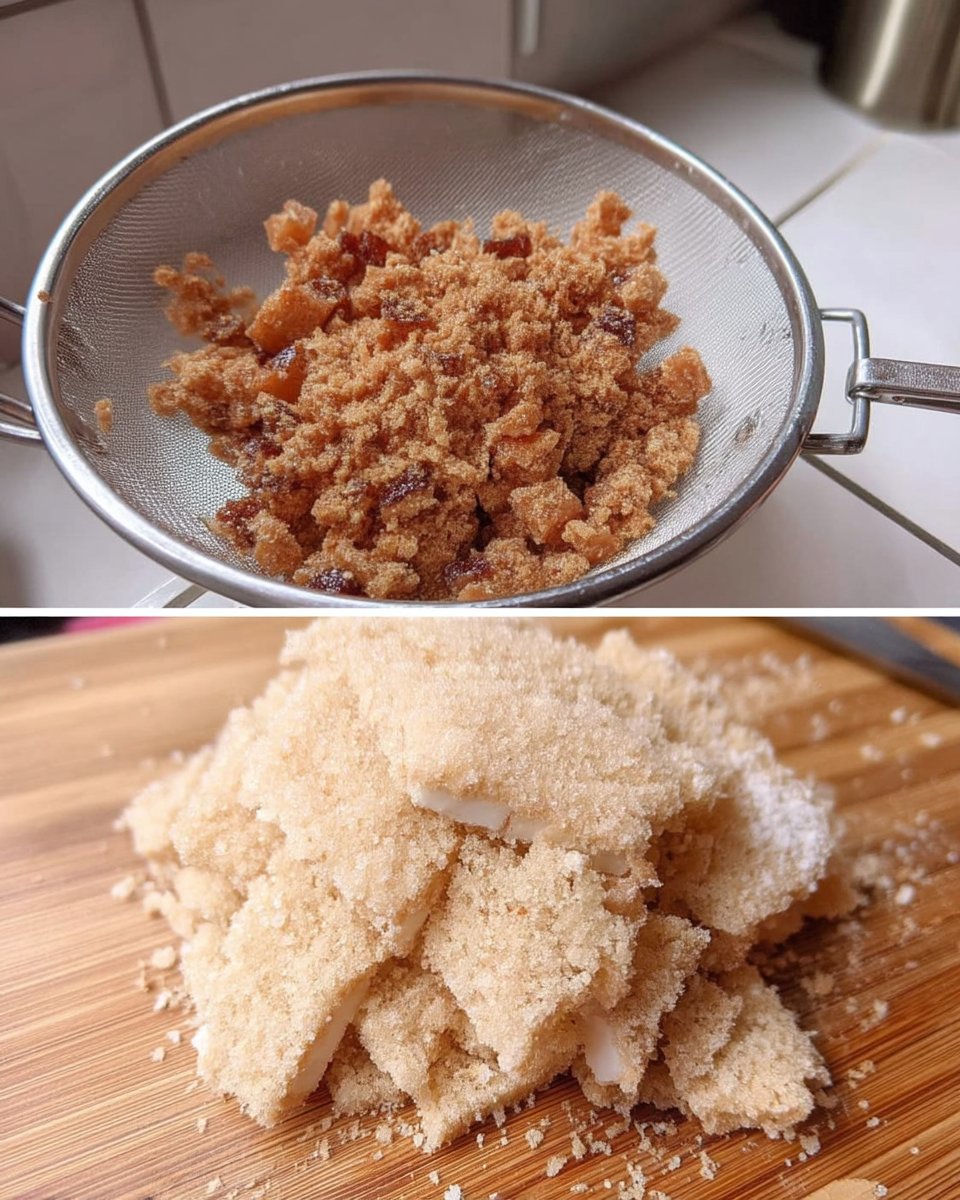
Step 1: Prep the Mix-ins
Start by roughly chopping your graham crackers and the Hershey’s chocolate bar. You want various sizes to create different textures in the finished cookie. Tear your mini marshmallows in half; this prevents them from getting out of control in the oven and creates more gooey contact points in the dough.
Step 2: Whisk the Dry Ingredients
In a medium bowl, combine your all-purpose flour, salt, baking powder, baking soda, and cornstarch. Whisk these together thoroughly to make sure the leavening agents are evenly distributed. This step helps prevent any lumps and makes for a more consistent rise across the entire batch.
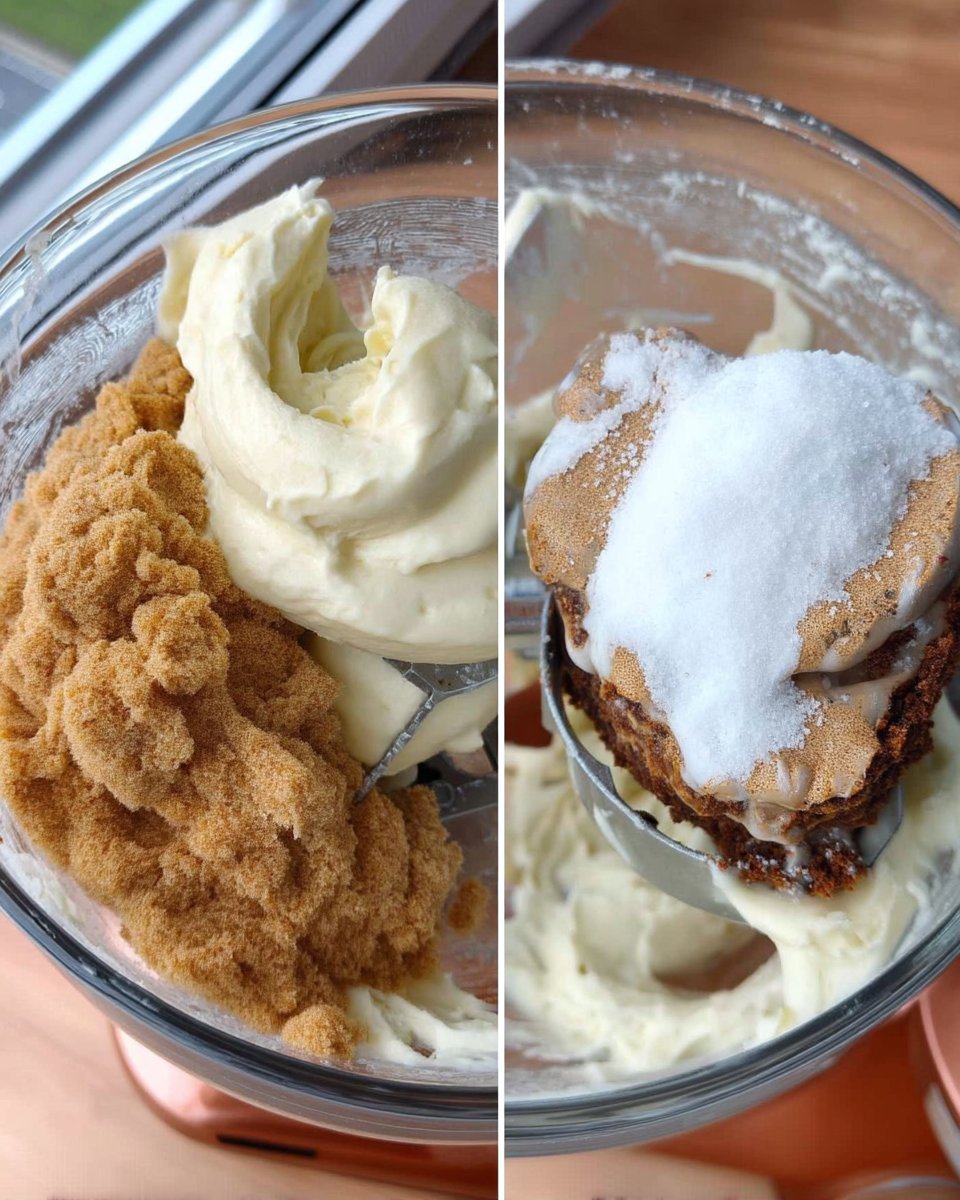
Step 3: Cream the Butter and Sugars
Using your stand mixer or a hand mixer, beat the softened butter with both the granulated and light brown sugars. You want to mix this for about two minutes until the mixture looks light, fluffy, and creamy. This aeration is what gives the cookies their wonderful texture.
Step 4: Incorporate Wet Ingredients
Add the egg and the vanilla extract to your butter mixture. Beat again until everything is well combined, then scrape down the sides of the bowl with a spatula. This makes sure every bit of the dough is flavored and consistent before the flour goes in.
Step 5: Add the Flour Mixture
Turn your mixer to the lowest speed and gradually add in the dry ingredients. Mix only until the white streaks of flour disappear. Over-mixing at this stage can lead to tough cookies, so keep it quick and gentle to maintain that soft crumb we love.
Step 6: Fold in the Magic
Reserve a small handful of your marshmallows and chocolate pieces for later. Gently fold the remaining marshmallows, chocolate chips, and graham cracker pieces into the dough. Doing this by hand or on the lowest mixer setting protects the integrity of the graham cracker chunks.
Step 7: Chill and Portion
Cover the dough and let it rest in the refrigerator for at least one hour. This step is vital for preventing the cookies from spreading too much and helps the flavors meld. Once chilled, portion out two-tablespoon sized balls and place them on your parchment-lined baking sheet.
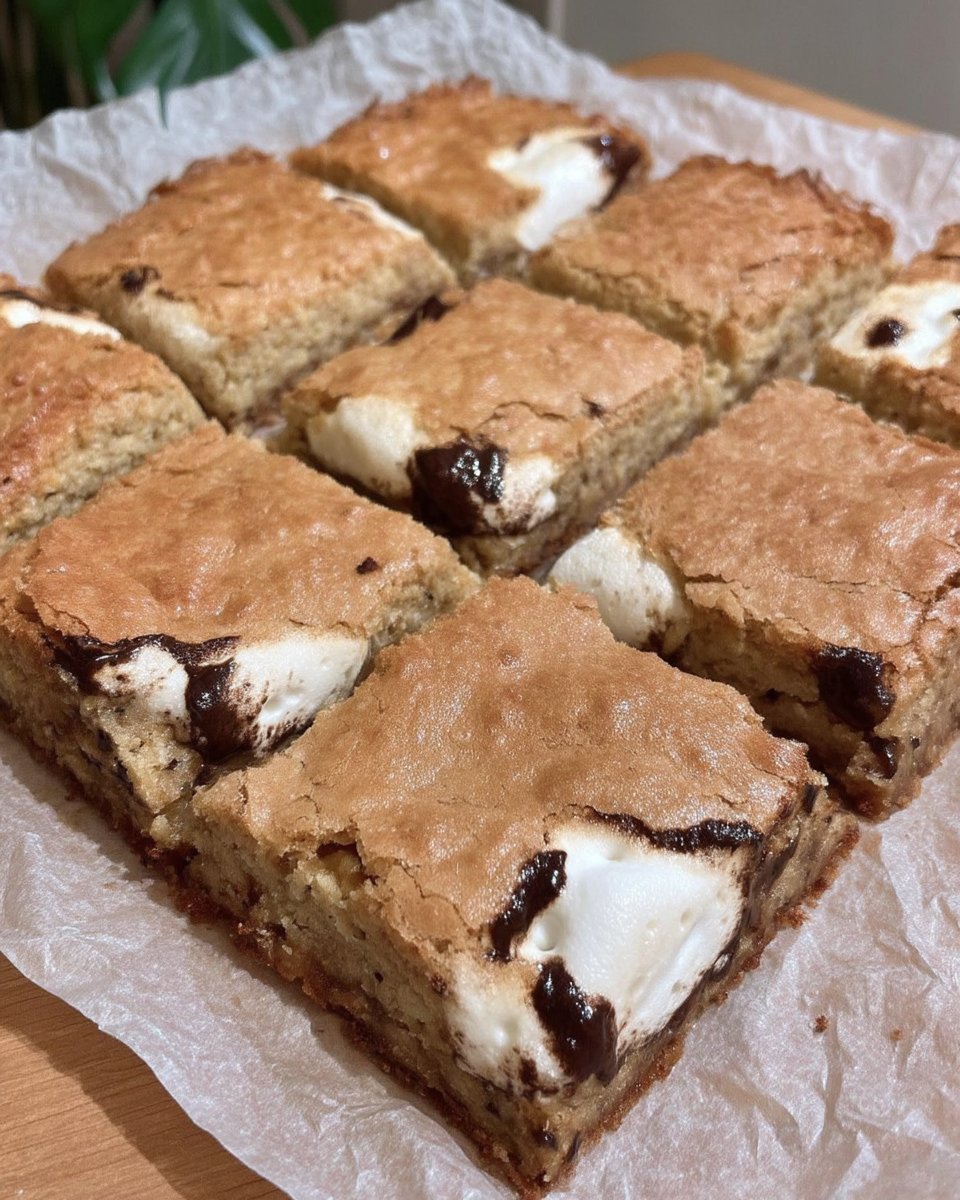
Step 8: The Two-Stage Bake
Bake at 350°F for 8 minutes. Remove the pan and quickly press your reserved marshmallow and Hershey’s pieces into the tops of the warm cookies. Return them to the oven for another 2 to 3 minutes. This method gives you those beautiful, visible toppings that look just like a real s’more.
Meagan’s Time-Saving Tips
One of the best ways to handle the sticky marshmallow situation is to use a circle-shaped cookie cutter. If you experience a ‘marshmallow blowout’ where the sugar melts and spreads, simply place the cutter over the hot cookie and move it in a circular motion to corral the edges back into a perfect round shape. It works like magic every time.
To save even more time during the holidays, you can look at our Classic Cookie Recipes to see how these techniques apply to other heritage bakes. Always use a kitchen scale for your flour if possible. If you don’t have one, the ‘spoon and level’ method is the next best thing to prevent dry, crumbly cookies. Remember that letting the cookies cool completely on the baking sheet is a required step; they need that time to firm up so they don’t fall apart when you pick them up.
Quick Twists on a Favorite
If you want a deeper flavor, try using dark chocolate chunks instead of the traditional milk chocolate bar. This adds a sophisticated bitterness that balances the sweet marshmallow perfectly. You can also swap the plain graham crackers for cinnamon-coated ones to add a warm, spicy note to the dough that feels very cozy in the autumn months.
For those who love a salty-sweet combo, a light sprinkle of flaky sea salt on top right after baking changes the whole experience. If you are baking for a special event, check out our Holiday Cookie Celebrations for ideas on how to add festive sprinkles or themed chocolates to this base. You can even stir in a tablespoon of cocoa powder to the dry ingredients to turn these into double chocolate s’mores cookies.
Modern Ways to Enjoy
These cookies are the ultimate treat for a busy family. They pack perfectly into school lunchboxes or make for a wonderful after-school snack with a cold glass of milk. If you want to get creative, try using two of these cookies to create a decadent ice cream sandwich filled with toasted marshmallow or vanilla bean ice cream.
When hosting a casual get-together, I like to serve these on a wooden platter to lean into that rustic campfire vibe. For more inspiration on quick bakes, visit our Quick & Easy Cookies section. You can also find great visual inspiration for similar treats on the Preppy Kitchen site, which features many wonderful American dessert classics. These are best served slightly warm so the chocolate is still soft and the marshmallows are gooey.
Heritage Rediscovered
Making Smore Cookies is about more than just a sweet treat; it is about bringing those slow, campfire memories into our fast-paced modern lives. This recipe honors the flavors of the past while respecting the time constraints of the present. I hope these become a new tradition in your home, bringing a little bit of warmth and nostalgia to your kitchen whenever you need it most.
If you want to make these look even more festive for a party, you can look at our guide on Cookie Decorating Traditions for inspiration. Don’t forget to share your baking results with us on social media! We love seeing how these recipes come to life in your kitchens. Keep baking and enjoying those simple, classic moments.
Follow us for more recipes:
