There is nothing more disappointing than reaching into a cookie jar on day three and finding a collection of dry, crumbly disks that once promised joy. I remember my grandmother’s recipes fondly, but even her legendary bakes suffered from the inevitable staleness that plagues traditional butter-sugar ratios. This version of Soft Batch Cookies solves that heritage heartache by focusing entirely on moisture retention and a tender, pillowy crumb that lasts for an entire week.

By understanding how certain sugars and fat states interact with heat, we can create a cookie that feels fresh-baked even days after it leaves the oven. These are not your typical thin, crispy chocolate chip cookies; they are thick, dense, and remarkably soft, offering a satisfying chew that makes them the ultimate companion for a cold glass of milk. I have refined the classic proportions to ensure that the texture remains jar-fresh and reliable every single time you bake.
Why This Recipe Stays Perfect for Days
You will love this recipe because it addresses the number one complaint in home baking: the shelf life of the texture. Most cookies are wonderful for the first hour, but these Soft Batch Cookies are designed to be even better once they have had a chance to set and soften further. The use of melted butter and a higher ratio of brown sugar creates a hygroscopic effect, meaning the cookies actually pull moisture from the air to stay tender.
Another reason to treasure this recipe is the simplicity of the process. You do not need to wait for butter to soften on the counter for hours; we use barely-melted butter to kickstart the chewy texture immediately. The result is a cookie that feels substantial and indulgent without being overly greasy or sweet. It is a reliable classic that honors the vintage flavor of a traditional chocolate chip cookie while benefiting from modern texture science to prevent that dreaded day-two dryness.
Print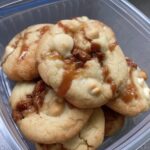
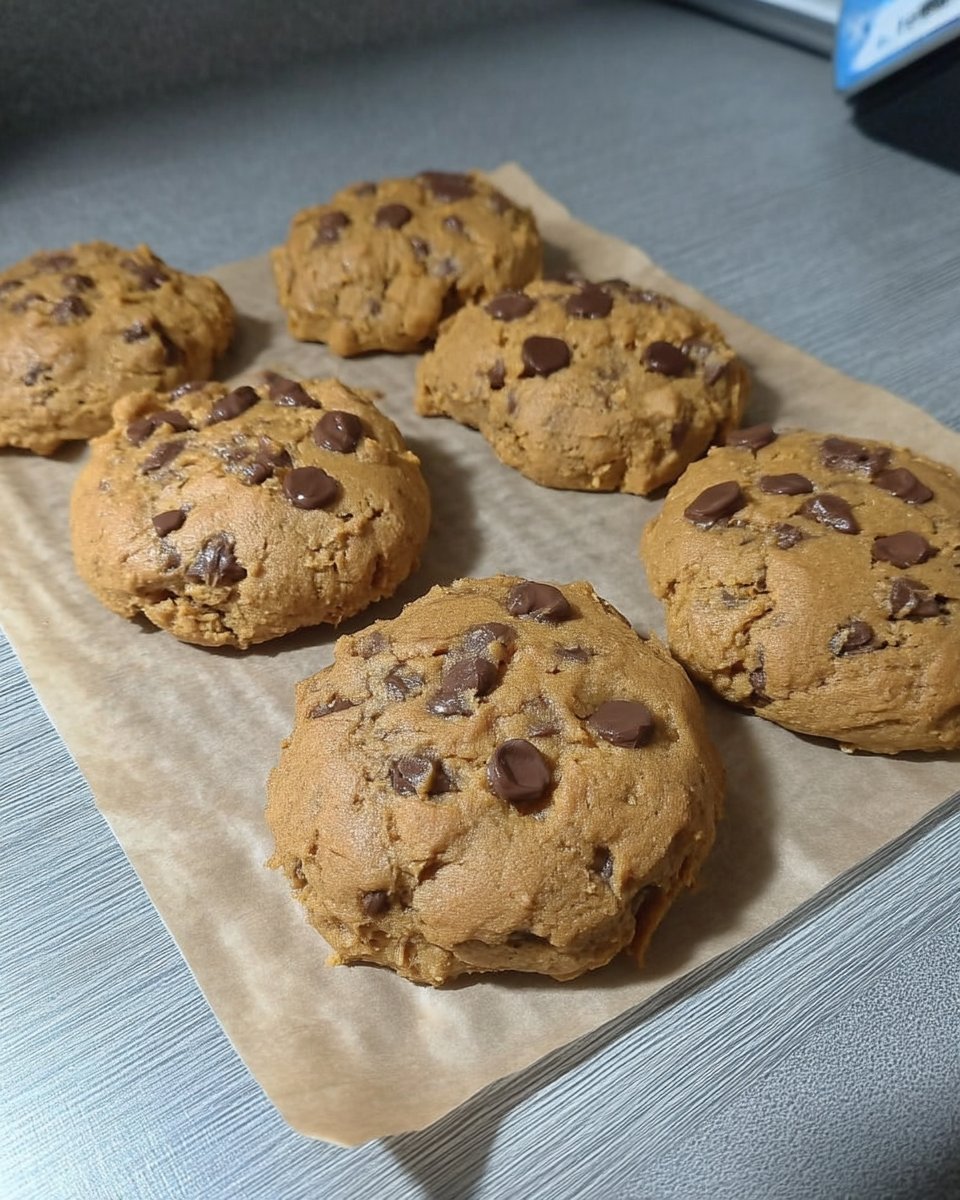
Soft Batch Cookies
- Total Time: 55 mins
- Yield: 12 cookies
- Diet: Vegetarian
Description
These thick, pillowy cookies use barely-melted butter and a high ratio of brown sugar to ensure a tender texture that lasts for days. Perfect for those who crave a dense, bakery-style treat that stays fresh and chewy long after baking.
Ingredients
- 8 tablespoons (113g) salted butter, barely melted
- 1/2 cup raw cane sugar
- 1/4 cup packed light brown sugar
- 1 teaspoon vanilla extract
- 1 large egg
- 1 1/2 cups (190g) all-purpose flour
- 1/2 teaspoon baking soda
- 1/2 teaspoon salt
- 3/4 cup chocolate chips and chunks
Instructions
- Preheat your oven to 350 degrees Fahrenheit (175 degrees Celsius) and microwave the salted butter for approximately 40 seconds until almost entirely liquid.
- Using a stand mixer or electric beaters, combine the melted butter with the raw cane sugar and light brown sugar, beating for about one minute until creamy.
- Add the vanilla extract and the egg, then beat on a low speed for only 10 to 15 seconds to avoid over-aerating the dough.
- Add the flour, baking soda, and salt, mixing on low until crumbles form, then use your hands to press the mixture into a cohesive ball.
- Fold in the chocolate chips and chunks by hand to ensure even distribution without overworking the gluten.
- Roll the dough into 12 large balls and place them on a cookie sheet with ample spacing.
- Bake for 9 to 11 minutes until the tops look puffy and pale; do not wait for them to turn golden brown.
- Let the cookies rest on the hot baking sheet for at least 30 minutes to allow the centers to set properly.
Notes
To ensure the most accurate texture, measure your flour by weight rather than volume to prevent adding too much. Always store these cookies in an airtight container immediately after they have cooled to lock in the moisture from the brown sugar.
- Prep Time: 15 mins
- Cook Time: 10 mins
- Category: Dessert
- Method: Baking
- Cuisine: American
The Essentials for Pillowy Softness
To achieve the perfect Soft Batch Cookies, we must be intentional about every ingredient. Each component plays a specific role in how the dough hydrates and how the final crumb structure forms.
- Salted Butter: We use 8 tablespoons (113g), barely melted. Melting the butter changes the fat’s interaction with the flour, promoting a chewier, denser texture rather than the airy, cake-like texture of creamed butter.
- Raw Cane Sugar: Using 1/2 cup of raw cane sugar provides a slight textural contrast and a deeper flavor than standard white sugar, while still allowing the edges to set properly.
- Packed Light Brown Sugar: This 1/4 cup is the secret to moisture. The molasses in brown sugar keeps the cookies soft and prevents them from drying out in the jar.
- Vanilla Extract: A full teaspoon provides the aromatic backbone that makes these smell like a professional bakery.
- All-Purpose Flour: We use 1 1/2 cups (approximately 6.75 ounces or 190g). Measuring by weight is the best way to avoid adding too much flour, which is the leading cause of hard cookies.
- Baking Soda and Salt: These provide the lift and flavor balance. I always add a little extra salt to contrast the sweetness of the chocolate.
- Chocolate Mix: A combination of 3/4 cup chocolate chips and chunks ensures that you get different melting points and textures in every single bite.
How to Master the Soft Batch Method
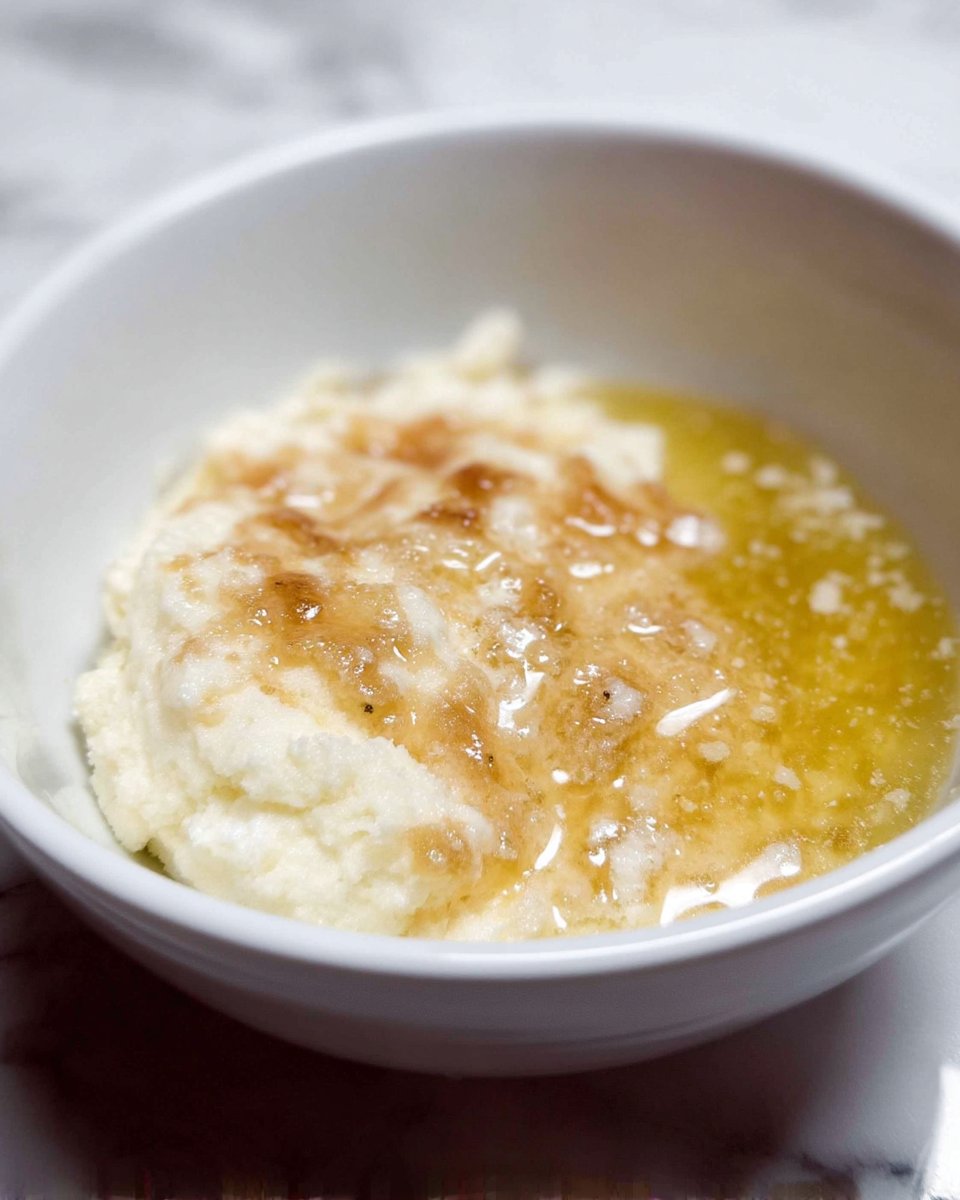
Step 1: Prep and Melt
Preheat your oven to 350 degrees Fahrenheit (175 degrees Celsius). Take your salted butter and microwave it for approximately 40 seconds. You want it to be almost entirely liquid but not hot or bubbling. This specific temperature range is vital for the fat to incorporate into the sugars without cooking the egg later in the process.
Step 2: Creaming the Sugars
In a stand mixer or using electric beaters, combine the melted butter with the raw cane sugar and light brown sugar. Beat them until the mixture looks creamy and well-combined. This should take about a minute. Add the vanilla extract and the egg, then beat on a low speed for only 10 to 15 seconds. It is essential not to overbeat at this stage; if you incorporate too much air into the egg, the cookies will turn out stiff and cakey rather than soft and dense.
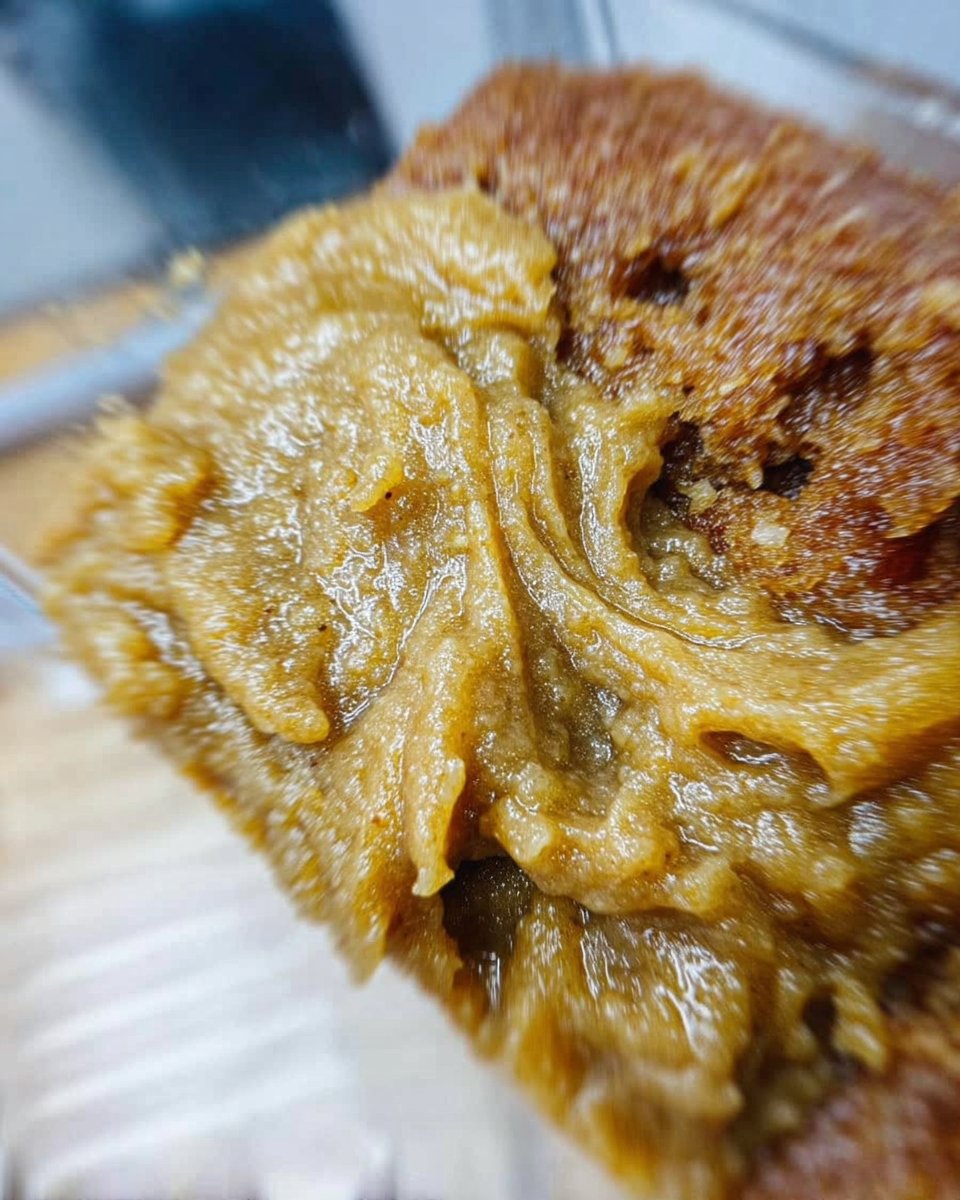
Step 3: Forming the Dough
Add your flour, baking soda, and salt to the wet mixture. Mix on low until crumbles begin to form, then stop the mixer. Use your hands to gently press the crumbles together until they form one large, cohesive ball of dough. The dough should feel easy to handle—somewhere between wet and dry. Fold in your chocolate chips and chunks by hand to ensure they are evenly distributed without overworking the gluten in the flour.
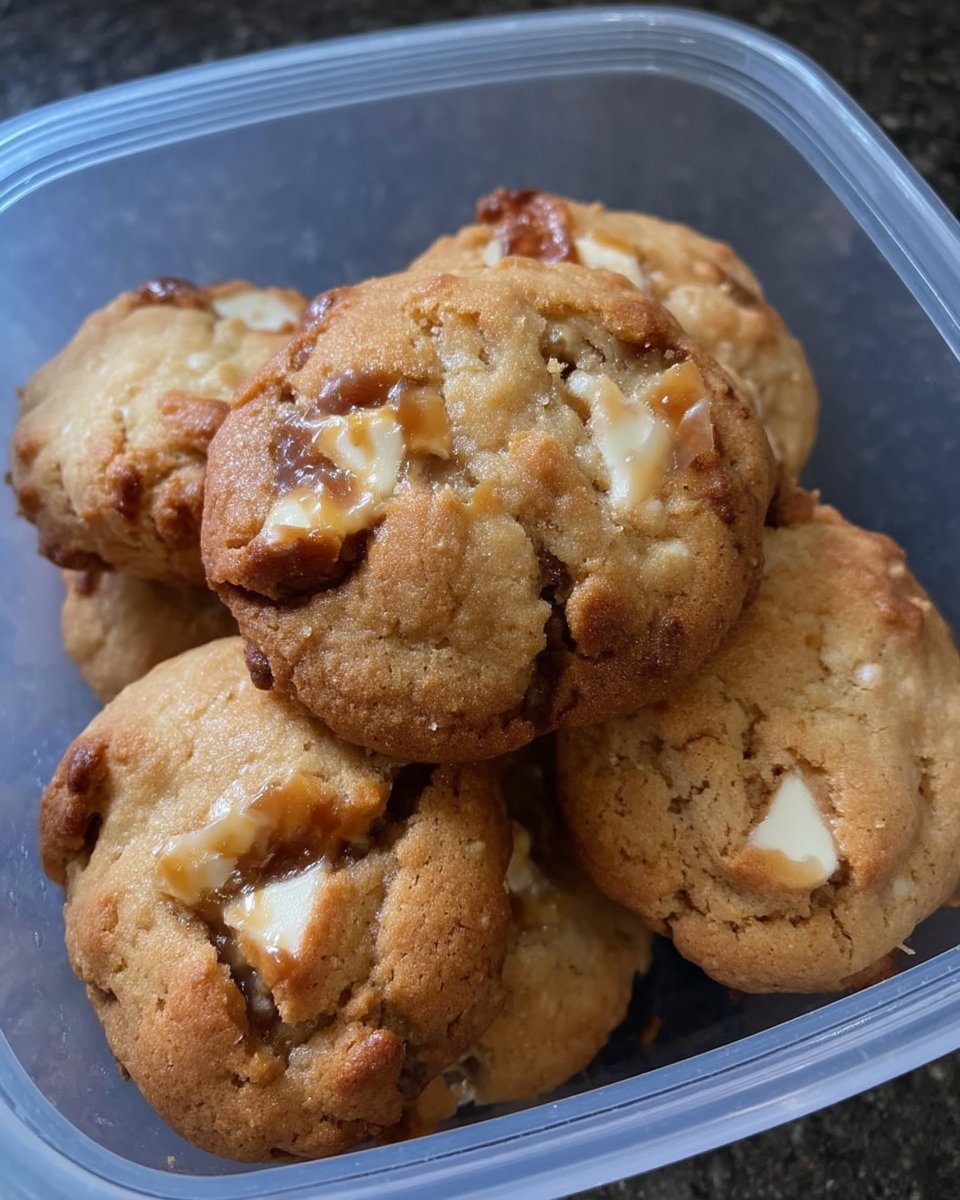
Step 4: The Large Scoop and Bake
Roll the dough into 12 large balls for standard sizes, or 9 balls if you want truly impressive, bakery-style treats. Place them on a cookie sheet with plenty of space between them. Bake for 9 to 11 minutes. The most important rule is to do not overbake. Take them out when they still look puffy, pale, and slightly dry on top. They may look underdone, but this is the key to the soft batch finish.
Step 5: The Essential Cool Down
Let the cookies rest on the hot baking sheet for at least 30 minutes. This carry-over cooking time allows the centers to set while the cookies sink down into their final, dense, buttery form. Resisting the urge to eat them immediately (though having one or two is allowed!) ensures the texture is perfect for long-term storage.
Mehmet’s Secrets for Lasting Freshness
The biggest mistake home bakers make with Soft Batch Cookies is leaving them in the oven until they look ‘golden brown.’ In this specific recipe, golden brown means they will be crunchy the next day. You want them to look almost white and puffy when you pull them out. For more ideas on how to manage your time in the kitchen, check out our Quick & Easy Cookies section.
Another pro tip is to use high-quality chocolate. Because the cookie base is so tender, the quality of the chocolate really stands out. Many bakers find that the best soft chocolate chip cookies rely on a mix of dark and milk chocolate to create a complex flavor profile. Finally, always store these in an airtight container as soon as they are fully cooled to lock in that moisture.
Texture and Flavor Tweaks
While this recipe is a classic, you can easily adapt it for different occasions. If you prefer an even deeper chew, try replacing one tablespoon of the white sugar with an extra tablespoon of molasses. This intensifies the ‘soft batch’ feel and gives the cookies a darker, richer color. For those looking for more mindful swaps, you can visit our Wholesome Cookie Options for ideas on incorporating different grains without losing that signature softness.
You can also experiment with the inclusions. Instead of chocolate chips, try chopped pecans and white chocolate, or even dried cranberries and orange zest. As long as you maintain the butter and sugar ratios, the base dough will remain tender and jar-fresh regardless of what you stir in at the end.
How to Enjoy Your Soft Batch Treats
These cookies are best served at room temperature once they have fully set, but they are also incredible when warmed slightly. Serving them with a cold glass of whole milk is the traditional way to enjoy the rich, buttery flavor. If you are preparing these for a gift or a party, they look beautiful stacked in a vintage glass jar with a simple ribbon. For more inspiration on serving styles, see our Classic Cookie Recipes gallery.
For a more indulgent dessert, you can use two of these cookies to create a soft-batch ice cream sandwich. Because the cookies don’t get rock-hard when frozen, they remain bite-able even when paired with cold vanilla bean ice cream. This makes them a favorite for summer gatherings and family potlucks where you want a reliable dessert that everyone will love.
Keeping the Tradition Soft and Fresh
Perfecting the Soft Batch Cookies recipe has been a journey of respecting the past while using better techniques to ensure every bite is as good as the first. No one should have to settle for a dry cookie, and with these simple adjustments to your baking method, you can ensure your cookie jar remains a source of constant comfort. For more festive ideas, explore our Holiday Cookie Celebrations to see how we apply these texture secrets to seasonal bakes. I would love to see your results, so please share your baking photos with me on Pinterest and Instagram. Happy baking, and may your cookies always stay tender!
