Many vintage recipes produce cookies that are wonderful for an hour but turn into tooth-chipping bricks by the next morning. I spent years adjusting my family’s heritage dough to ensure that “jar-fresh” feeling lasts for days. This version of soft batch cookies solves the dry cookie problem once and for all by focusing on moisture retention and specific fat temperatures.

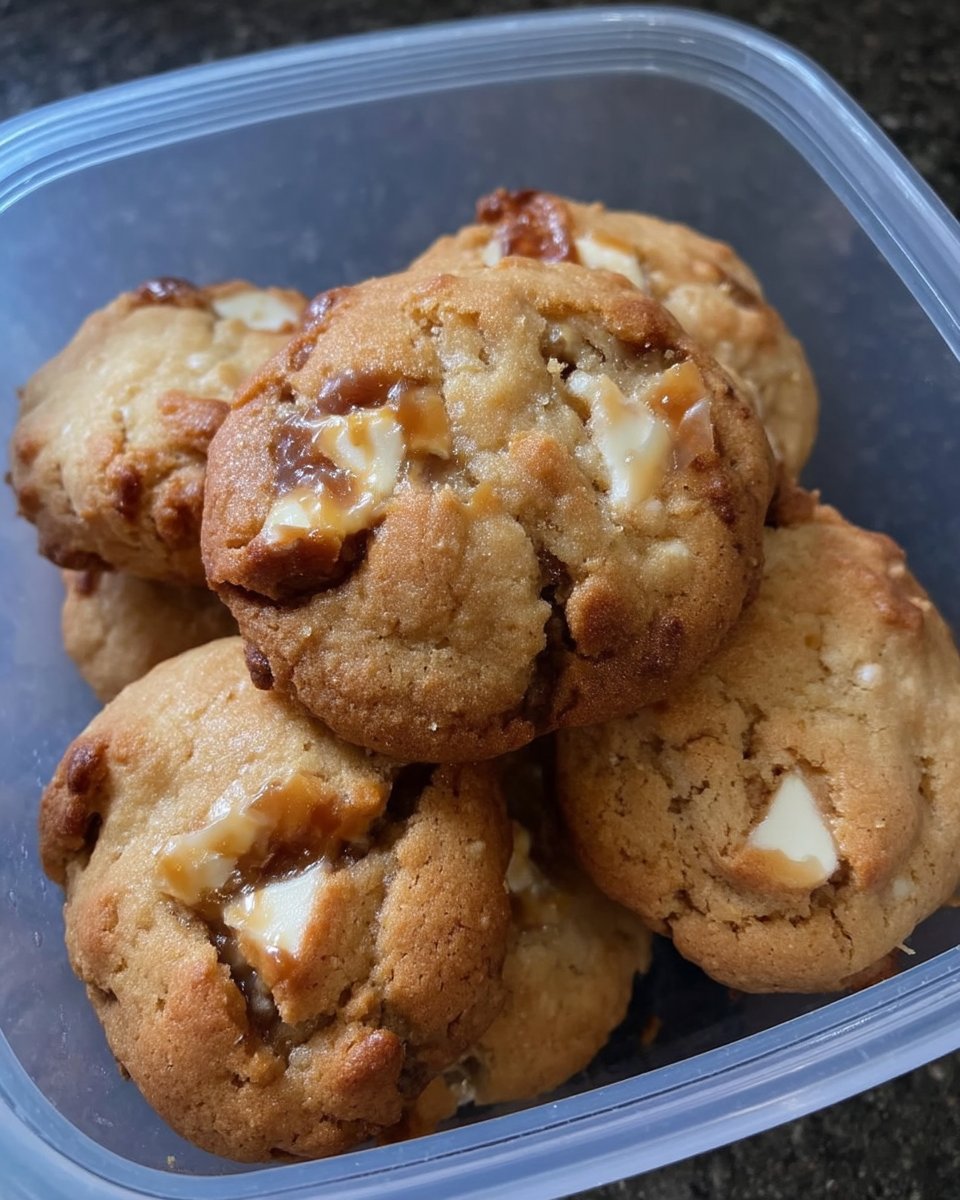
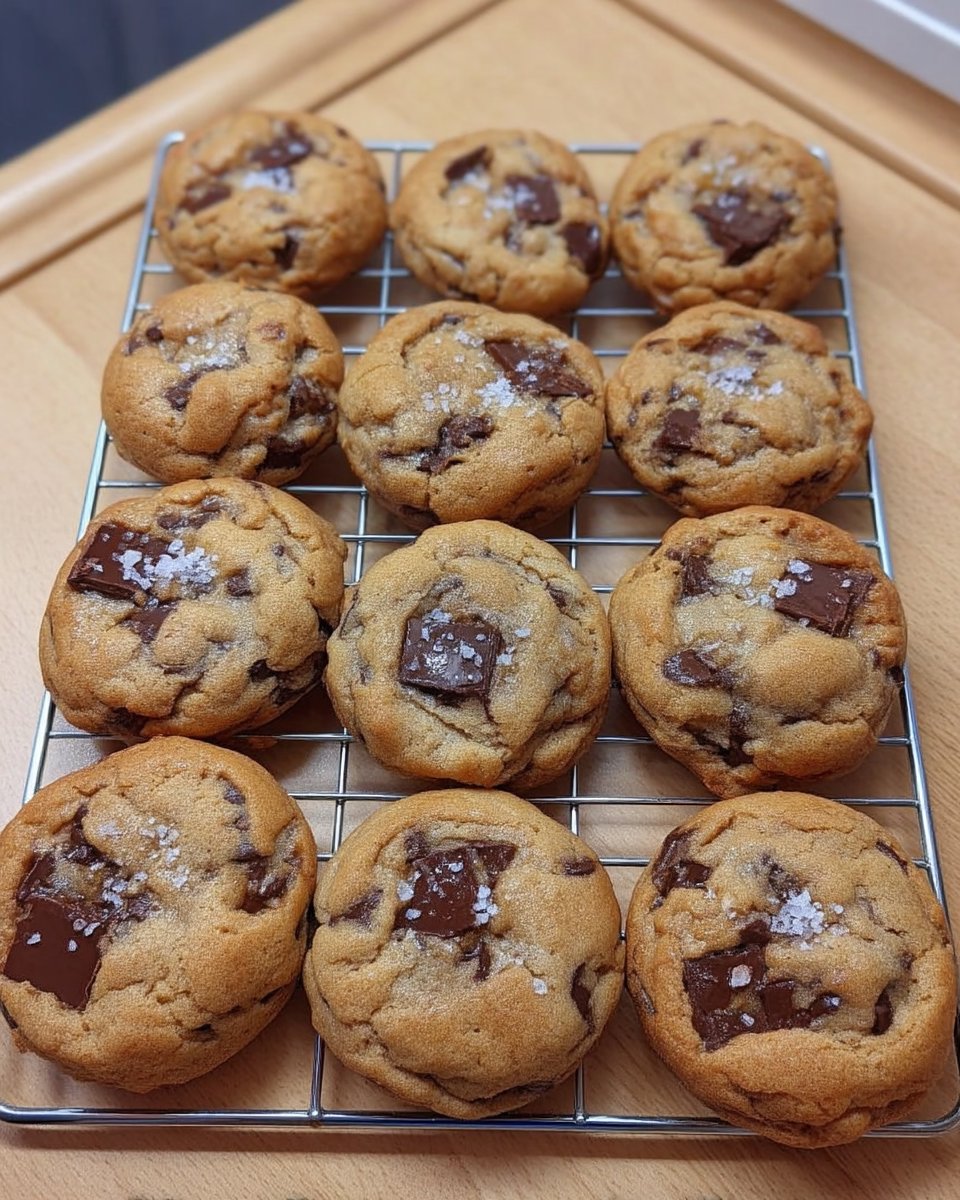
These cookies are thick, pale, and incredibly tender thanks to a unique butter-melting technique and a specific flour-to-fat ratio. By barely melting the butter and avoiding over-mixing, we create a texture that mimics those famous store-bought soft batches but with real, wholesome ingredients. They stay soft for a full week when stored correctly in your favorite cookie jar.
The Secret to Cookies That Stay Soft for Days
You will love these because they actually live up to the promise of being “soft batch.” Most recipes result in a cookie that is crispy on the edges and soft in the middle for about twenty minutes. These, however, maintain a uniform, cloud-like tenderness from the very first bite to the last one a week later.
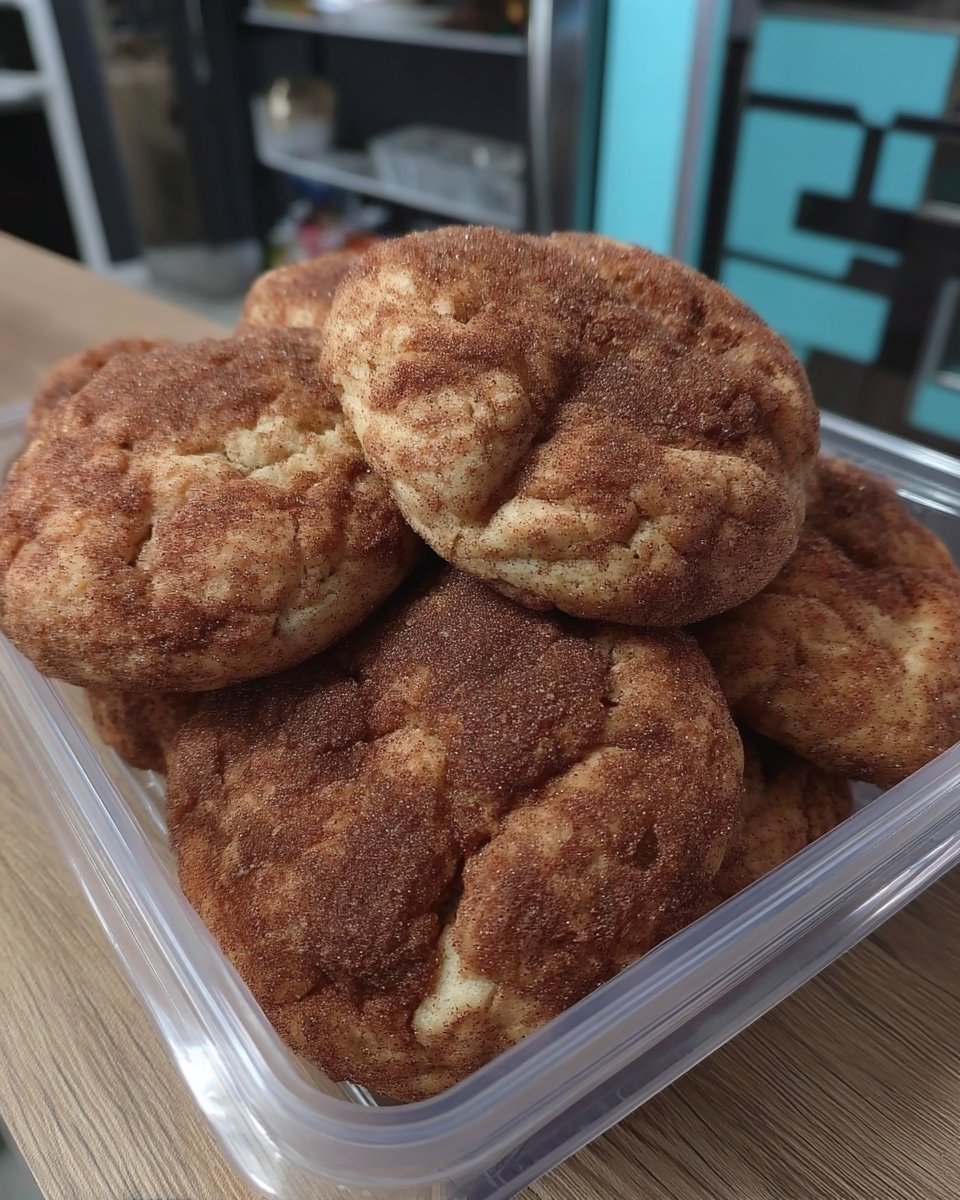
We achieve this by ignoring some traditional creaming methods and focusing on the science of moisture. By using salted butter that is just barely melted, we create a dense, fudgy base that resists drying out. The addition of raw cane sugar provides a slight textural contrast without sacrificing the overall softness. It is a heritage flavor profile with a modern texture tweak that makes every bite feel like it just came out of the oven.
These cookies are perfect for shipping to loved ones or filling a jar for a busy week. You won’t have to worry about them going stale by day three. They are reliable, comforting, and designed for those of us who believe a cookie should be as soft as a pillow.
Print
Soft Batch Cookies
- Total Time: 55 mins
- Yield: 12 cookies
- Diet: Vegetarian
Description
These decadent treats utilize a unique melted butter technique to ensure a thick, tender texture that resists going stale. Perfect for filling your cookie jar, these soft batch favorites maintain their cloud-like consistency for a full week.
Ingredients
- 8 tablespoons (113g) salted butter, melted and cooled slightly
- 1/2 cup raw cane sugar
- 1/4 cup packed light brown sugar
- 1 teaspoon pure vanilla extract
- 1 large egg
- 1 1/2 cups (190g) all-purpose flour
- 1/2 teaspoon baking soda
- 1/4 teaspoon salt plus a pinch
- 3/4 cup chocolate chips and chunks
Instructions
- Preheat your oven to 350°F (175°C) and melt the butter until liquid but not hot.
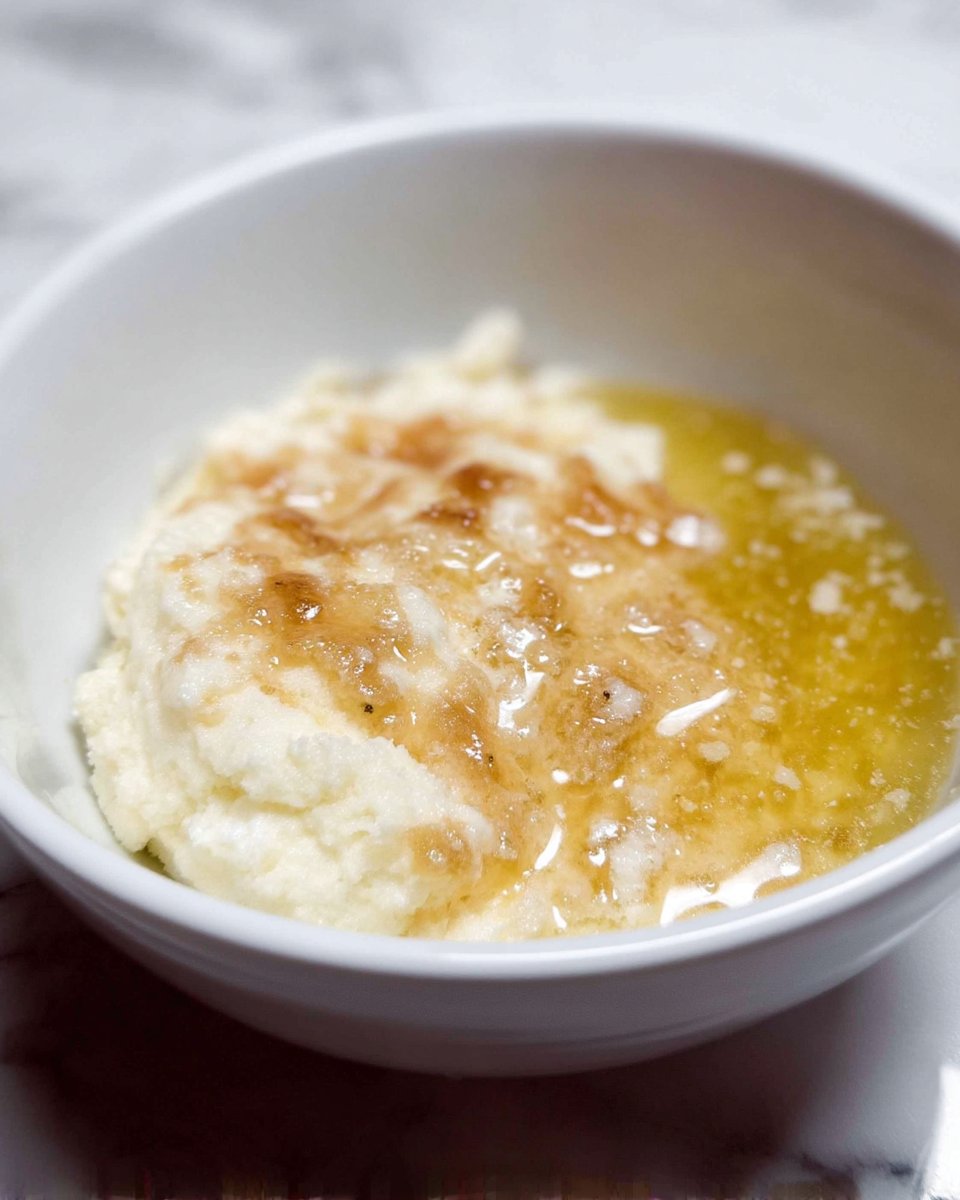
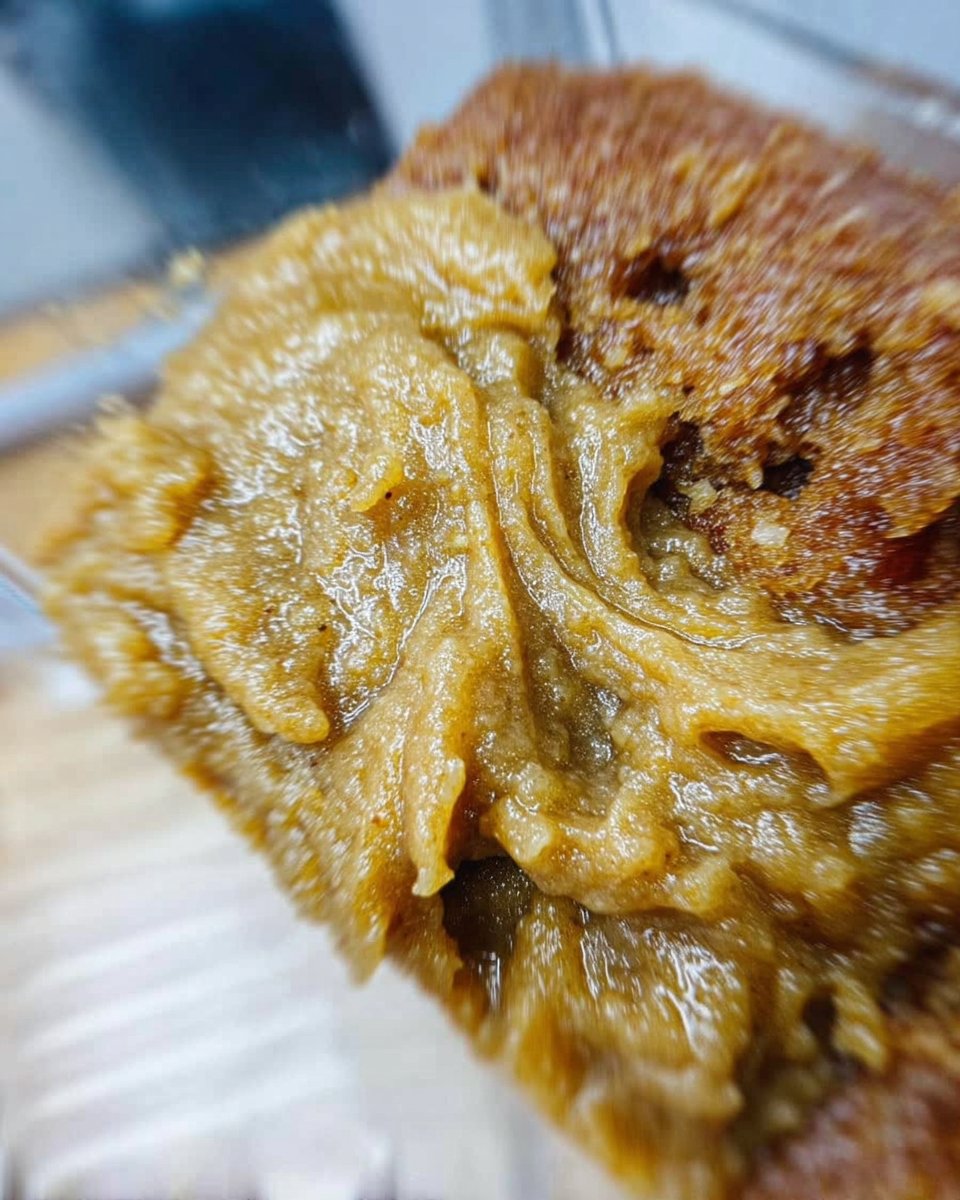
- Mix the melted butter with the cane sugar and brown sugar until a thick paste forms.
- Stir in the vanilla and egg on low speed for only 10–15 seconds until just combined.
- Incorporate the flour, baking soda, and salt, mixing until crumbles form, then press the dough together by hand.
- Fold in the chocolate pieces and roll the dough into 12 large balls.
- Bake for 9–11 minutes until pale and puffy, then let them rest on the hot baking sheet for 30 minutes to set.
Notes
For the best texture, avoid over-mixing the dough once the flour is added; hand-pressing the final crumbles prevents the gluten from toughening. Store these in an airtight container only after they have cooled completely to lock in that signature moisture.
- Prep Time: 15 mins
- Cook Time: 10 mins
- Category: Dessert
- Method: Baking
- Cuisine: American
The Foundation of a Perfect Soft Batch
To get that elusive soft batch texture, every ingredient serves a specific purpose for moisture and density. We aren’t just looking for flavor; we are looking for ingredients that hold onto water during the baking process.
- Salted Butter (8 tablespoons / 113g): This is the heart of the recipe. We don’t cream cold butter here. By melting it to a liquid state (but not hot), we prevent too much air from being whipped in. This leads to a denser, softer cookie rather than a cakey or crispy one.
- Raw Cane Sugar (1/2 cup): I prefer raw cane sugar for the depth of flavor it provides. It has a slightly coarser grain which helps provide a tiny bit of structure to the otherwise very soft dough.
- Packed Light Brown Sugar (1/4 cup): This is our moisture magnet. The molasses in brown sugar is hygroscopic, meaning it pulls moisture from the air and keeps the cookies tender for days.
- Pure Vanilla Extract (1 teaspoon): A high-quality vanilla is essential. It rounds out the buttery notes and connects the sugars to the chocolate.
- Large Egg (1 unit): The binder. We treat the egg very gently in this recipe to avoid developing too much protein structure, which can lead to a tough cookie.
- All-Purpose Flour (1 1/2 cups / 190g / 6.75 ounces): This specific measurement is crucial. Too much flour and they become bready; too little and they spread into a puddle. Using a scale for 6.75 ounces is the best way to ensure consistency.
- Baking Soda (1/2 teaspoon): This provides just enough lift to make them puffy without making them crisp.
- Extra Salt (1/4 teaspoon + a pinch): I always add a little extra salt to balance the richness of the melted butter and the sweetness of the chips.
- Chocolate Chips & Chunks (3/4 cup): Using a mix of chips and hand-cut chunks ensures that every bite has a different chocolate experience.
How to Master the Soft Batch Method
Step 1: Prepare Your Kitchen and Butter
Preheat your oven to 350 degrees Fahrenheit (175 degrees Celsius). Take your salted butter and place it in a microwave-safe bowl. Heat it for about 40 seconds. You want it to be almost entirely liquid, but it should not be bubbling or hot to the touch. This “warm but not hot” liquid state is the first secret to the soft batch texture.
Step 2: Combine Fats and Sugars
Using a stand mixer or a sturdy hand mixer, beat the melted butter with the raw cane sugar and light brown sugar. Since the butter is liquid, you aren’t “creaming” it in the traditional sense, but rather creating a thick, grainy paste. This ensures the sugars are well-distributed without adding excess air.
Step 3: The Gentle Egg Incorporation
Add the vanilla and the egg to the mixture. Turn your mixer to the lowest possible speed and beat for only 10 to 15 seconds. This is a critical step. If you beat the egg for too long, you will create a structured, stiff cookie. We want to stop as soon as the yellow of the egg disappears into the batter.
Step 4: Building the Dough
Add the flour, baking soda, and salt to the bowl. Mix on low until crumbles begin to form. Once the flour is mostly incorporated, stop the mixer. Use your hands to press the crumbles together. The dough should feel like soft playdough—not sticky enough to cling to your fingers, but not so dry that it cracks. Fold in your chocolate chips and chunks by hand.
Step 5: Shaping and Baking
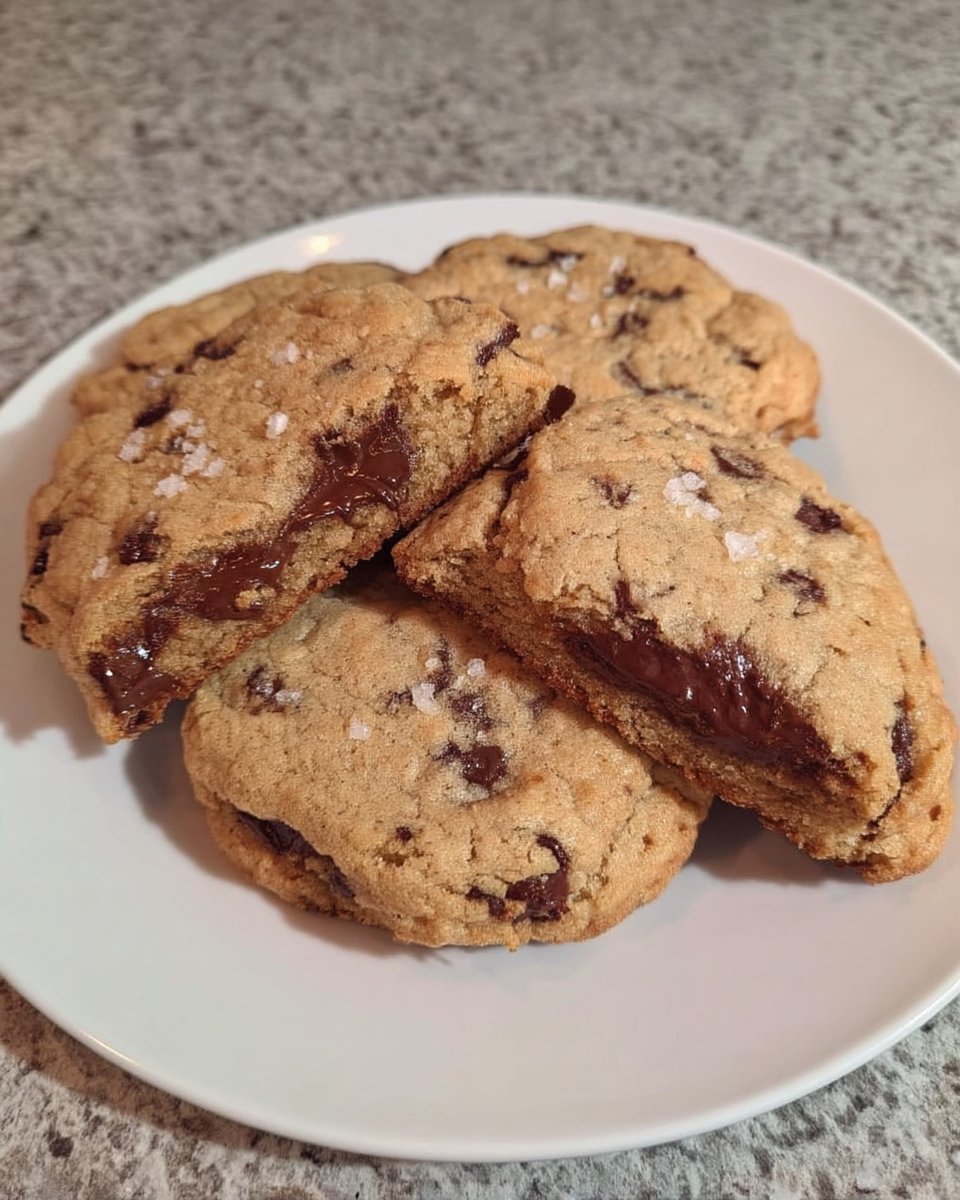
Roll the dough into 12 large, uniform balls. If you want truly massive cookies, you can divide the dough into 9 balls instead. Place them on a cookie sheet with plenty of space between them. Bake for 9 to 11 minutes. The cookies will look pale, puffy, and slightly dry on the surface. They may look underdone in the center, but that is exactly what you want.
Step 6: The Essential Cooling Period
Remove the pan from the oven and leave the cookies on the hot sheet for at least 30 minutes. During this time, the carryover heat finishes the centers while the cookies “sink” down into a dense, buttery disc. This cooling phase is what transforms a puffy ball of dough into a perfect soft batch cookie.
Mehmet’s Secrets for Lasting Softness
The most common mistake bakers make with this recipe is waiting for the cookies to look “done” in the oven. If they look golden brown all over, they are already overbaked and will be hard by tomorrow. You must pull them out while they are still pale and look slightly fragile. They will firm up as they cool on the pan. Another secret is the storage; always wait until the cookies are completely cool before placing them in a container. For more advice on quick baking techniques, check out our guide on Quick & Easy Cookies. Also, if you find your dough is too sticky, chill it for 15 minutes before rolling, but usually, the flour ratio in this recipe prevents that problem.
Flavor Tweaks While Keeping the Chew
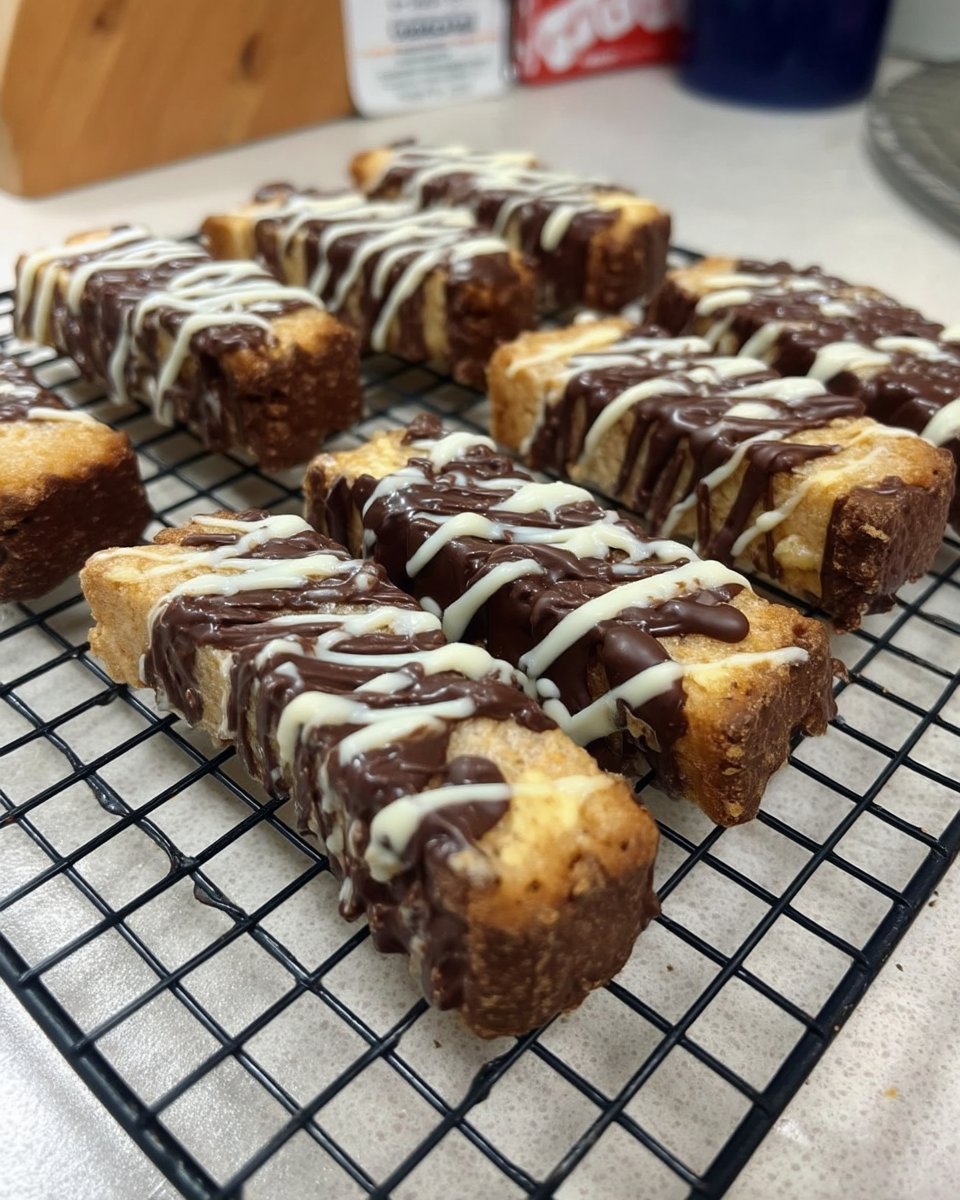
You can easily adapt this base dough for different occasions. If you want a deeper, more caramel-like flavor, swap the light brown sugar for dark brown sugar and add a half-teaspoon of molasses. For a festive twist, use white chocolate chips and dried cranberries, which add a nice tartness to the soft dough. You can find more inspiration for seasonal treats in our Holiday Cookie Celebrations section. If you prefer a nuttier profile, toasted pecans or walnuts can be added alongside the chocolate chunks, just ensure they are chopped finely so they don’t disrupt the soft structure of the bite.
How to Enjoy Your Jar-Fresh Treats
These cookies are best served at room temperature once they have had time to set. I love keeping a full jar on the counter for family to grab throughout the week. For a truly indulgent experience, pair a soft batch cookie with a cold glass of milk or a warm cup of coffee. If you are planning a larger dessert spread, these cookies fit perfectly alongside other Classic Cookie Recipes. If you want to recreate that “straight from the oven” feel days later, simply pop a cookie into the microwave for five seconds. The chocolate will soften, and the dough will become incredibly tender again.
The Final Word on Soft Texture
Creating a cookie that resists the passage of time doesn’t require chemicals; it just requires a bit of texture science and a respect for the ingredients. By following this melted butter method, you can ensure your cookie jar remains a source of joy rather than a collection of dry biscuits. For those looking for even more mindful baking ideas, be sure to browse our Wholesome Cookie Options. You can also find a similar approach to texture in this guide for The Best Soft Chocolate Chip Cookies. Happy baking, and may your cookies always stay soft! Be sure to follow us on Instagram, Facebook, and Pinterest for more texture-perfected recipes.

