I remember finding a tattered index card tucked inside Grandma’s old church cookbook, its edges stained with the ghost of summer berries. She called these her “Fruit Bars,” but to us kids, they were the ultimate treasure, far better than anything in a shiny plastic wrapper. Making these today feels like a quiet conversation with her, a way to keep her gentle spirit alive in my own sun-filled kitchen. It is a slow, beautiful process that rewards the patient baker with a taste of pure, honest nostalgia.

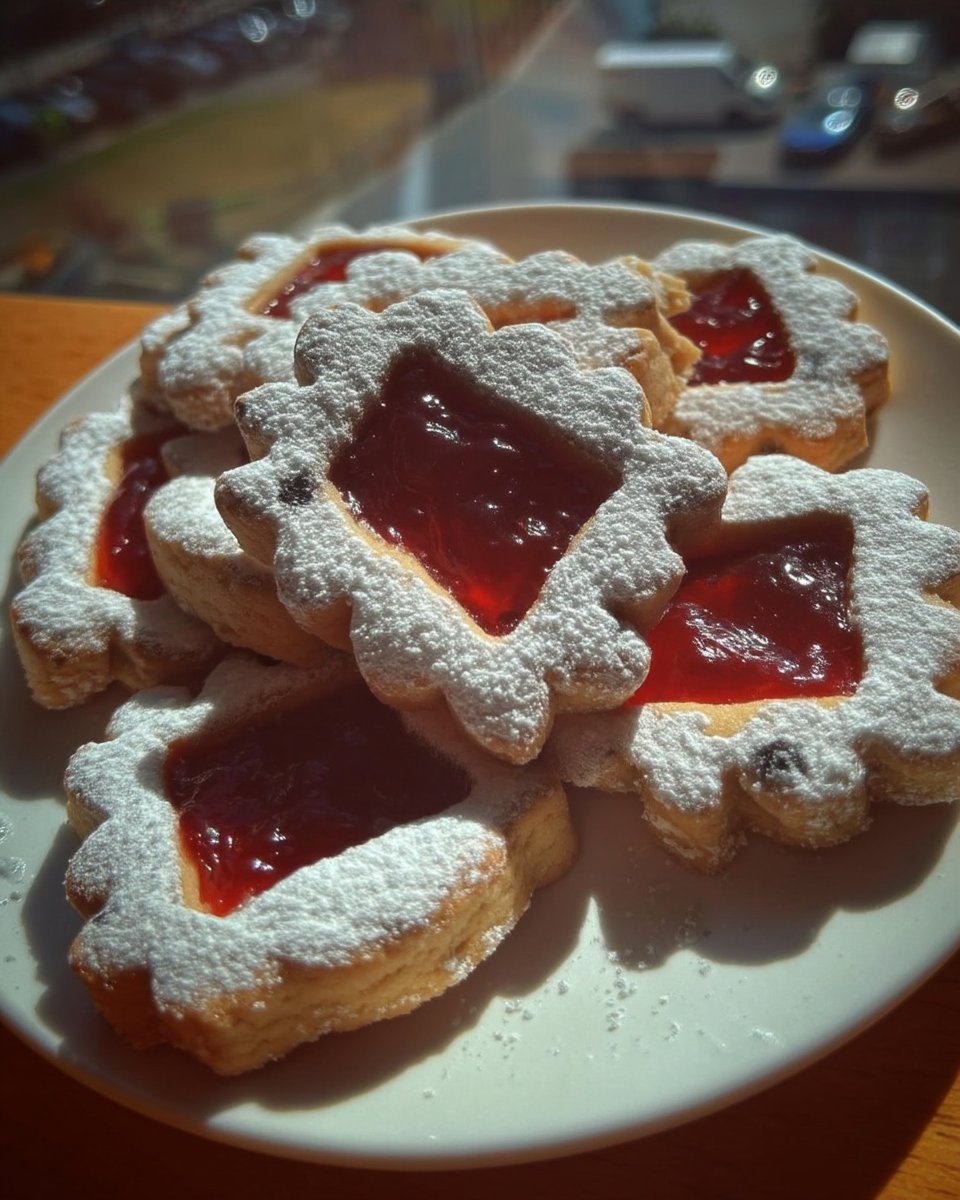
These cookies are the definition of a heritage treat, featuring a soft, buttery crust that wraps around a thick, jammy center. Unlike the store-bought version, these have a bright, citrusy note from fresh orange zest that makes the strawberry flavor truly sing. They are meant for long afternoons, shared over a cold glass of milk or a hot cup of tea. I hope this recipe finds a permanent home in your family’s recipe box, just as it did in mine.
A Timeless Jar Favorite
You will love this recipe because it brings a sense of accomplishment that modern, quick-fix desserts simply cannot match. There is something profoundly satisfying about turning a basket of fresh strawberries into a thick, glowing filling that tastes like concentrated sunshine. The dough itself is a dream to work with, especially after it has had time to rest and develop its delicate, shortbread-like flavor.
This is not a cookie that shouts; it is a cookie that whispers of tradition and quality. Each bite offers a perfect balance of tender cake and chewy fruit, making it a favorite for both the young and the young at heart. It is the kind of recipe that makes your house smell like a professional bakery, filled with the scents of vanilla, butter, and simmering fruit. Once you taste a homemade Newton, the ones from the grocery store will never quite satisfy that craving again.
Print
Strawberry Newtons
- Total Time: 3 hours 10 mins
- Yield: 40 cookies
- Diet: Vegetarian
Description
These homemade Strawberry Newtons feature a tender, buttery crust infused with bright orange zest and a thick, sun-drenched strawberry filling. A nostalgic heritage treat, they offer a perfect balance of soft cake and chewy fruit that far surpasses any store-bought version.
Ingredients
- 1 cup unsalted butter, softened
- 1 cup granulated sugar
- 1 tablespoon fresh orange zest
- 2 large egg whites
- 1 teaspoon pure vanilla extract
- 3 cups all-purpose flour
- 2 pounds fresh strawberries, hulled and halved
- 1/4 cup granulated sugar (for the filling)
- 1 tablespoon fresh citrus juice (lemon or orange)
- 2 teaspoons cornstarch
Instructions
- In the bowl of a stand mixer, cream the softened butter, sugar, and orange zest on medium speed for 3 minutes until pale and fluffy.
- Add the egg whites and vanilla extract, beating until the mixture is smooth and well combined.
- Turn the mixer to the lowest speed and gradually add the flour, mixing only until the dough just starts to come together into a ball.
- Wrap the dough in plastic wrap, flatten into a disc, and refrigerate for at least 2 hours or overnight.
- In a medium saucepan, combine the halved strawberries, sugar, citrus juice, and cornstarch, mashing slightly with a fork to release juices.
- Cook the strawberry mixture over medium-high heat until bubbling, then reduce to a simmer for 35 minutes until thick and reduced by a third.
- Preheat oven to 350°F and roll the chilled dough into a 12×16 inch rectangle on a lightly floured surface, then cut into four long strips.
- Spoon the completely cooled strawberry jam down the center of each strip, fold the dough over the filling, and pinch the edges shut.
- Slice each log into ten cookies on the diagonal and bake on parchment-lined sheets for 12 to 15 minutes until edges are golden brown.
Notes
To ensure a clean cut without squishing the fruit filling, always use a sharp serrated knife and a gentle sawing motion when portioning the dough logs. Allowing the cookies to rest in an airtight container for 24 hours actually improves the texture, as the moisture from the strawberry filling softens the crust into that classic Newton consistency.
- Prep Time: 2 hours 20 mins
- Cook Time: 50 mins
- Category: Dessert
- Method: Baking
- Cuisine: American
Simple Pantry Staples
To make these nostalgic treats, you only need a few basic ingredients that are likely already waiting in your pantry. We believe in using the best quality items you can find, as simple recipes rely on the natural flavors of the components. Here is what you will need to gather for your baking session:
- Unsalted Butter: Make sure it is softened to room temperature so it creams beautifully with the sugar. This provides the tender, melt-in-your-mouth texture for the crust.
- Granulated Sugar: Just enough to sweeten the dough and the fruit without being overwhelming.
- Orange Zest: This is my favorite secret. It adds a bright, floral note that cuts through the sweetness and complements the strawberries.
- Egg Whites: We use only the whites here to keep the dough light and slightly crisp, rather than heavy and rich.
- Pure Vanilla Extract: A good vanilla is the foundation of any heritage bake. It ties all the flavors together with a warm, familiar hug.
- All-Purpose Flour: This provides the structure for our dough, making it sturdy enough to hold the filling but soft enough to bite through easily.
- Fresh Strawberries: Two pounds of berries might seem like a lot, but they reduce down into a magnificent, thick jam.
- Cornstarch: A little bit of this helps the strawberry filling set up properly so it doesn’t run out of the cookies during baking.
Using fresh citrus juice, like lemon or orange, helps the fruit retain its vibrant color and adds a necessary hit of acidity. Every ingredient has a purpose, creating a harmony of flavors that feels like home.
The Heritage Method
Step 1: Cream the Butter and Sugar
In the bowl of your stand mixer, combine the softened butter, sugar, and fresh orange zest. Use the paddle attachment and beat them together on medium speed for about three minutes until the mixture looks pale and fluffy. This step incorporates air into the dough, which is essential for that signature soft texture. Scrape down the sides of the bowl to make sure every bit of citrus oil is fully integrated.
Step 2: Incorporate Liquid Ingredients
Add the egg whites and the vanilla extract to your creamed butter. Continue beating the mixture until it is smooth and well combined. You might see the mixture look a little separated at first, but keep going until it comes together. Remember to scrape the bowl again to ensure a uniform consistency before you move on to the flour.
Step 3: Mix the Dough
Turn your mixer to the lowest speed and gradually add the flour. Mix only until the dough just starts to come together into a ball. You don’t want to overwork the dough, as that can make the cookies tough instead of tender. Once the flour is just incorporated, stop the mixer and gather the dough with your hands.
Step 4: Chill for Patience
Wrap the dough tightly in plastic wrap and flatten it into a disc. Place it in the refrigerator for at least two hours, though overnight is even better for the flavors to meld. This chilling time is vital because it allows the flour to hydrate and the butter to firm back up, making the dough much easier to roll out later.
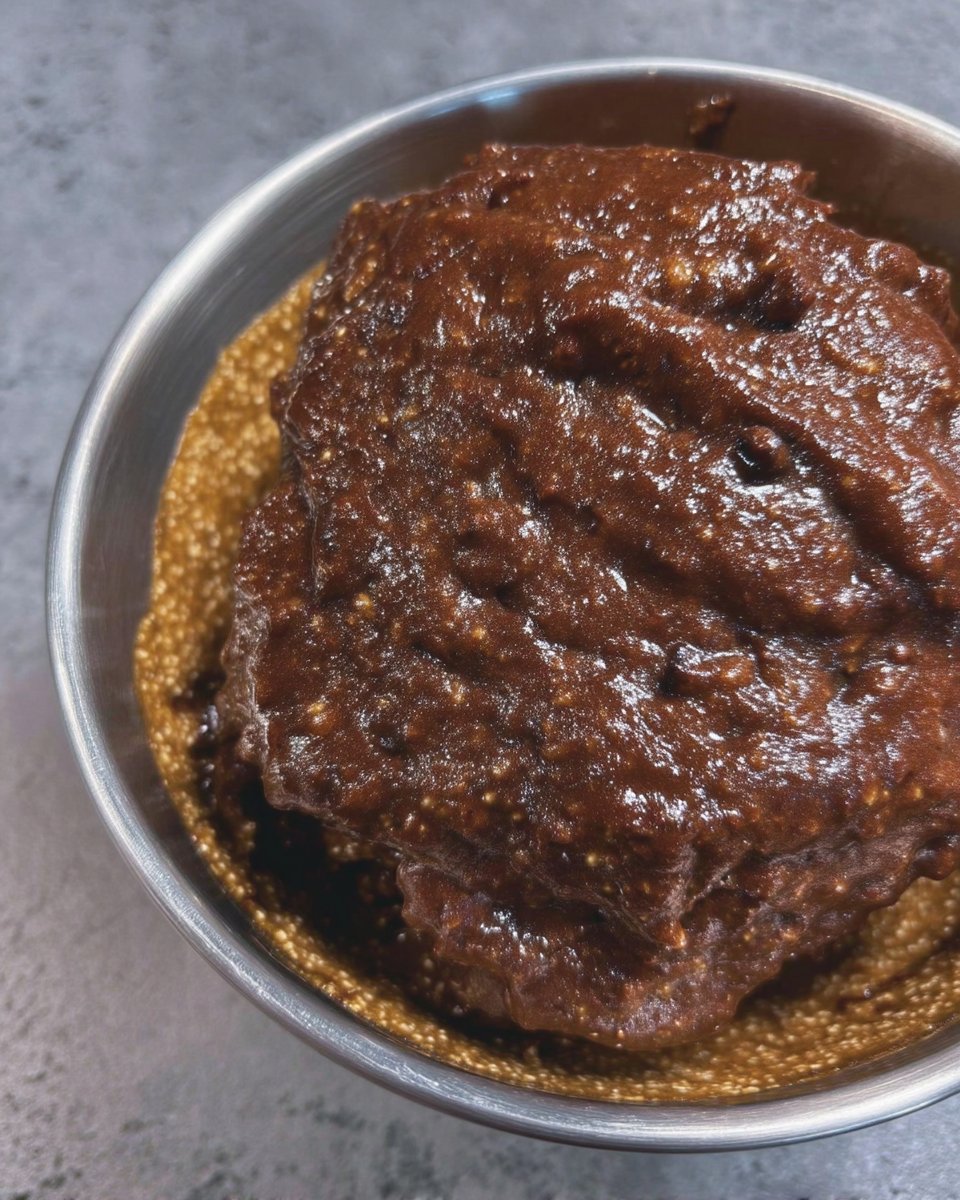
Step 5: Prepare the Strawberry Filling
Hull your fresh strawberries and cut them in half. In a medium saucepan, stir together the berries, sugar, citrus juice, and cornstarch. Use a potato masher or a sturdy fork to gently mash the berries a few times. This releases the juices and starts the breakdown process before you even turn on the heat.
Step 6: Simmer and Reduce
Cook the strawberry mixture over medium-high heat until it begins to bubble and the sugar has completely dissolved. Lower the heat to a gentle simmer and cook for about 35 minutes. You are looking for the mixture to reduce by about a third and become thick and gel-like. Let the filling cool completely before you try to assemble the cookies; a warm filling will melt your beautiful dough.
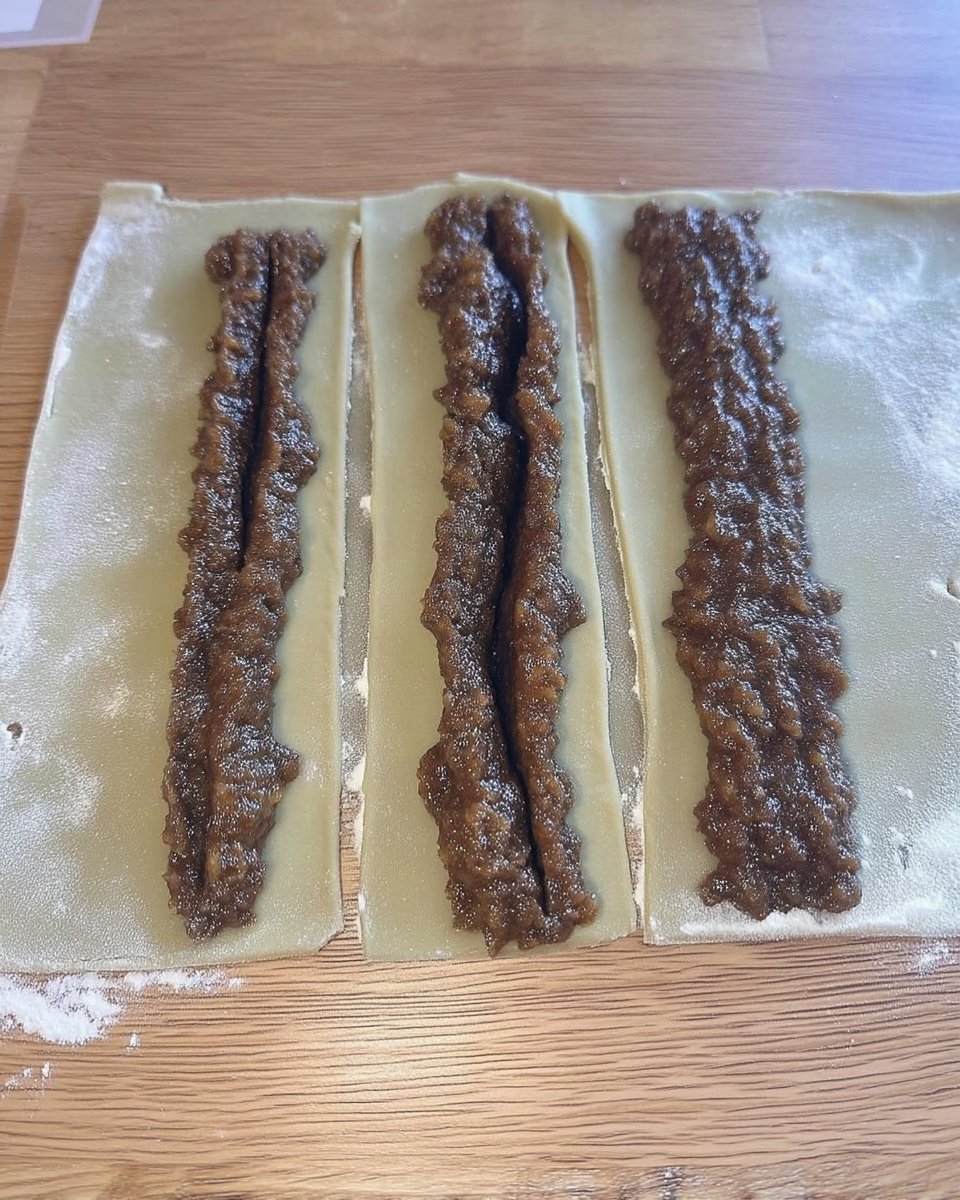
Step 7: Shape the Newtons
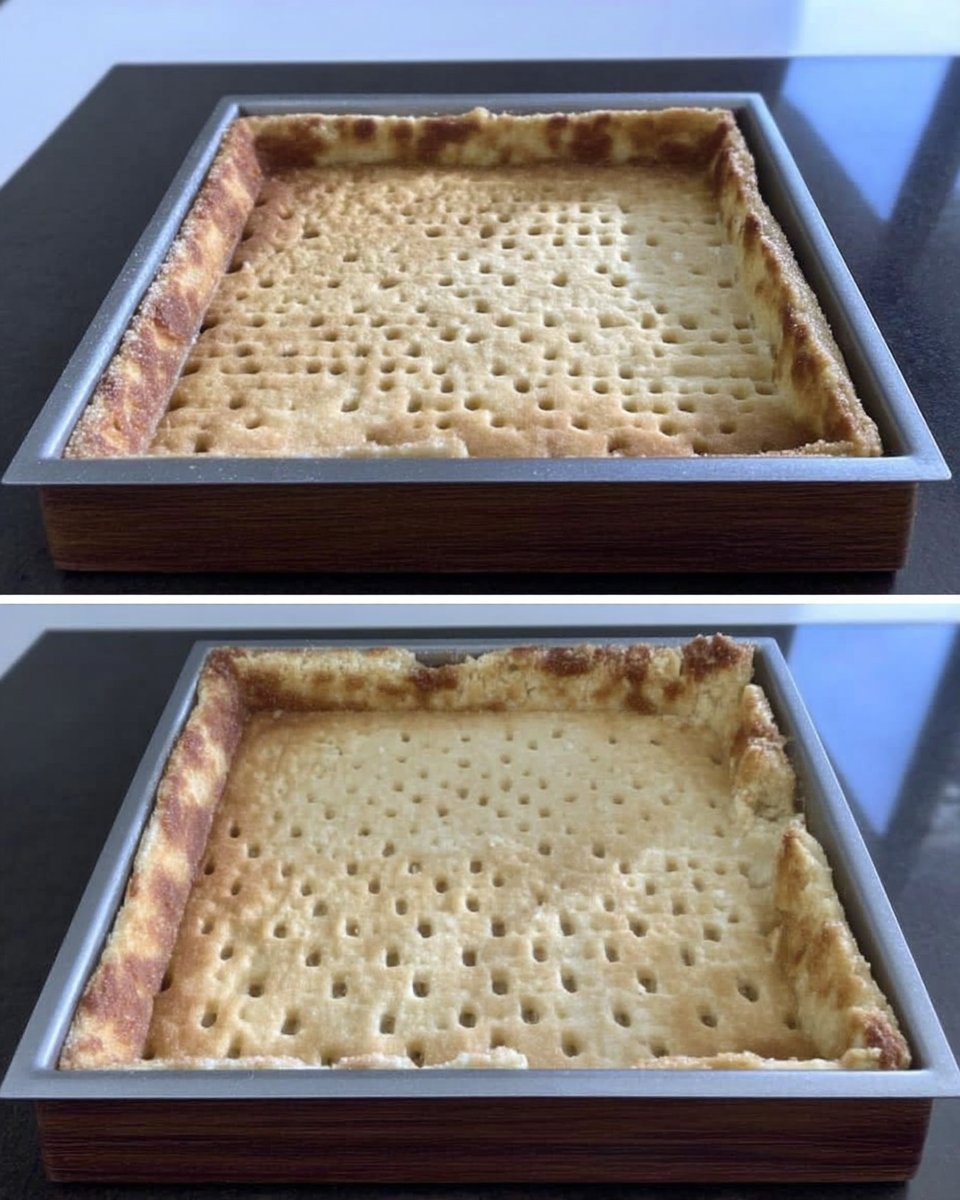
Preheat your oven to 350 degrees and line your sheets with parchment paper. On a lightly floured surface, roll the chilled dough into a 12×16 inch rectangle. Cut this into four long strips. Spoon a tidy line of the cooled strawberry jam down the center of each strip. Fold the dough over the filling and pinch the edges shut to create long logs.
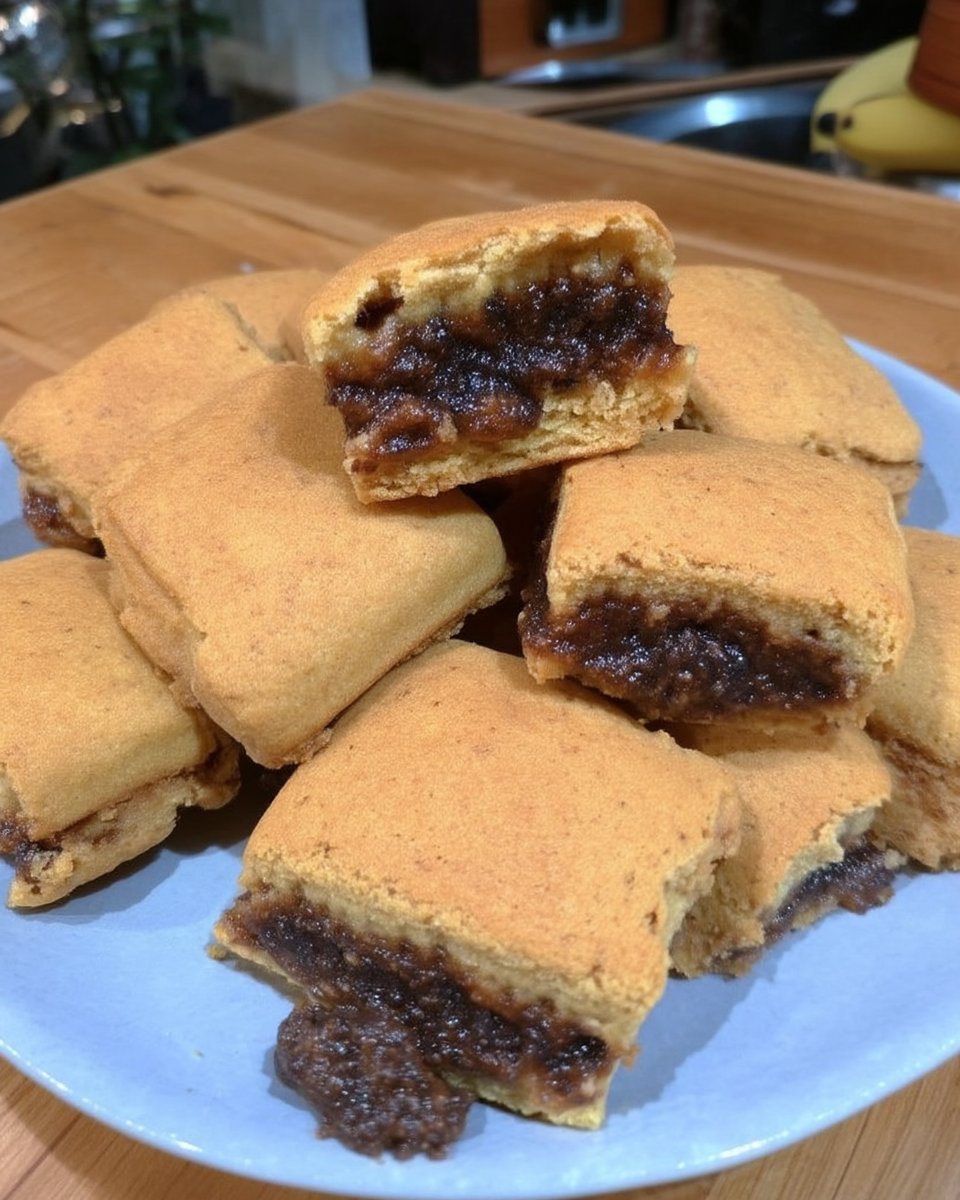
Step 8: Bake and Cool
Use a serrated knife to gently slice each log into ten cookies on the diagonal. Place them seam-side down on your prepared baking sheets. Bake for 12 to 15 minutes, rotating the pans halfway through, until the edges are just starting to turn a beautiful golden brown. Allow them to cool on a wire rack so the filling can set up perfectly.
Grandma’s Kitchen Secrets
One of the most important things to remember when making these is to let the strawberry filling cook down until it is truly thick. If the filling is too runny, it will leak out of the dough and create a bit of a mess. If you find your berries are particularly juicy, don’t be afraid to add another teaspoon of cornstarch mixed with a tiny bit of water to help it along. For more inspiration on keeping your baking traditional, look through our Classic Cookie Recipes to find more ways to use seasonal fruit.
Another secret is to use a gentle hand when rolling out the dough. Since this crust is butter-heavy, it can get soft quickly in a warm kitchen. If the dough starts sticking or feels too floppy, simply pop it back into the fridge for ten minutes to firm up. Using a serrated knife for the final cuts is also a game-changer; it saws through the dough without squishing the filling out the sides. Patience is your best friend when crafting these heritage treats.
Family Recipe Twists
While we love the strawberry version, this dough is a wonderful canvas for many different fruits. You can easily swap the strawberries for raspberries or even blackberries for a slightly tarter experience. If you prefer a more traditional flavor, you might want to try a fig filling spiced with a touch of cinnamon and honey. For those interested in lighter bakes, our Wholesome Cookie Options offer several ideas for adapting heritage recipes to modern preferences.
You can also change the citrus profile. Instead of orange zest, try using lemon or even lime for a zesty, bright kick. Some members of our family like to add a handful of finely chopped walnuts to the fruit filling for an unexpected crunch. No matter which fruit you choose, the key is maintaining that thick, jammy consistency that defines a classic Newton.
The Cookie Jar Tradition
These cookies are best served the day they are made, but they actually soften beautifully if kept in a sealed glass jar overnight. I love to set them out on a vintage platter during a Sunday afternoon gathering, letting everyone help themselves. They pair wonderfully with a cold glass of milk for the children or a strong cup of black coffee for the grown-ups. For those times when you need something a bit faster for a last-minute visitor, you can find inspiration in our Quick & Easy Cookies section.
If you are feeling extra festive, you can dust the tops with a tiny bit of powdered sugar just before serving to give them a snowy, elegant look. They are also a wonderful addition to a school lunchbox, as they hold up well and provide a little taste of home during the day. There is no wrong way to serve a Newton, as long as it is shared with someone you love.
A Sweet Heritage to Share
Bringing these Strawberry Newtons into your kitchen is a wonderful way to honor the bakers who came before us. It reminds us that some things are worth the extra time and effort, especially when the result is a treat that carries so many memories. I hope you find as much joy in the process of making these as you do in eating them. For more ways to celebrate the seasons through baking, be sure to visit our Holiday Cookie Celebrations for festive ideas all year round. We would love to see your creations, so please share your photos with us on Pinterest and Instagram. Happy baking, from my kitchen to yours!
