Many families find themselves frustrated by those natural peanut butters that separate into an oily mess on top and a dry, rock-hard brick at the bottom of the jar. I remember the first time I decided to fix this texture problem in my own kitchen, looking for a way to keep that vintage, nutty flavor without the sugar-induced stiffness. My goal was simple: create a spread that stays soft and spreadable for days, honoring the way my grandmother used to make it but with a modern focus on moisture retention.

This sugar-free peanut butter recipe is a testament to how a few small tweaks in the blending process can result in a jar-fresh texture that lasts for an entire month. By carefully managing the oil-to-nut ratio, we ensure a silky finish that doesn’t go stale or crumbly after the first use. It is the perfect foundational recipe for anyone who treasures the deep, roasted taste of peanuts but wants to avoid the gritty texture of mass-produced alternatives.
A Perfect Texture That Stays Fresh for Days
You will love this recipe because it finally solves the problem of dry, chalky nut butters that are impossible to spread on a soft slice of bread. Unlike store-bought versions that rely on palm oils and stabilizers, this homemade version uses the natural friction of your blender to release the nut’s own oils, creating a naturally creamy consistency. We focus heavily on the ‘stay-soft’ factor, ensuring that even after a week in the refrigerator, your peanut butter remains supple and ready to use.
Another reason this is a keeper is the pure, unadulterated flavor profile. Without the mask of refined sugars, the deep, earthy notes of the roasted peanuts truly shine through. It provides that nostalgic, old-fashioned taste while being completely keto-friendly and vegan. This recipe is also incredibly reliable; once you master the timing of the scraping and blending, you will never go back to the supermarket shelf again. It is a satisfying, wholesome staple that brings a sense of comfort and quality to your morning routine.
Print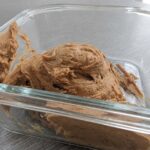
Sugar Free Peanut Butter
- Total Time: 20 mins
- Yield: 1.5 cups
- Diet: Keto, Vegan
Description
Create a silky, spreadable peanut butter at home that avoids the typical separation issues of natural brands. This sugar-free recipe focuses on a specific blending technique to ensure a long-lasting, creamy texture without any additives.
Ingredients
- 2 cups roasted peanuts (unsalted)
- 2 tablespoons peanut oil
- 2 tablespoons liquid sweetener or honey (optional)
Instructions
- Preheat oven to 350°F and roast raw peanuts for 10-15 minutes if not using pre-roasted nuts.
- Place peanuts in a high-speed blender or food processor and pulse for one minute until they reach a fine powder stage.
- Scrape down the sides, add one tablespoon of peanut oil and the sweetener, then process for another minute until a thick paste forms.
- Add the remaining tablespoon of oil and blend for 1-2 minutes more until the mixture is smooth and glossy.
- Transfer the warm peanut butter to a glass jar and let it sit uncovered for 30 minutes to prevent condensation before sealing.
Notes
To maintain the best texture, store your jar upside down in the pantry to help the natural oils redistribute through the solids. If you prefer a crunchy variety, stir in a handful of crushed roasted peanuts after the final blending stage is complete.
- Prep Time: 5 mins
- Cook Time: 15 mins
- Category: Condiment
- Method: Blending
- Cuisine: American
The Secret Ingredients for a Silky Spread
To achieve that perfect chew and flow, we must be selective about the quality of our nuts and the type of oil we use to supplement the natural fats.
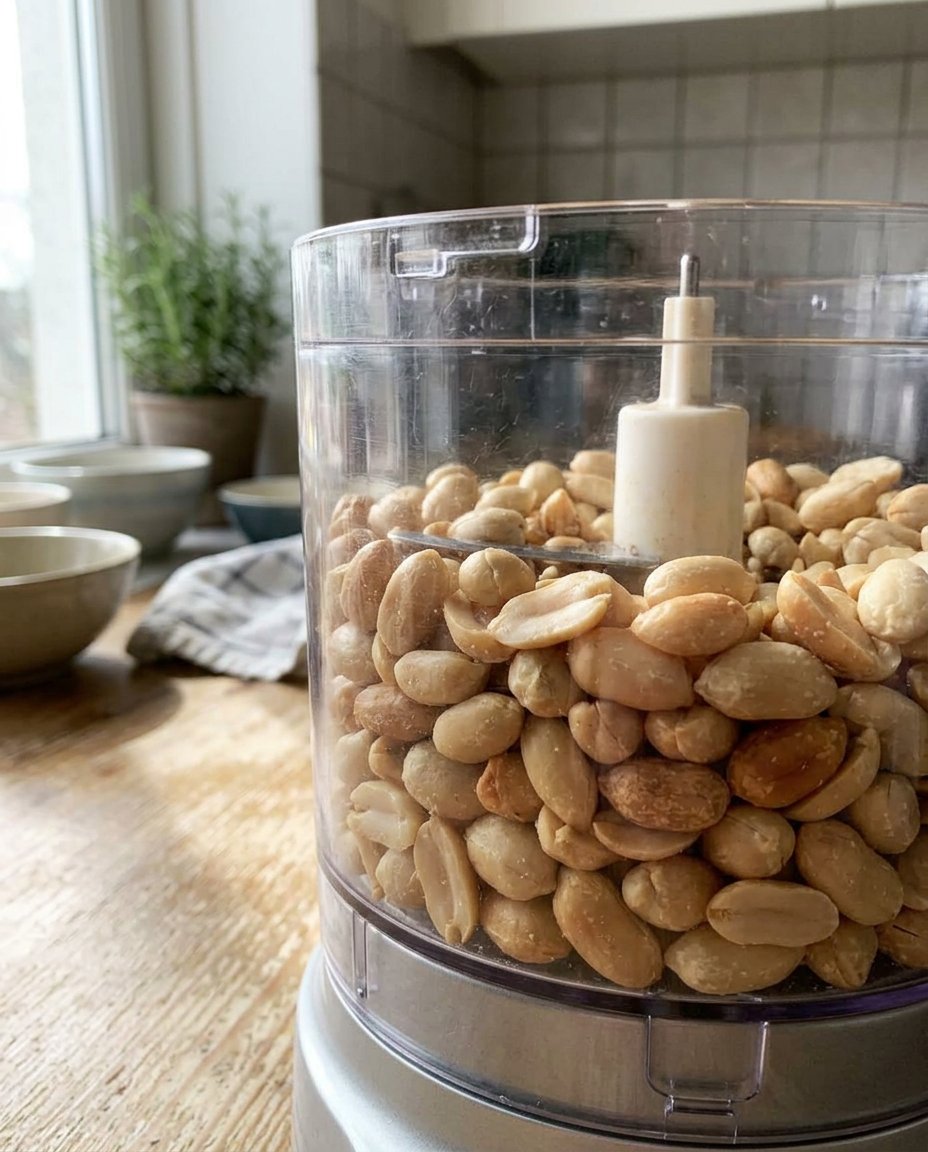
- Roasted Peanuts (2 Cups): You can start with raw peanuts and roast them yourself to control the depth of flavor, or use pre-roasted unsalted nuts for convenience. Roasting is essential because it warms the internal oils, making them easier to extract during the blending process.
- Peanut Oil (2 Tablespoons): This is my secret for keeping the butter from turning into a solid block in the fridge. Adding a high-quality peanut oil provides the necessary ‘slip’ and moisture retention that makes the spread feel luxurious on the tongue.
- Honey or Sugar Alternative (Optional 2 Tablespoons): While this is a sugar-free focused recipe, a touch of honey or a liquid monk fruit sweetener can help maintain a soft, moist texture. If you are strictly avoiding all sweeteners, the natural oils from the peanuts will still provide a wonderful, creamy finish.
The ratio of peanuts to oil is the most critical part of this ingredient list. We are looking for a balance that allows the mixture to move freely in the food processor without becoming a liquid soup. By using peanut oil specifically, rather than a neutral vegetable oil, we reinforce the nuttiness and keep the texture consistent with the vintage style we all remember.
How to Achieve the Ultimate Creamy Consistency
Step 1: Prepare the Peanuts
If you are starting with raw peanuts, roast them in a single layer at 350°F (175°C) for about 10 to 15 minutes until they are fragrant and golden. If using pre-roasted nuts, ensure they are at room temperature. Place the two cups of peanuts into the bowl of a high-speed blender like a Vitamix or a heavy-duty food processor. Do not crowd the machine, as we need plenty of air circulation to move the particles around.
Step 2: The Initial Pulse
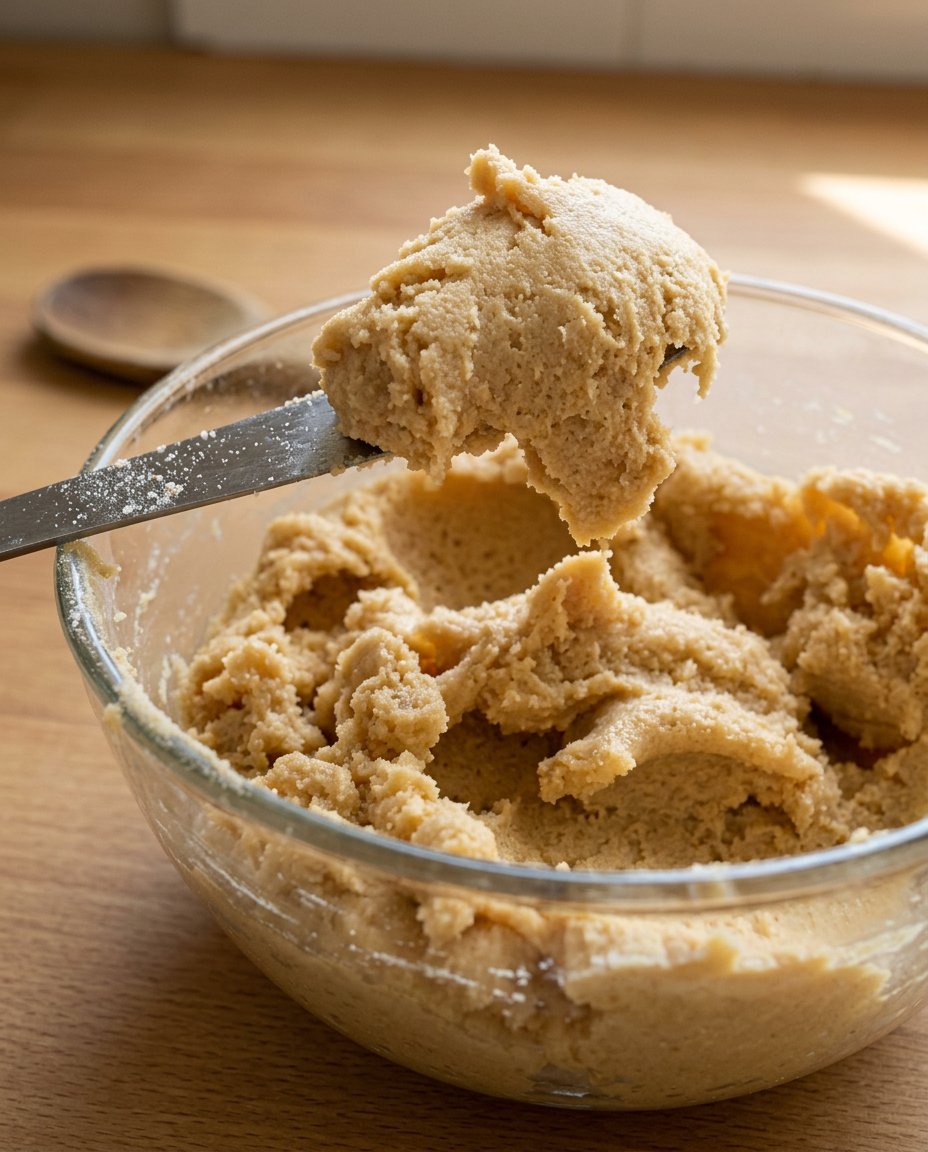
Turn the machine on and process the nuts for exactly one minute. At first, you will see them turn into a fine, dry powder. Do not be alarmed—this is the ‘flour’ stage. Stop the machine and use a rubber spatula to scrape down the sides and the bottom of the bowl. This ensures that every bit of the peanut is being processed evenly and prevents the motor from overheating.
Step 3: Adding the Flow Agents
Add one tablespoon of the peanut oil and one tablespoon of your chosen sweetener (if using). Process for another minute. You will notice the mixture starting to clump together into a thick paste. The friction from the blades is now beginning to warm the peanuts, which releases the internal fats. Scrape the sides down again to keep the texture uniform.
Step 4: Reaching the Silk Stage
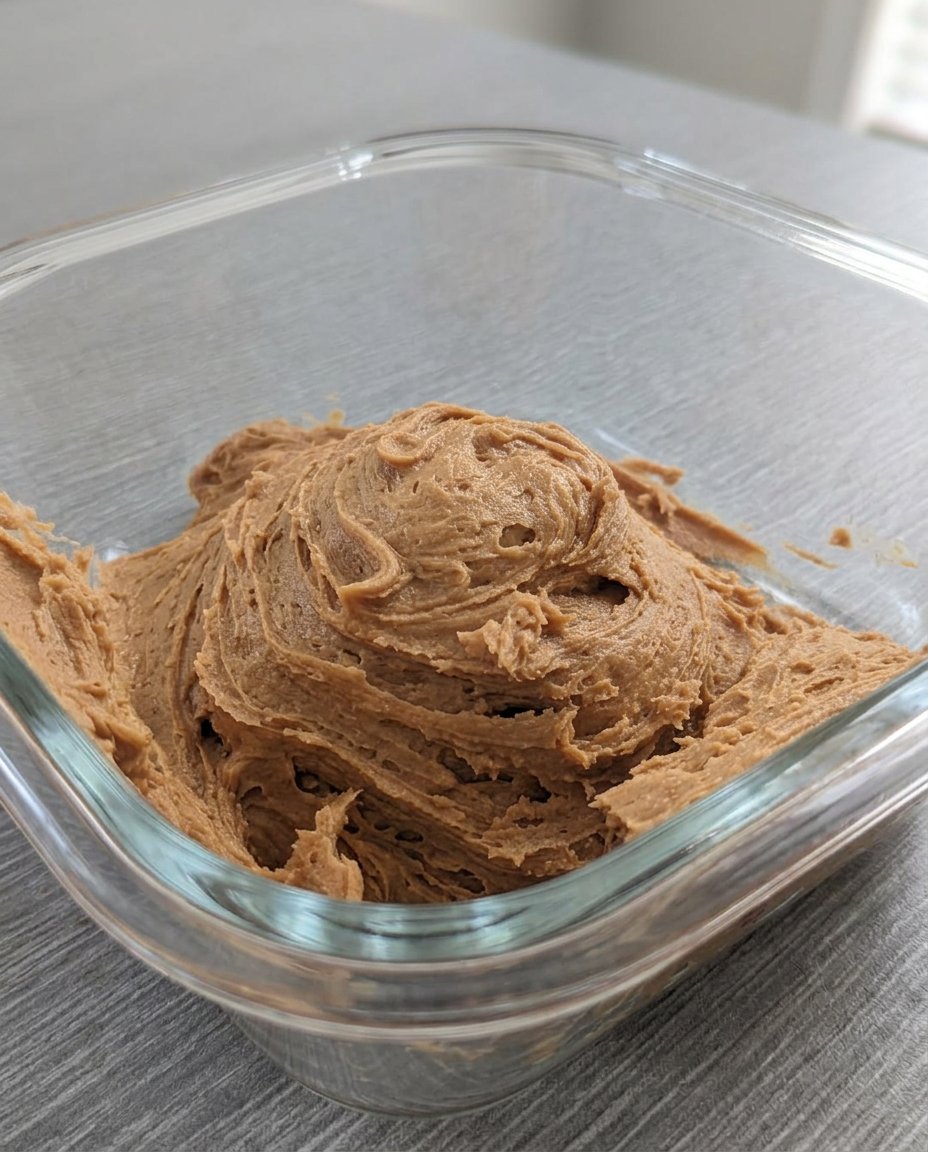
Add the remaining tablespoon of oil and process for one to two more minutes. The mixture will transition from a thick paste into a smooth, glossy liquid. If you prefer a ‘crunchy’ style, you can set aside a handful of chopped nuts at the beginning and fold them in now. For a smooth style, keep blending until the ripples in the butter look consistent and shiny.
Step 5: The Final Temperature Check
The peanut butter will be warm to the touch at this point. Pour it into a clean glass jar. Let it sit at room temperature for about thirty minutes to settle before sealing. This prevents condensation from forming inside the lid, which is the enemy of a long shelf life and a soft texture.
Mehmet’s Texture Secrets for Longevity
One of the best ways to ensure your homemade spread stays jar-fresh for days is to avoid over-processing. While you want it smooth, running the blender for too long can actually ‘break’ the emulsion, causing the oil to separate more quickly later on. If you find your peanut butter is getting too hot, stop and let it cool for five minutes before finishing. This preserves the integrity of the fats.
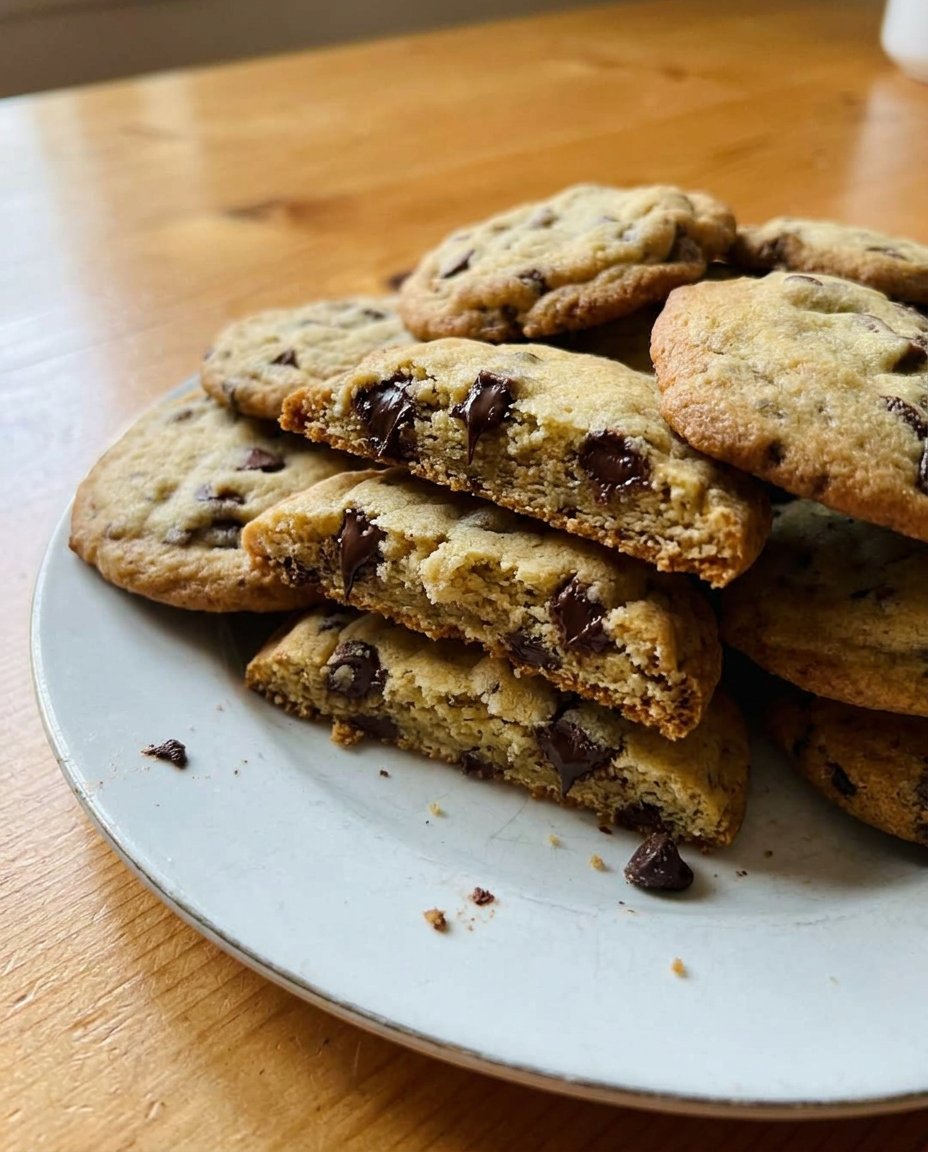
For those looking for more ways to incorporate healthy fats into their routine, you might enjoy our guide on Wholesome Cookie Options which features many recipes that pair perfectly with this spread. Another great tip is to store the jar upside down in the refrigerator; this forces the natural oils to travel through the solids, keeping the entire jar moist. For more inspiration on sugar-free pantry staples, check out this guide on homemade peanut butter. Always use a clean, dry spoon when scooping to prevent any moisture from entering the jar, which can lead to spoilage.
Flavor Options and Texture Tweaks
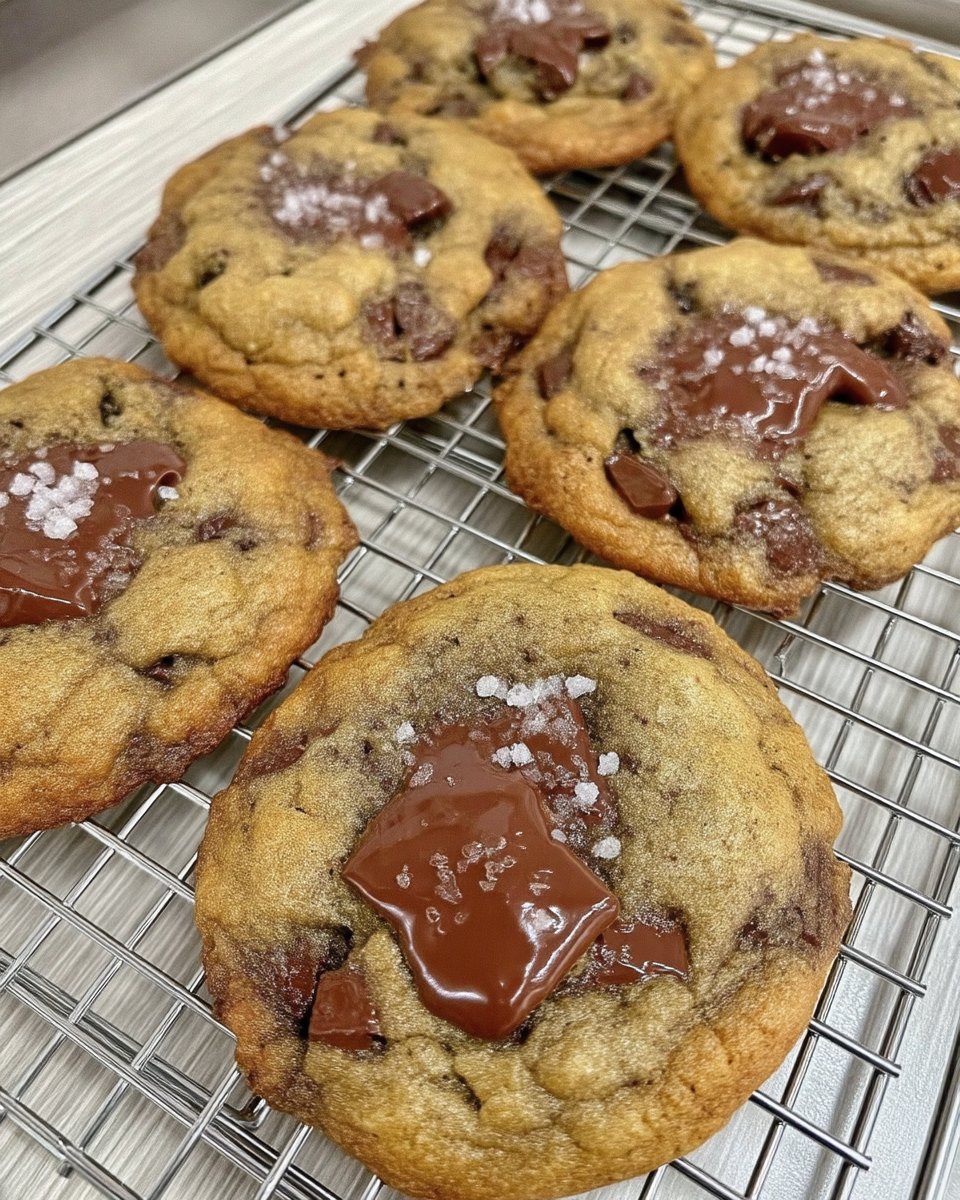
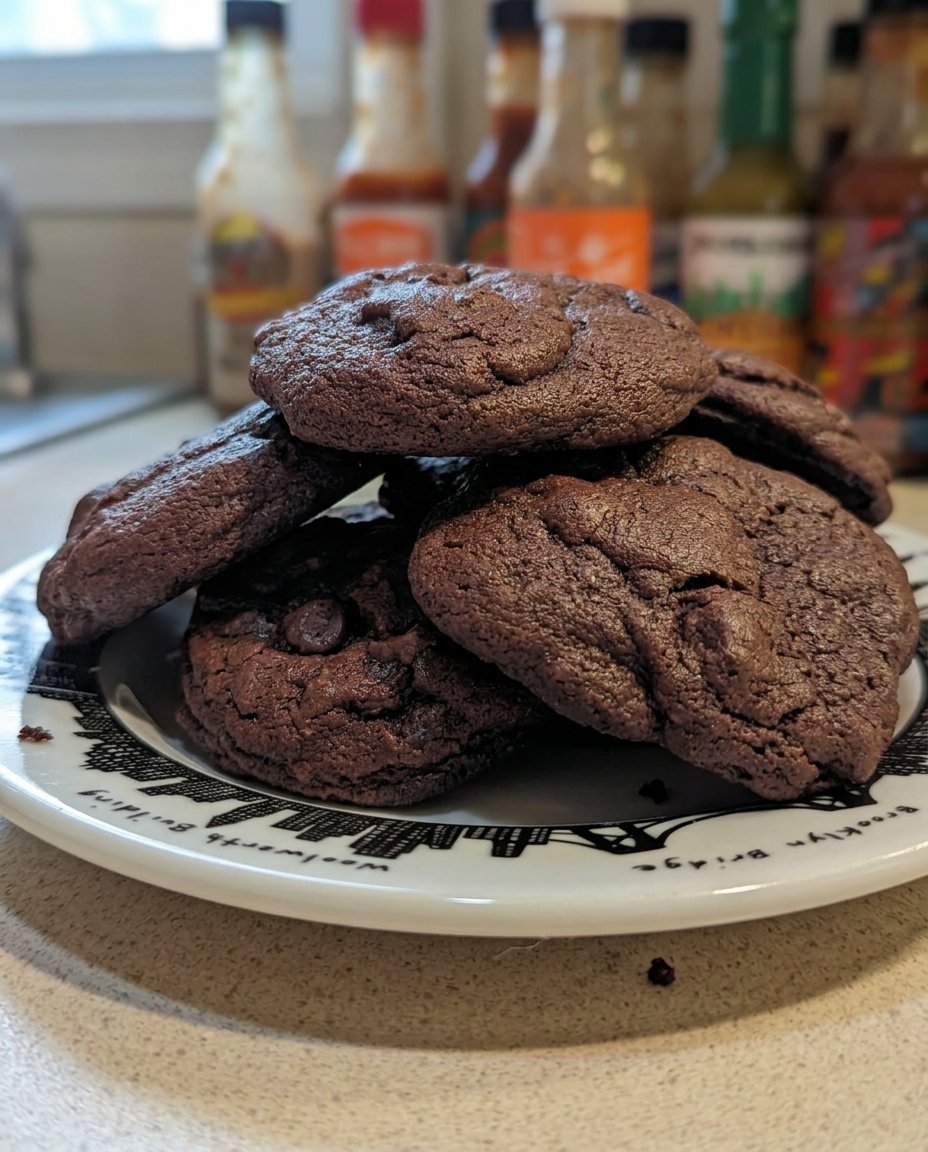
You can easily modify this recipe to suit your heritage preferences or flavor cravings. For a deep, smoky version, try adding a half-teaspoon of sea salt and a pinch of smoked paprika. If you want a spread that is even more spreadable, you can increase the oil by another half-tablespoon, which is particularly helpful if you plan on using it in Quick & Easy Cookies where a softer consistency helps with the dough’s moisture.
Another wonderful variation is ‘Chocolate Peanut Butter.’ Simply add two tablespoons of unsweetened cocoa powder and a bit more of your liquid sweetener during Step 3. The cocoa powder will absorb some of the oil, so you may need an extra teaspoon of peanut oil to keep it from becoming too stiff. If you prefer a vintage ‘honey-roasted’ feel, add a dash of cinnamon and use a slightly darker roasted nut. These small adjustments allow you to maintain the soft, chewy satisfaction of a homemade spread while exploring different flavor profiles.
How to Enjoy Your Jar-Fresh Spread
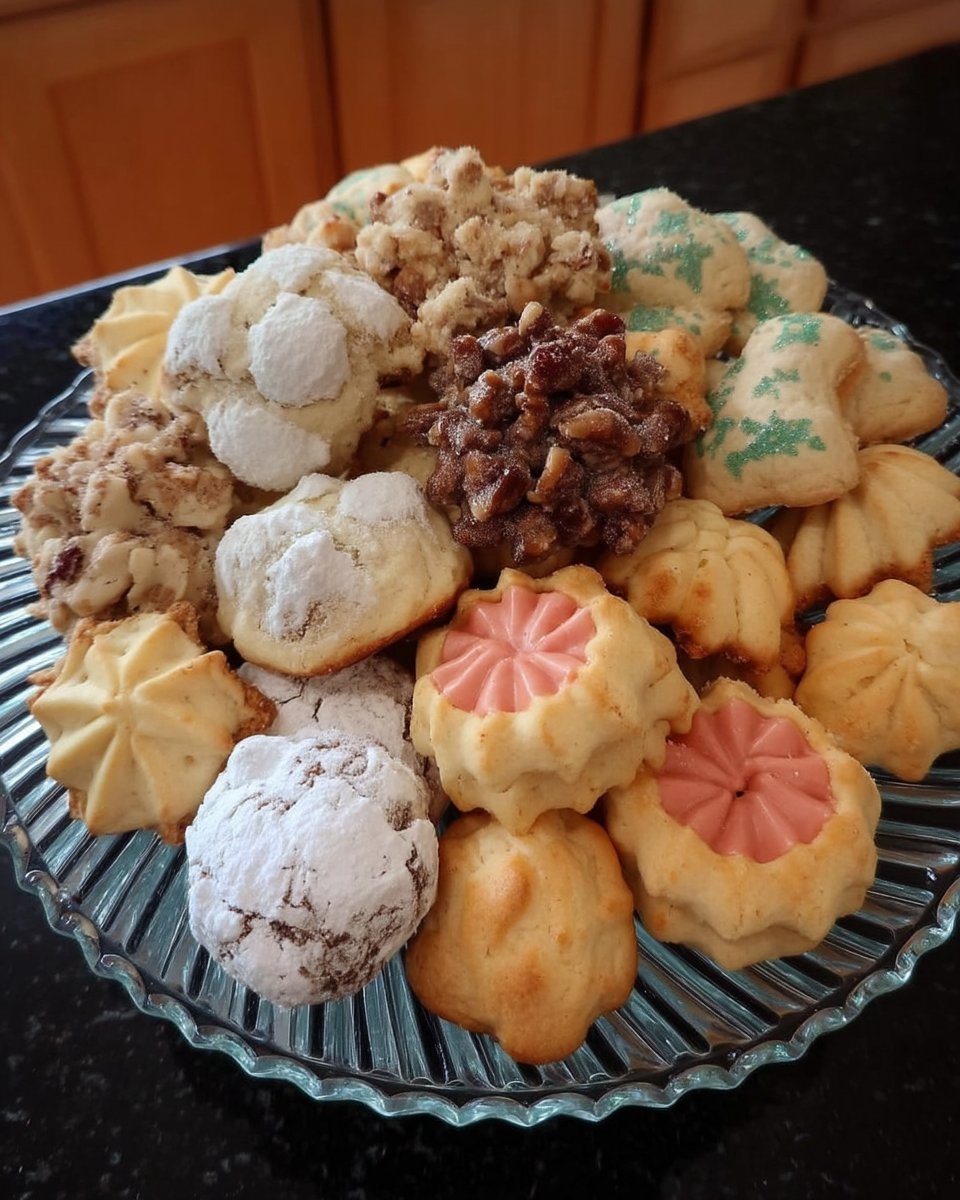
This peanut butter is best served at room temperature to appreciate its full, creamy potential. If you store it in the fridge, simply take the jar out ten minutes before you need it. It is incredible when swirled into a warm bowl of oatmeal or spread onto thin apple slices. For a more traditional treat, I love using it as a filling for Classic Cookie Recipes that require a stable yet moist nut butter base.
For a quick snack that stays fresh in your memory, try topping a piece of toasted sourdough with a thick layer of this butter and a sprinkle of hemp seeds. The warmth of the toast slightly melts the peanut butter, releasing the roasted aroma and creating a satisfying, melt-in-your-mouth experience. It also works beautifully as a base for savory satay sauces or as a dip for celery sticks, providing a reliable source of energy that doesn’t result in a sugar crash.
The Texture Truth for Home Bakers
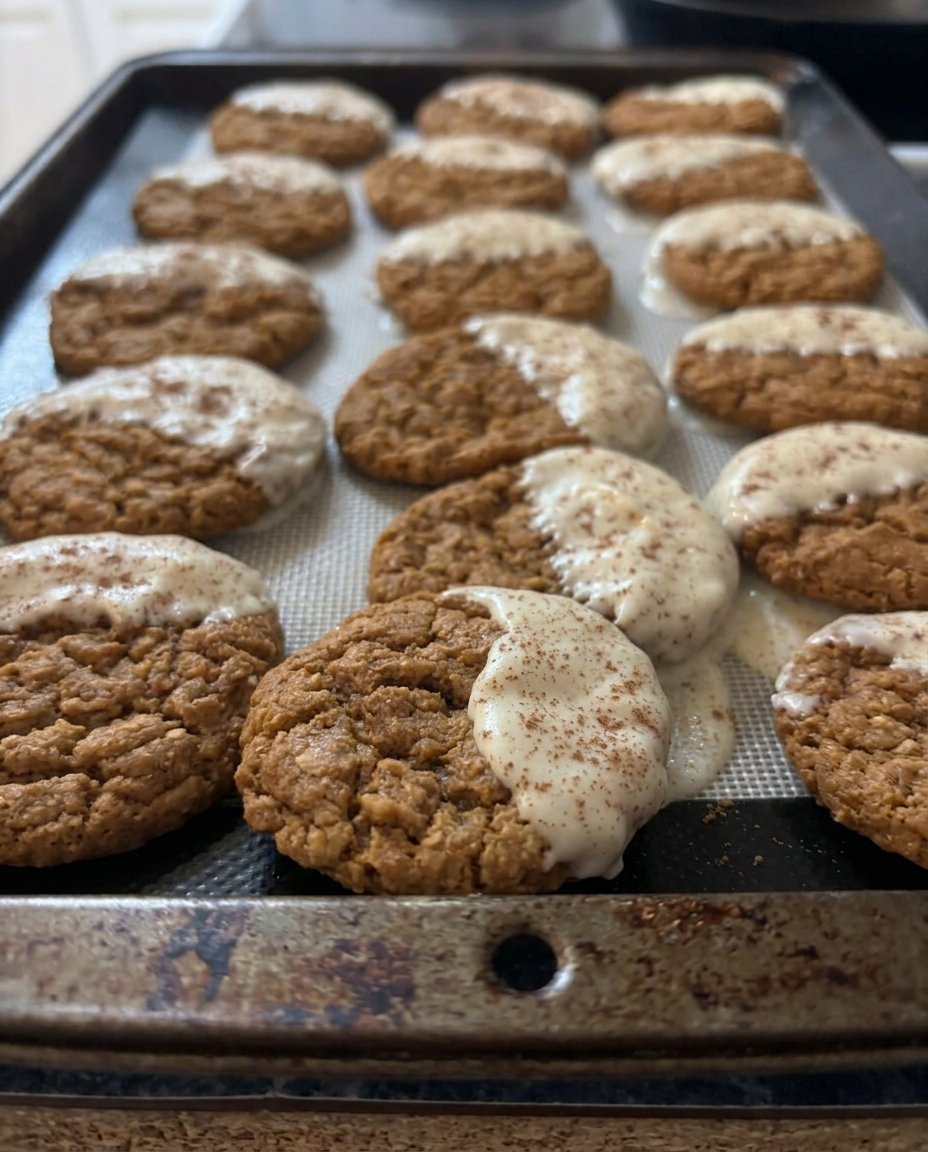
Mastering your own sugar-free peanut butter is the first step toward a pantry filled with quality, reliable ingredients that honor tradition without sacrificing health. This recipe ensures that you never have to deal with a dry, crumbly jar again, providing a soft and creamy spread that stays perfect for weeks. If you enjoyed this look into texture-perfected pantry staples, be sure to look at our Holiday Cookie Celebrations for ways to use this butter in your festive baking. We would love to see your creations, so please share your photos and follow us for more texture-focused tips on Instagram, Facebook, and Pinterest. Happy blending!
