I remember the first time I held the index card for these cookies in my hand. It was tucked away in a small cedar box, the ink slightly blurred by a drop of vanilla from years gone by. This Swig sugar cookies 2 recipe is more than just a sweet treat; it is a piece of heritage that brings the warmth of a busy Sunday kitchen right into your home.

These cookies are known for their beautiful, crinkled edges and a soft, tender bite that stays fresh for days. When you pull these from the oven, the smell of butter and sugar fills the air with a sense of timeless joy. They are a true jar favorite that my family has cherished for a long time.
A Timeless Jar Favorite
There is something truly special about a cookie that manages to be both substantial and light at the same time. These sugar cookies have a unique texture that sets them apart from your standard drop cookie. Because we use a blend of real butter and vegetable oil, the crumb is exceptionally fine and remains soft even after being chilled.
The signature look of these cookies—the rough, pressed edges—tells a story of tradition. You do not need fancy cutters or elaborate tools to make something beautiful. All it takes is the bottom of a glass and a little bit of love. These are the kind of treats that make a cookie jar feel complete, sitting on the counter ready for a grandchild’s visit or a quiet afternoon tea.
Print
Swig Sugar Cookies
- Total Time: 30 mins
- Yield: 24 cookies
- Diet: Vegetarian
Description
These iconic sugar cookies feature a unique soft texture and signature crinkled edges created by pressing the dough with a glass. Topped with a creamy pink frosting, they are a nostalgic heritage treat that is best enjoyed chilled.
Ingredients
- 1 cup Unsalted Butter, softened
- 3/4 cup Vegetable Oil
- 1 cup Granulated Sugar
- 1 cup Powdered Sugar
- 2 tablespoons Water
- 2 large Eggs
- 5 1/2 cups All-purpose Flour
- 1/2 teaspoon Baking Soda
- 1/2 teaspoon Cream of Tartar
- 1 teaspoon Salt
- Additional Granulated Sugar for rolling
- 1/2 cup Butter, softened (for frosting)
- 1/4 cup Sour Cream
- 1/2 teaspoon Salt (for frosting)
- 4 cups Powdered Sugar (for frosting)
- 1–2 tablespoons Milk
- Pink food coloring
Instructions
- Preheat oven to 350 degrees Fahrenheit.
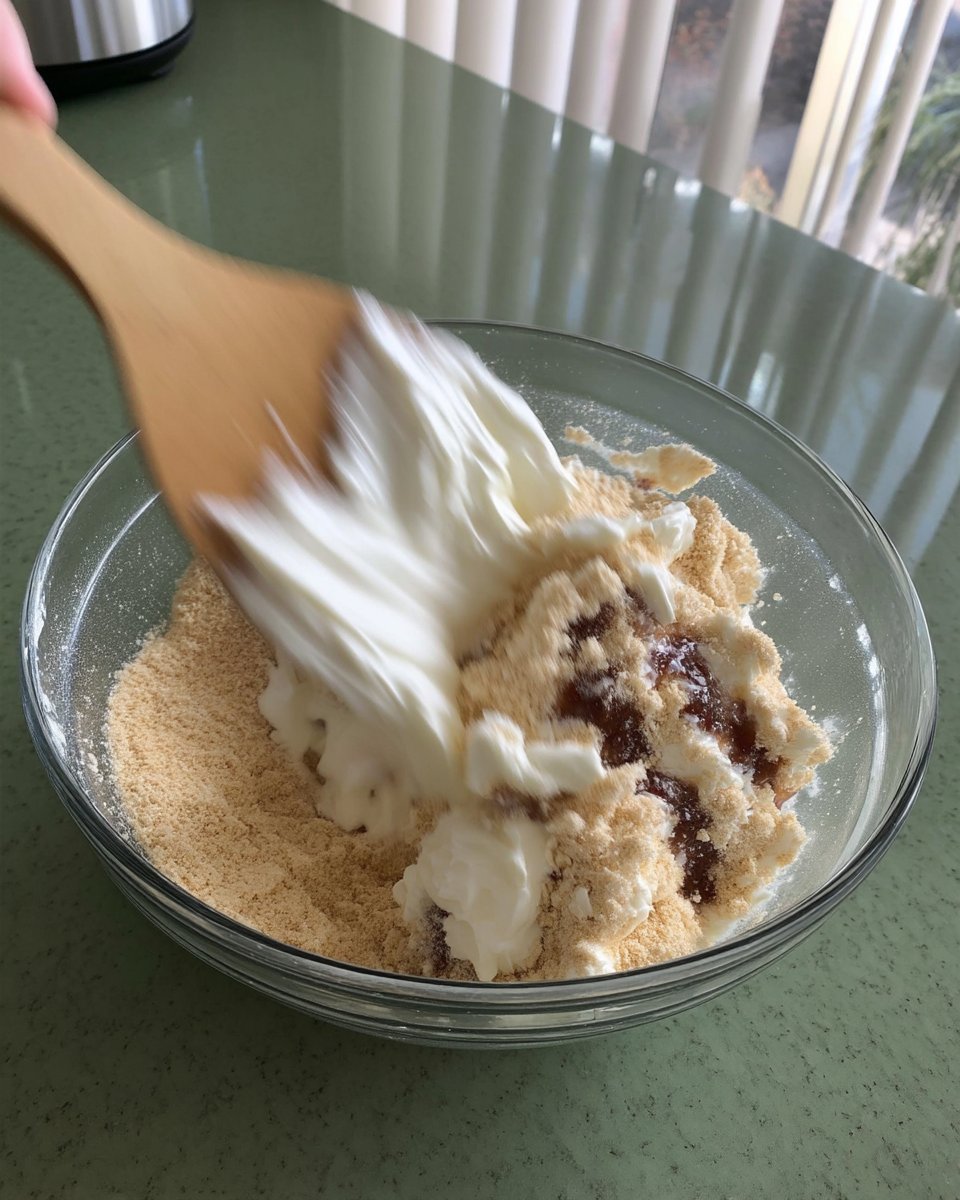
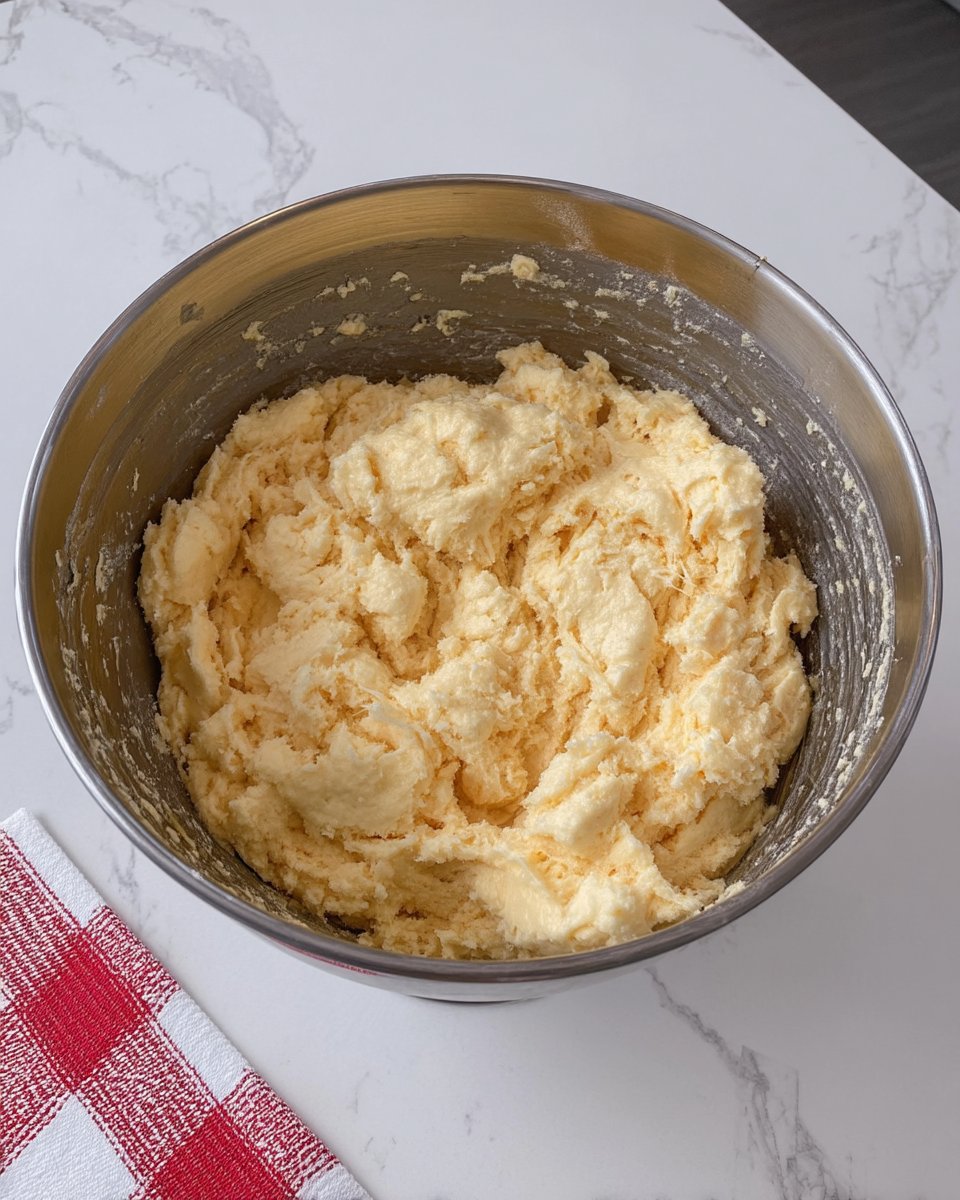
- In a large mixing bowl, cream together softened butter, vegetable oil, granulated sugar, powdered sugar, and two tablespoons of water until smooth.
- Add two large eggs and mix thoroughly until the batter is well-combined and glossy.
- In a separate medium-sized bowl, stir together the flour, baking soda, cream of tartar, and salt.
- Slowly add the dry ingredients to the wet ingredients and mix just until the white streaks of flour disappear.
- Roll dough into golf-sized balls and coat each ball evenly in a bowl of granulated sugar.
- Place dough balls on a non-stick cookie sheet and use the flat bottom of a glass to gently press the center until the edges crinkle.
- Bake for 8 to 10 minutes until the bottoms are barely light brown; the centers should still look slightly under-baked.
- While cookies cool, cream together the frosting butter, sour cream, and salt, then gradually add powdered sugar, milk, and a drop of pink food coloring.
- Spread a generous amount of frosting in the center of each completely cooled cookie.
Notes
For the most authentic texture, ensure you do not over-bake the cookies; they should remain pale and soft to maintain that signature bite. If the dough feels too tacky to roll, a brief fifteen-minute chill in the refrigerator will make it much easier to handle without altering the final crumb.
- Prep Time: 20 mins
- Cook Time: 10 mins
- Category: Dessert
- Method: Baking
- Cuisine: American
Simple Ingredients for a Classic Batch
When we look at the pantry staples required for this recipe, we see the building blocks of authentic heritage baking. Each ingredient plays a vital role in creating that signature Swig texture and flavor.
- Unsalted Butter: This provides the rich, creamy foundation and that unmistakable home-baked taste.
- Vegetable Oil: Working alongside the butter, the oil is the secret to the cookie’s legendary softness and moisture.
- Granulated and Powdered Sugar: Using both types of sugar in the dough creates a delicate balance of sweetness and a fine, tender crumb.
- Cream of Tartar: This traditional leavening agent gives the cookies a slight tang and helps achieve that specific soft, pillowy rise.
- Sour Cream: In the frosting, sour cream adds a subtle depth that cuts through the sweetness of the powdered sugar.
- Pure Vanilla and Salt: These are the quiet heroes that highlight all the other flavors, making the butter taste richer and the sugar more vibrant.
The Heritage Method
Step 1: Creaming the Base
Begin by preheating your oven to 350 degrees Fahrenheit. In your favorite large mixing bowl, cream together the softened butter, vegetable oil, granulated sugar, powdered sugar, and two tablespoons of water. Use a gentle hand or an electric mixer until the mixture is smooth and pale. This step incorporates the air needed for a light cookie.
Step 2: Adding the Eggs
Crack two large eggs into the bowl. Mix them in thoroughly until the batter is well-combined and looks glossy. You want the eggs to be fully integrated so the dough holds together perfectly when we begin the shaping process.
Step 3: Mixing the Dry Ingredients
In a separate medium-sized bowl, stir together the all-purpose flour, baking soda, cream of tartar, and salt. Slowly add this flour mixture to your wet ingredients. Mix just until the white streaks of flour disappear. Over-mixing can lead to a tough cookie, and we want ours to be as soft as a cloud.
Step 4: Rolling and Sugaring
Scoop out portions of dough and roll them into golf-sized balls between your palms. Roll each ball in a small bowl of granulated sugar until it is evenly coated. Place them on a non-stick cookie sheet, leaving plenty of room for them to breathe and expand.
Step 5: Creating the Signature Edge
Take a sturdy glass with a flat bottom. Gently press down on the center of each dough ball. You want to flatten the middle while letting the edges crinkle and push outward. Do not press too thin; we want these to be thick and hearty.
Step 6: Baking to Perfection
Bake for 8 to 10 minutes. The key here is to watch the bottoms; they should be just barely light brown. The centers will look slightly under-baked, but they will finish setting as they cool on the pan. This is the secret to a soft sugar cookie.
Step 7: Preparing the Frosting
While the cookies cool, cream together the butter, sour cream, and salt. Gradually add the powdered sugar and enough milk to reach a thick, spreadable consistency. Stir in a drop of pink food coloring for that classic look. Spread a generous amount in the center of each cooled cookie.
Grandma’s Secrets for Softness
One of the most important things to remember when making this recipe is the temperature of your ingredients. Using room temperature butter and eggs allows the fats and proteins to emulsify more effectively, resulting in a more uniform dough. If you find your dough is a bit too soft to handle, you can chill it for fifteen minutes before rolling.
For those looking for even more inspiration, you might find this copycat version helpful for comparing techniques. When you press the cookies with the glass, try dipping the glass in sugar first to prevent it from sticking to the dough. This keeps the edges looking sharp and traditional. For more time-tested advice, visit our Classic Cookie Recipes section to see how we handle different types of dough.
Family Favorites and Heritage Twists
While the pink frosting is the tradition, you can easily adapt this recipe to suit your own family gatherings. Some folks like to add a teaspoon of almond extract to the dough for a deeper, nutty aroma that reminds me of old-fashioned tea cakes. You can also swap the pink coloring for seasonal shades like soft green for spring or a warm orange for the harvest months.
If you are baking for a special occasion, you can find more ideas in our Holiday Cookie Celebrations guide. Another lovely variation is to zest a lemon into the frosting, which adds a bright, citrusy note that pairs wonderfully with the sweet dough. No matter how you change it, the core of the recipe remains a true heritage treasure.
Cookie Jar Time and Sharing Tradition
The most authentic way to serve these is straight from the refrigerator. Swig cookies are unique because the cold temperature firms up the frosting and gives the cookie a refreshing, dense bite. I love to arrange them on a vintage milk glass platter when friends come over for a visit.
They are best enjoyed with a tall glass of cold milk or a warm cup of coffee. If you are interested in more ways to present your treats, check out our Cookie Decorating Traditions for tips on making your bakes look as good as they taste. These cookies also travel well in a sturdy tin, making them a perfect gift for a neighbor or a local bake sale.
The Sweet Heritage of Baking
Baking these cookies is a wonderful way to slow down and appreciate the simple joys of life. Whether you are pressing the dough with an old glass or spreading the pink frosting with a smile, you are participating in a tradition that spans generations. These cookies are a reminder that the best things in life are often the ones we make with our own hands and share with our hearts. For more quick treats that bring the family together, look through our Quick & Easy Cookies collection. Don’t forget to share your baking journey with us on Pinterest and Instagram. Happy baking, from my kitchen to yours!
