There is nothing quite as disappointing as reaching into a ceramic cookie jar only to find a rock-hard disc where a soft treat should be. For years, I watched wonderful vintage recipes lose their charm because they dried out by the second day, which is why I became obsessed with finding the perfect moisture-retention techniques. I’ve spent countless hours in my kitchen refining this heritage formula to make sure that these cookies stay soft and chewy for nearly a full week, solving the age-old problem of the stale cookie jar.

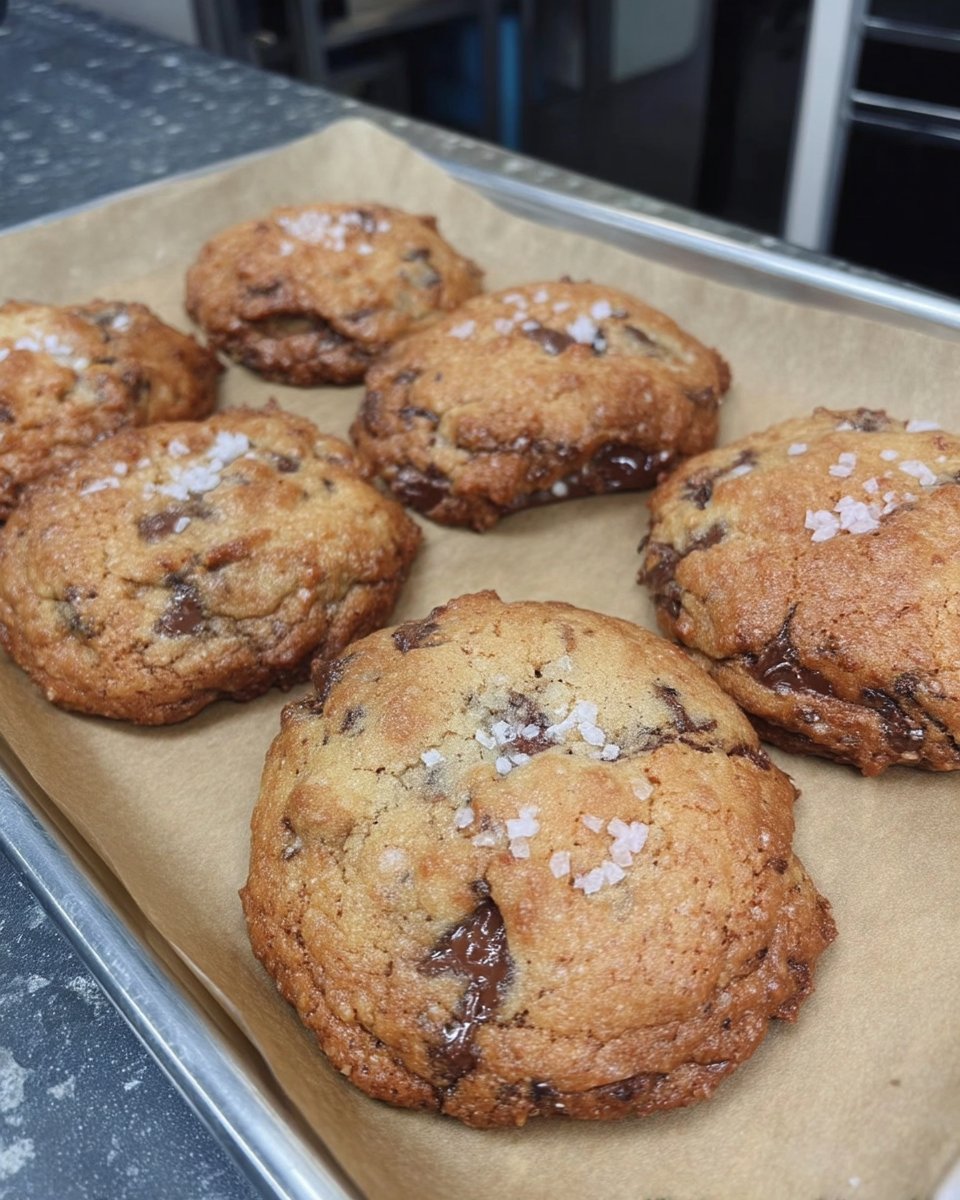
These thick chocolate chip cookies are substantial, bakery-style wonders that rely on a slow-and-steady approach to reach their full potential. By using a massive six-ounce portion for each cookie and allowing the dough to rest for at least twelve hours, we create a texture that is crisp on the outside while remaining incredibly tender in the center. This recipe proves that a few simple texture tweaks can turn a traditional favorite into a lasting treasure that remains jar-fresh for days.
A Heritage Recipe Perfected for Lasting Softness
You will fall in love with these cookies because they represent the ultimate balance between a vintage flavor profile and modern texture science. Most cookies lose their magic the moment they cool down, but this recipe is specifically designed to maintain a soft, gooey center that lasts well beyond the first afternoon. The weight of each cookie—a full six ounces—means the middle stays protected from the dry air of the oven, resulting in a satisfying chew that thinner cookies simply cannot match.
Another reason to treasure this recipe is the deep, complex flavor that comes from toasted sugar and a hint of nutmeg. These aren’t just sweet; they are rich, savory, and aromatic. They carry the warmth of a 1940s kitchen but use a twelve-hour cold-soak method to hydrate the flour completely. This patience pays off with a cookie that doesn’t just taste better—it feels better on the palate, with a tender crumb that melts away rather than resisting your bite. It is a guaranteed way to bring comfort to your home, batch after batch.
Print
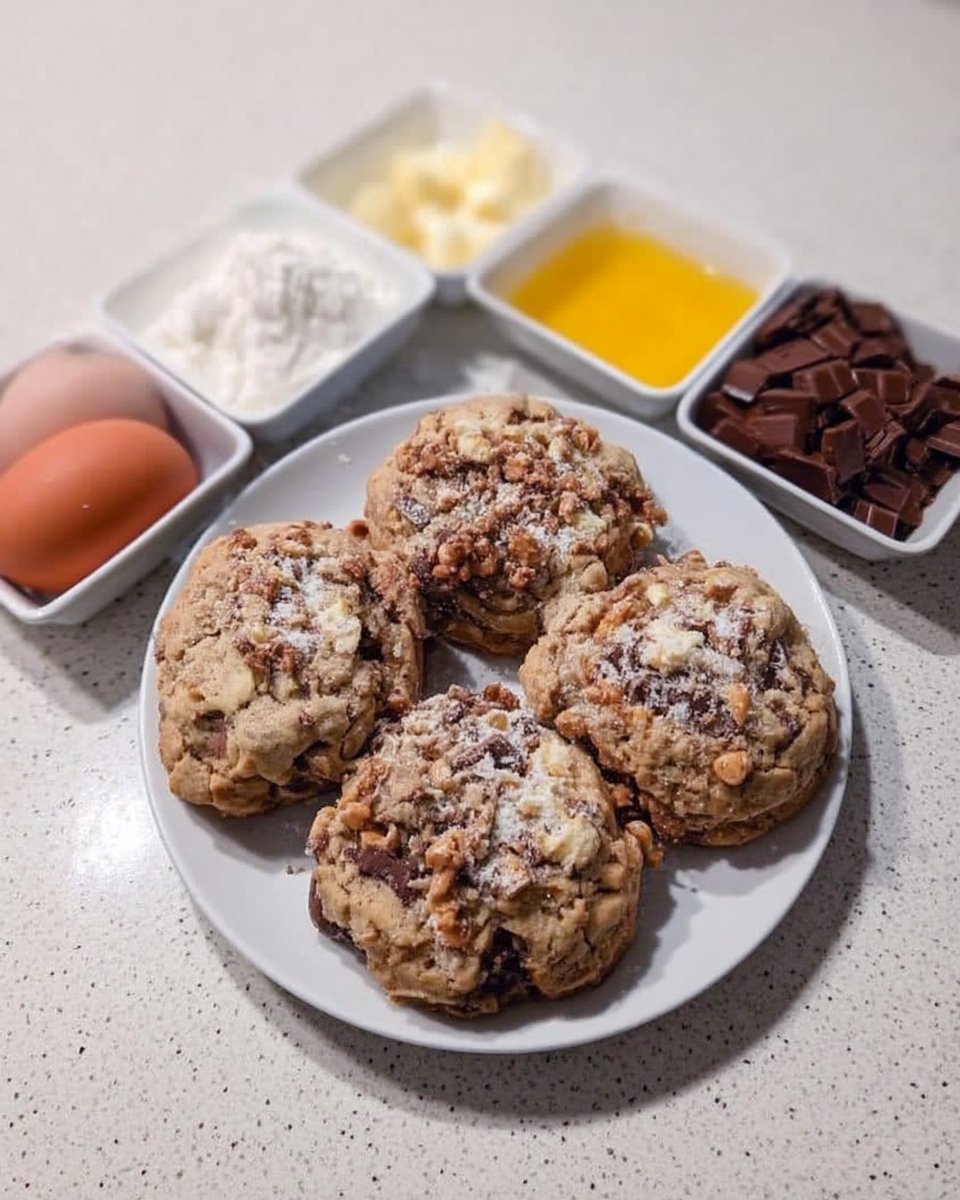
Thick Chocolate Chip Cookies
- Total Time: 12 hours 42 mins
- Yield: 8 large cookies
- Diet: Vegetarian
Description
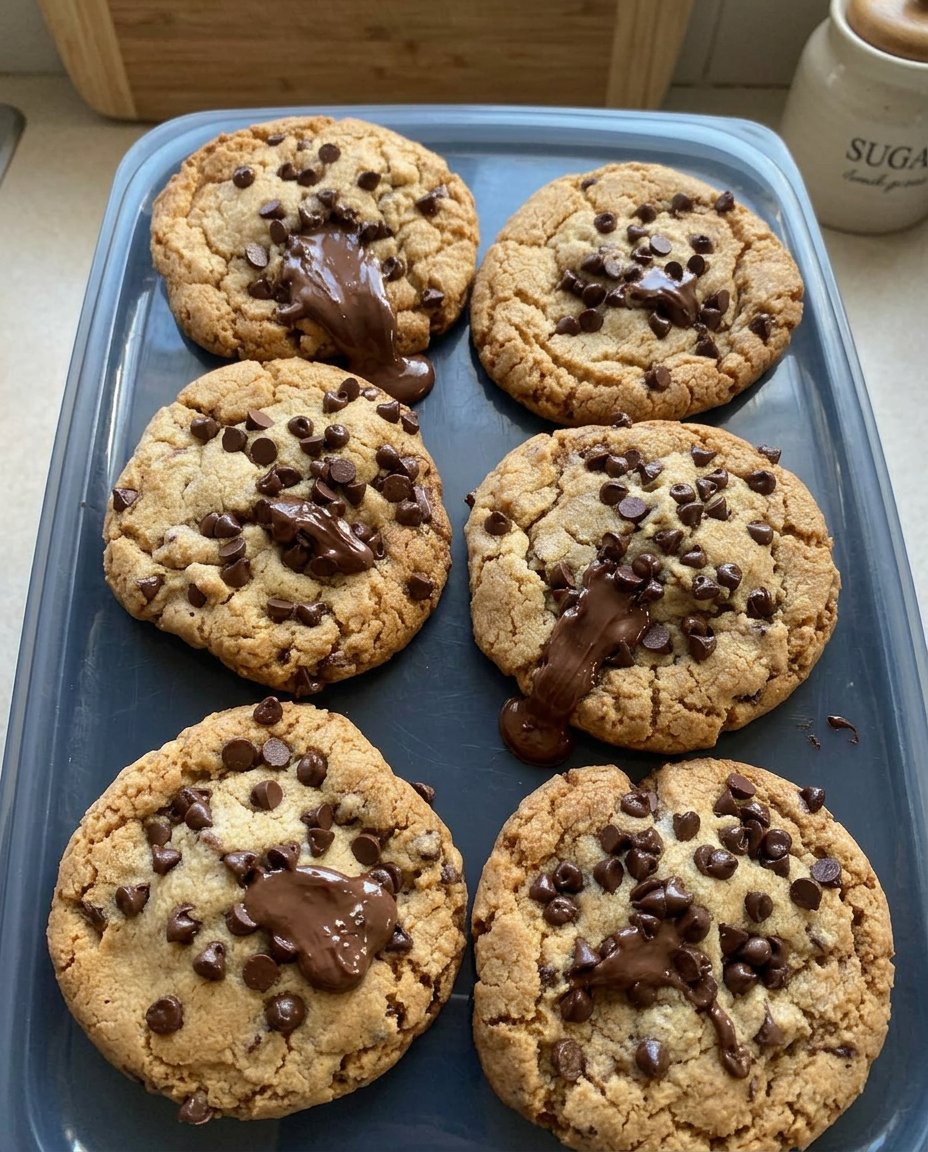
These substantial, bakery-style cookies are engineered for lasting softness and a deep, aromatic flavor profile. By combining a 12-hour cold-rest with a precise 6-ounce portion size, this recipe creates a decadent treat with a crisp exterior and a melt-in-your-mouth center.
Ingredients
- 1 cup unsalted butter, softened to 65°F
- 1 cup light brown sugar
- 1/2 cup toasted white sugar
- 1 tablespoon vanilla extract
- 1 teaspoon kosher salt
- 1 teaspoon baking powder
- 1/2 teaspoon baking soda
- 1 pinch ground nutmeg
- 2 large cold eggs
- 3 1/2 cups all-purpose flour
- 2 cups assorted chocolate chips
- 1 cup chopped walnuts or pecans
Instructions
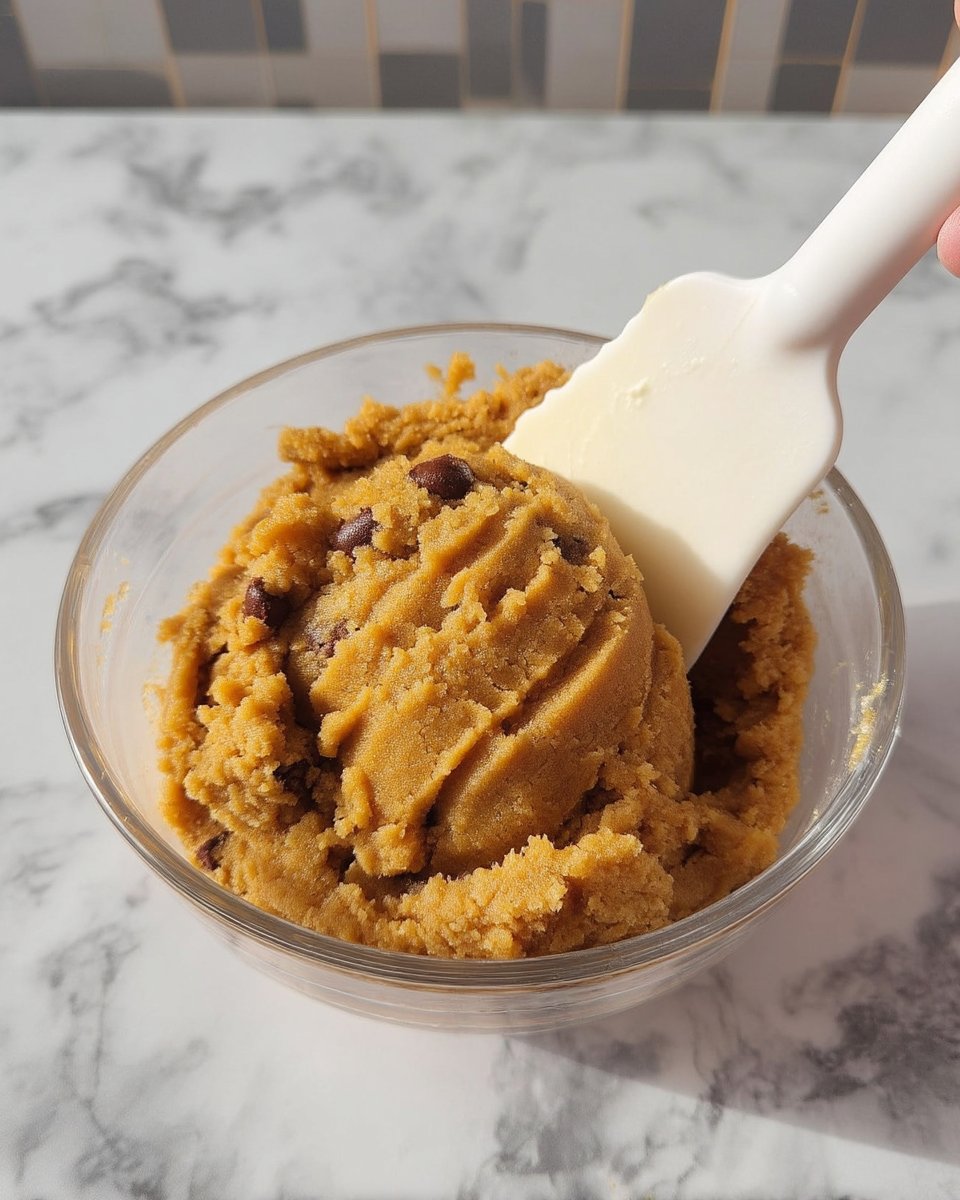
- Combine softened butter, sugars, vanilla, salt, baking powder, baking soda, and nutmeg in a stand mixer and beat on medium for 8 minutes until light and fluffy.
- Add the cold eggs one at a time while mixing on medium-low, ensuring each egg is fully incorporated before adding the next.
- Turn the mixer to the lowest setting, add the flour all at once, and mix until streaks disappear, then fold in chocolate chips and nuts for 15 seconds.
- Divide the dough into eight 6-ounce portions, roll into balls, wrap in plastic, and refrigerate for 12 to 48 hours.
- Bake at 350°F on a parchment-lined sheet for 22 minutes until edges are golden and the internal temperature is between 175°F and 185°F.
Notes
Always use a digital scale to ensure each cookie weighs exactly 6 ounces, as this specific mass is crucial for preventing the center from drying out. To refresh cookies after several days, a brief 10-second warming in the microwave will restore the original gooey texture.
- Prep Time: 12 hours 20 mins
- Cook Time: 22 mins
- Category: Dessert
- Method: Baking
- Cuisine: American
The Secrets to a Tender and Thick Crumb
To achieve that perfect chew that stays fresh for days, every ingredient in this recipe serves a specific purpose for moisture and structure. We start with American unsalted butter softened to exactly 65°F (18°C), which allows for the perfect aeration during the creaming stage without becoming greasy.
- Light Brown Sugar: This is our moisture anchor. The molasses content in brown sugar is hygroscopic, meaning it pulls moisture from the air to keep your cookies from becoming brittle.
- Toasted White Sugar: By lightly toasting your sugar before baking, you add a caramel-like depth that mimics the flavor of a long-aged dough without drying out the crumb.
- Cold Large Eggs: Using eggs straight from the fridge helps keep the butter temperature stable during mixing, which prevents the dough from becoming too soft and greasy before its long rest.
- Assorted Chocolate Chips: We use commercial chips rather than chopped chocolate because the stabilized edges of the chips help maintain the cookie’s height and structure. A blend of different cocoa percentages provides a sophisticated flavor profile.
- Walnuts or Pecans: These add a necessary crunch and healthy fats that contribute to the overall satiety and texture of the cookie, though they can be swapped if you prefer a nut-free version.
- Nutmeg and Kosher Salt: A tiny pinch of nutmeg is the secret vintage touch that makes people ask for your secret ingredient, while the salt balances the sweetness and highlights the chocolate.
How to Make the Ultimate Thick Cookie
Step 1: Cream the Base for Aeration
Place your softened butter, light brown sugar, toasted white sugar, vanilla, salt, baking powder, baking soda, and a pinch of nutmeg into the bowl of a stand mixer. Use the paddle attachment on a low speed to get everything moving, then increase to medium. Beat the mixture for about 8 minutes until it looks very pale, soft, and fluffy. This long creaming time is vital for building the air pockets that will help the cookies stay thick and light rather than dense and heavy.
Step 2: Incorporate the Cold Eggs
With the mixer running on medium-low, add your cold eggs one at a time. It is important to wait until the first egg is fully incorporated before adding the second. This emulsion is what gives the cookie its structure. If the mixture looks like it is curdling, just keep mixing; the cold eggs are simply firming up the butter, which is exactly what we want for a thick outcome.
Step 3: Mix in the Dry Ingredients and Bulk
Turn the mixer down to the lowest setting and add the all-purpose flour all at once. Mix only until the white streaks of flour just barely disappear. Over-mixing at this stage will develop gluten, which makes cookies tough rather than tender. Once the flour is in, pour in your chocolate chips and walnut pieces. Mix for another 10 to 15 seconds until the additions are evenly distributed throughout the thick dough.
Step 4: Portions and the Vital Rest
Divide your dough into eight equal portions, each weighing roughly 6 ounces (170g). Roll them into smooth, round balls. Wrap these balls tightly in plastic wrap and place them in the refrigerator. You must let them chill for at least 12 hours, though 24 to 48 hours is even better. This rest allows the flour to hydrate and the sugars to dissolve, which is the secret to a cookie that stays soft for days.
Step 5: The Precise Bake
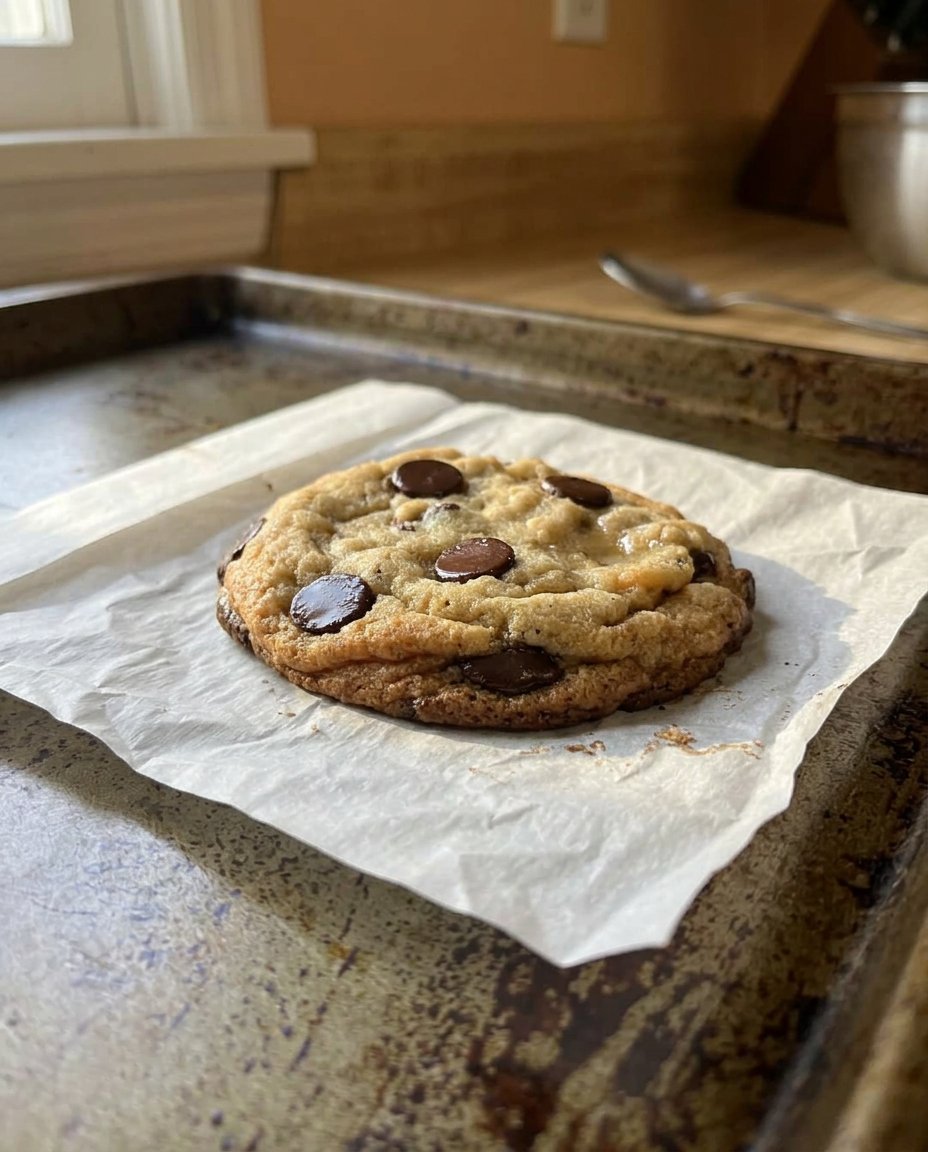
Preheat your oven to 350°F (180°C) and line a baking sheet with parchment. Place four cold dough balls on the sheet, giving them plenty of space. Bake for about 22 minutes. You are looking for a light golden-brown color on the edges while the centers still look slightly puffed and soft. For the best results, use a thermometer to check the internal temperature; it should be between 175°F and 185°F (79-85°C) for that perfect, soft-center finish.
Mehmet’s Wisdom for the Perfect Chew
One of my favorite secrets for maintaining a soft texture is to pull the cookies out of the oven when they still look a tiny bit underbaked in the center. The carryover heat from the baking sheet will finish the process without drying out the crumb. If you want to master more classic textures, you can find a wealth of knowledge in our Classic Cookie Recipes section. Also, remember to always use a digital scale for your ingredients. Volume measurements for flour can vary wildly, and even an extra tablespoon of flour can make a cookie go from tender to crumbly. For more on the science of chocolate and how it behaves in high-heat baking, you can look at the Serious Eats guide to buying chocolate chips to see why chip shape matters for structural integrity.
Adapting the Heritage Heirloom
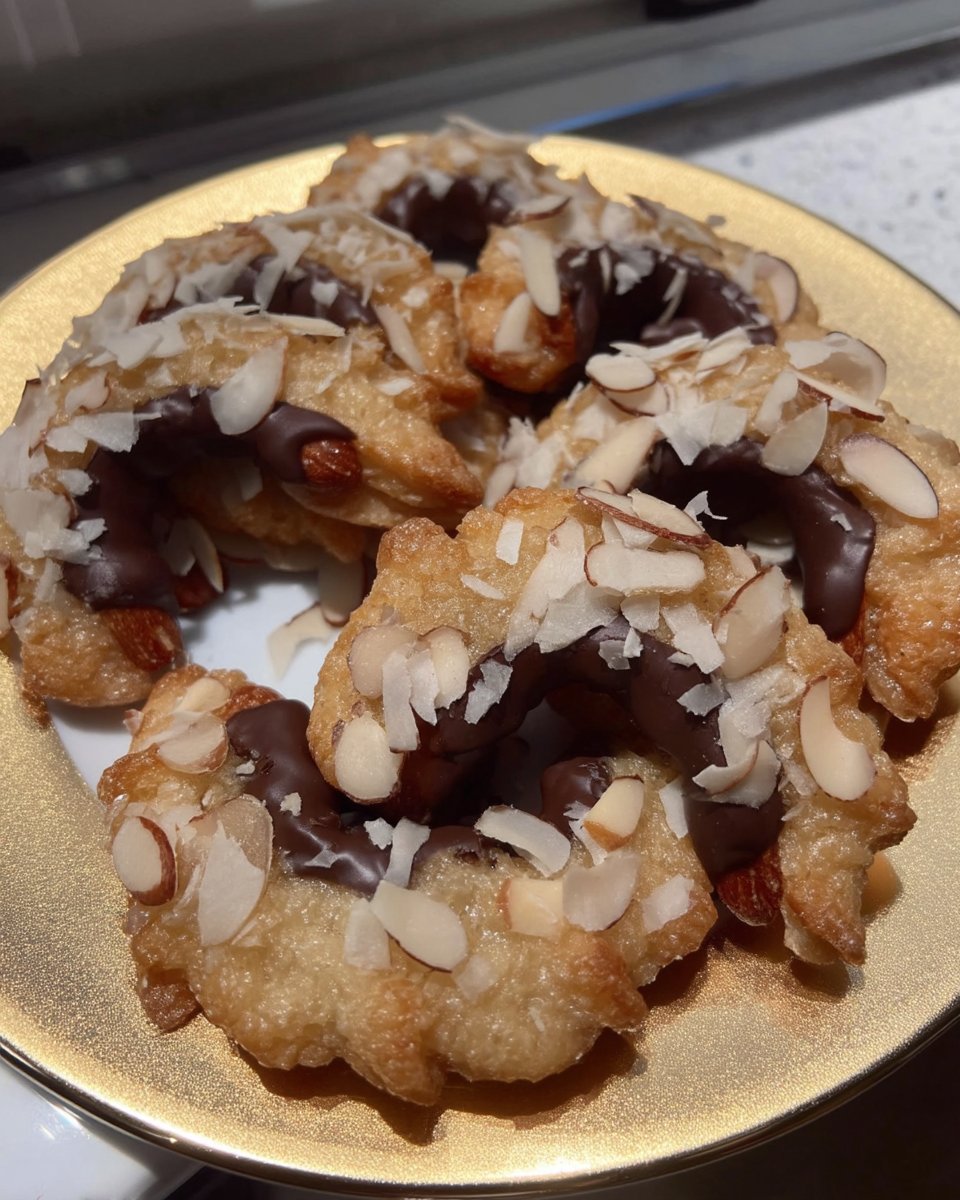
If you want to change the flavor profile while keeping that signature thickness, try swapping the walnuts for toasted macadamia nuts or even salted pretzels for a savory twist. For those who need a quicker fix, you can check out our Quick & Easy Cookies for recipes that require less chilling time. You can also vary the chocolate; using milk chocolate chips will make the cookie much sweeter and softer, while dark chocolate chips with 70% cocoa will provide a more adult, sophisticated bitterness that pairs perfectly with a glass of cold milk. If you prefer a cookie with crispier edges, you can press the dough balls down slightly before baking, but keep in mind this will reduce the overall softness of the center.
How to Serve and Store for Maximum Freshness
These cookies are best served warm, about an hour after they come out of the oven. This allows the internal structure to set while the chocolate remains melty. If you are serving them for a special event, you can find beautiful presentation ideas in our Cookie Decorating Traditions guide. To keep them soft for days, store them in an airtight glass jar at room temperature. If they do start to firm up after a few days, a quick 10-second zap in the microwave will revive that fresh-from-the-oven texture and make the chocolate centers gooey again.
Keeping the Tradition Fresh and Soft
Baking these thick chocolate chip cookies is about more than just satisfying a sweet tooth; it’s about preserving a standard of quality that stays fresh for your family to enjoy all week long. By respecting the chilling process and the weight of the dough, you ensure that every bite is as tender as the first. For more ways to celebrate with your oven, look at our Holiday Cookie Celebrations. We would love to see your beautiful, thick bakes, so please share your results with us on Instagram and Pinterest. Happy baking, and may your cookie jar always be full of soft, wonderful treats!

