The problem with many traditional stovetop treats is that they turn into dry, crumbly disks the moment they hit the cooling rack. I remember my first batch being so parched they required a gallon of tea just to swallow. These Welsh Cakes 2 solve that texture trouble by focusing on moisture retention, making sure your cookies stay tender and jar-fresh for days.

This recipe is a beautiful nod to heritage but with a modern focus on a satisfyingly chewy bite. By using soft butter and a touch of milk, we create a texture that stays soft long after they leave the pan. It is the perfect way to bring a bit of vintage magic into your kitchen without the stale aftermath often found in older versions.
Why You Will Love These Welsh Cakes 2
You will love these because they bridge the gap between a soft cookie and a tender scone. Most people struggle with stovetop baking because the high direct heat can suck the moisture right out of the dough, leaving you with something resembling a cracker. This recipe uses a specific ratio of fats and sugars to guarantee a soft interior even after the outside has achieved that signature golden crust.
Another reason to adore these is their incredible longevity. While most cookies are at their peak for only a few hours, the way we handle the flour and moisture here means they stay moist for a full week in your favorite cookie jar. They are quick to prepare, require no oven time, and bring a comforting, cinnamon-spiced warmth to any afternoon. They represent a heritage of practical baking where simple ingredients are transformed into something truly special and lasting.
Print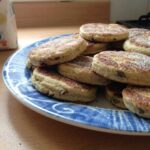
Welsh Cakes 2
- Total Time: 40 mins
- Yield: 10 cakes
- Diet: Vegetarian
Description
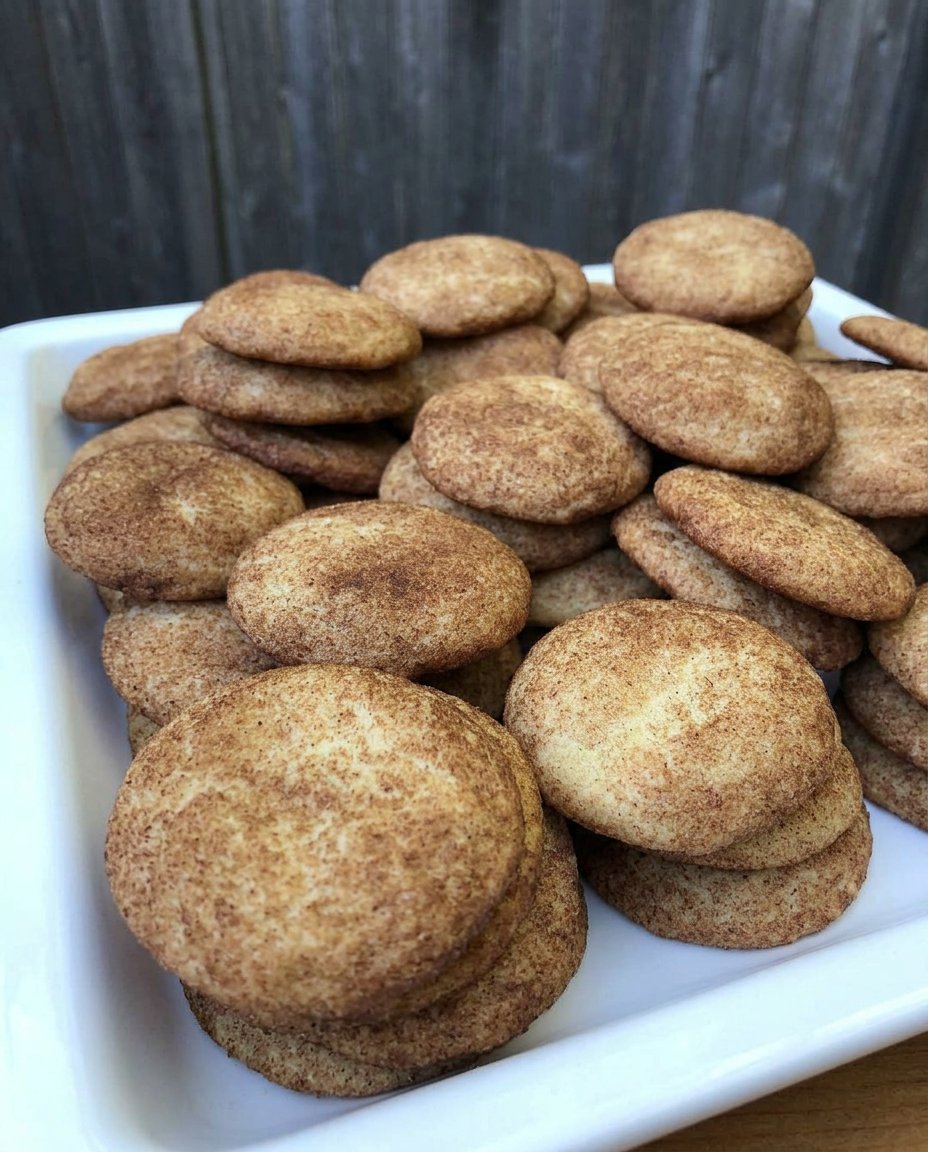
These heritage-inspired Welsh Cakes are specifically designed to stay moist and tender long after they leave the griddle. By using softened butter and rehydrated raisins, this recipe ensures a soft, cookie-like texture with a perfectly golden crust.
Ingredients
- 150g All-Purpose Flour
- 10g Baking Powder
- 50g Sugar
- 50g Soft Butter
- 1/2 tsp Cinnamon
- 60g Raisins
- 1 Large Egg
- 2 tbsp Milk
- 1 pinch Salt
- Small knob of butter for the pan
Instructions
- Place raisins in a bowl of very warm water for 10 minutes to rehydrate, then drain and pat dry thoroughly.
- In a large mixing bowl, whisk together the flour, baking powder, sugar, salt, and cinnamon.
- Work the softened butter into the dry mixture with your fingertips or a paddle attachment until it resembles fine breadcrumbs.
- Stir the plumped raisins into the flour mixture until evenly distributed.
- Whisk the egg and milk together in a small bowl, then pour into the dry ingredients and mix until a soft, tacky dough forms.
- Turn the dough onto a floured surface, knead gently for one minute, and roll out to a 5mm (1/4 inch) thickness.
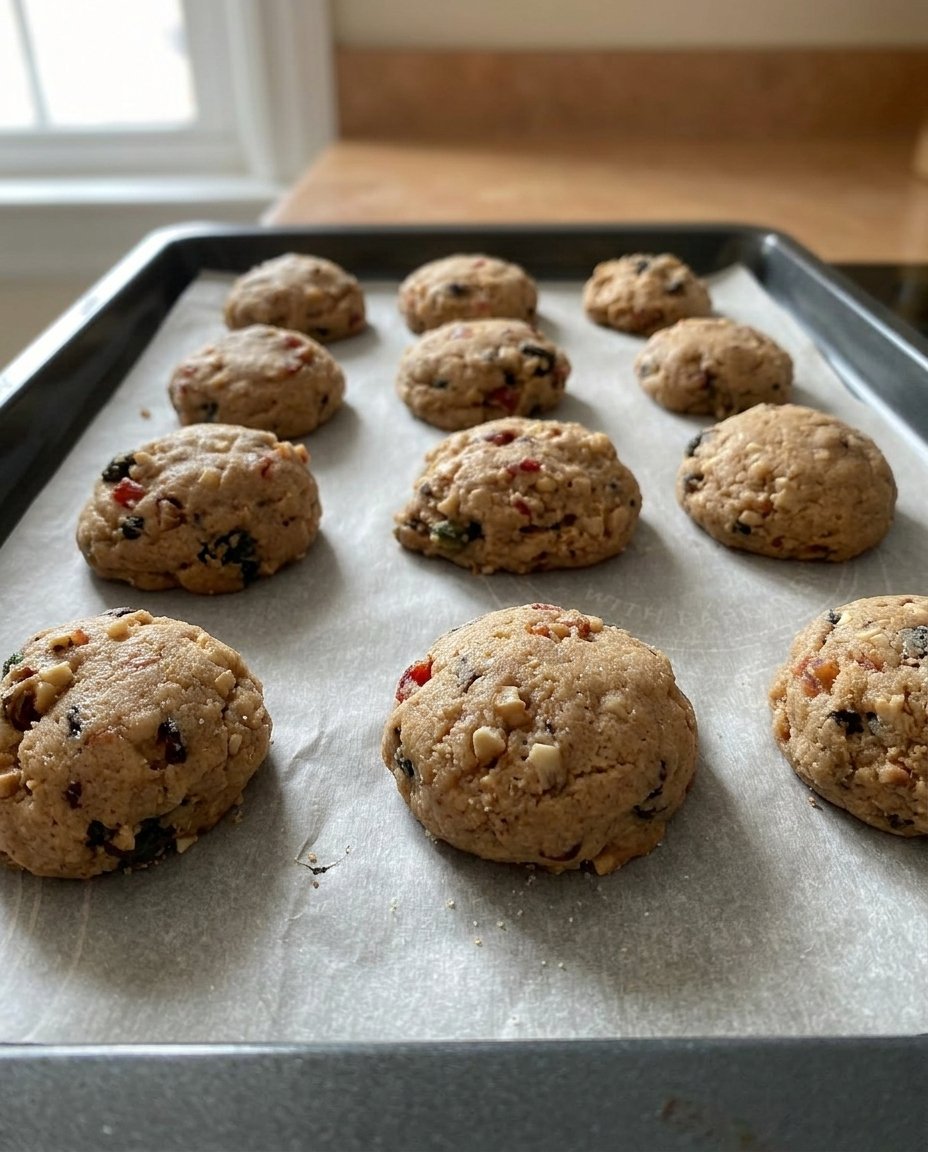
- Cut out rounds using a 6-7cm fluted cutter, re-rolling scraps as needed to make approximately 10 cakes.
- Heat a heavy-bottomed skillet over medium heat with a knob of butter and cook the cakes for 3-5 minutes per side until deep golden brown.
- Transfer the cakes to a wire rack to cool completely, which allows the moisture to redistribute for a perfect chewy finish.
Notes
To keep these cakes fresh for up to a week, always store them in an airtight container once they have cooled. If you find the cakes are browning too quickly on the outside while remaining raw inside, reduce your stovetop heat to medium-low to allow for a slower, more even bake.
- Prep Time: 20 mins
- Cook Time: 20 mins
- Category: Snack
- Method: Stovetop
- Cuisine: Welsh
The Secret to Tender Stovetop Cakes
To achieve that perfect chew, every ingredient plays a specific role in managing moisture. We move away from the rock-hard traditional versions by balancing the dry base with just enough hydration to keep the crumb tight but tender.
- All-Purpose Flour (150g): This provides the structure. We use just enough to hold the shape without making the dough heavy or bready.
- Baking Powder (10g): This is essential for the lift. It creates tiny air pockets that prevent the cakes from becoming dense pucks during the quick stovetop cooking process.
- Sugar (50g): Beyond sweetness, sugar helps with browning and moisture retention. It softens the gluten, contributing to that desired tender bite.
- Soft Butter (50g): Using soft butter instead of cold, rubbed-in butter allows for a more uniform distribution of fats, which coats the flour particles and prevents a tough texture.
- Cinnamon (1/2 tsp): This adds the classic vintage flavor profile that makes these feel like a warm hug from a grandmother’s kitchen.
- Raisins (60g): We rehydrate these in warm water first. This is a crucial Mehmet tweak; dry raisins will pull moisture from your dough, but soaked raisins actually contribute to the long-lasting softness of the cake.
- Egg and Milk (1 egg, 2 tbsp milk): These are our primary binders. The proteins in the egg provide structure, while the milk adds the liquid necessary for a dough that is supple and easy to roll.
How to Make It: The Texture-Focused Method
Step 1: Rehydrate the Fruit
Begin by placing your raisins in a small bowl of very warm water. Let them sit for about 10 minutes. This prevents the dried fruit from acting like a sponge inside your dough, which is the main cause of dry Welsh cakes. Once they are plump, drain them thoroughly and pat them dry with a paper towel.
Step 2: Combine the Dry Base
In a large mixing bowl, whisk together your flour, baking powder, sugar, salt, and cinnamon. It is important to distribute the baking powder evenly so that every single cake rises uniformly on the griddle. This even rise is what keeps the center light and airy.
Step 3: Integrate the Soft Butter
Add your softened butter to the dry mixture. You can use a stand mixer with the paddle attachment or just your fingertips. Work the butter until the mixture looks like fine breadcrumbs. Because the butter is soft, it will integrate more deeply into the flour than cold butter would, creating a more cohesive and moist crumb.
Step 4: Fold in the Raisins
Add your plumped raisins to the bowl. Stir them through the flour mixture to ensure they are coated. This coating prevents them from sinking or clumping together, making sure every bite has a burst of moisture.
Step 5: Form the Dough
In a separate small bowl, whisk the egg with the two tablespoons of milk. Pour this into your dry ingredients. Mix until a soft dough forms. It should be tacky but not sticky. If it feels too dry, add a teaspoon of milk; if it feels too wet, a dusting of flour will help. The goal is a dough that feels like soft clay.
Step 6: Knead and Roll
Turn the dough out onto a lightly floured surface. Knead it gently for just a minute to smooth it out. Using a rolling pin, roll the dough to a thickness of about 5mm (roughly 1/4 inch). Keeping the thickness consistent is the key to making sure they cook through without burning the outsides.
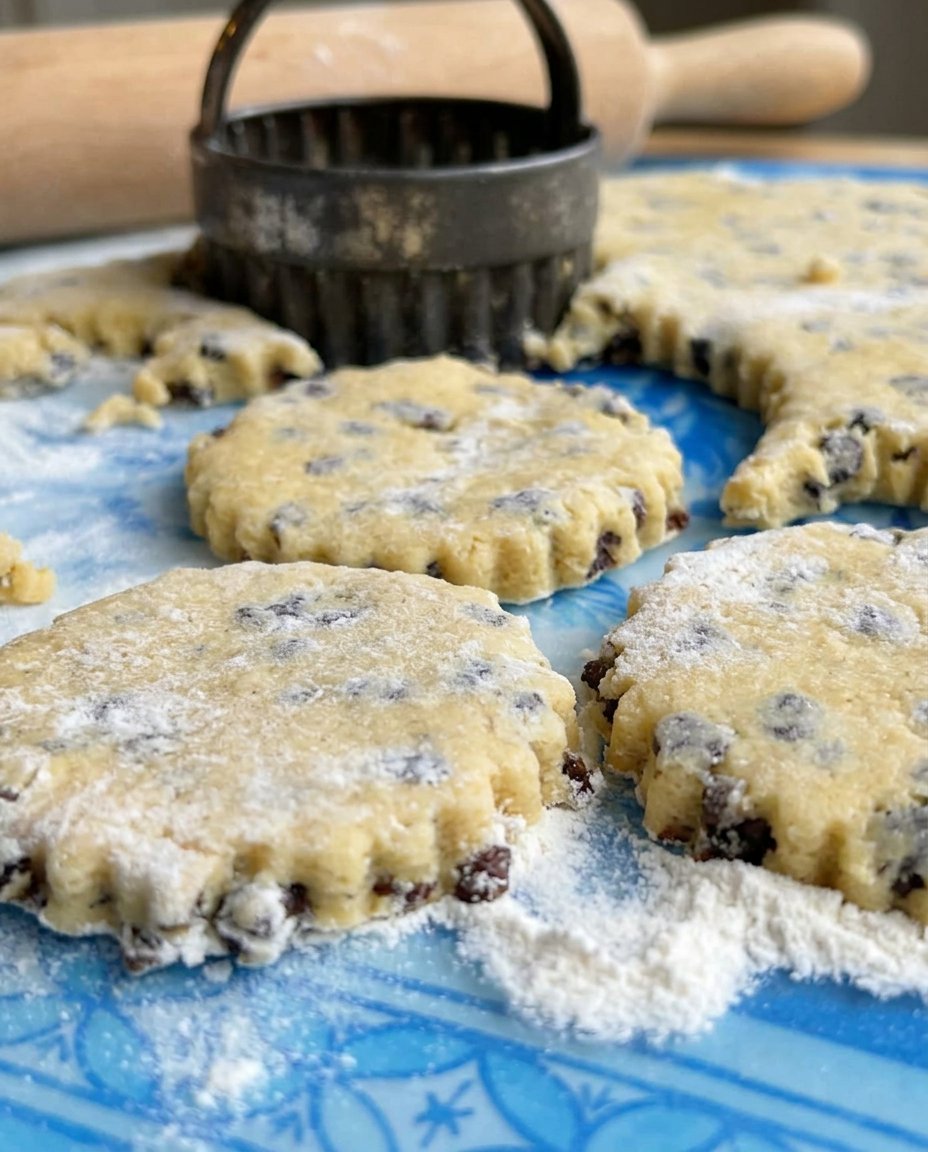
Step 7: Cut the Shapes
Use a fluted 6-7cm cutter to detail your cakes. This traditional edge creates more surface area for the butter to crisp up during cooking. Gather any scraps, re-roll, and cut until all the dough is used. You should get about 10 perfect cakes.
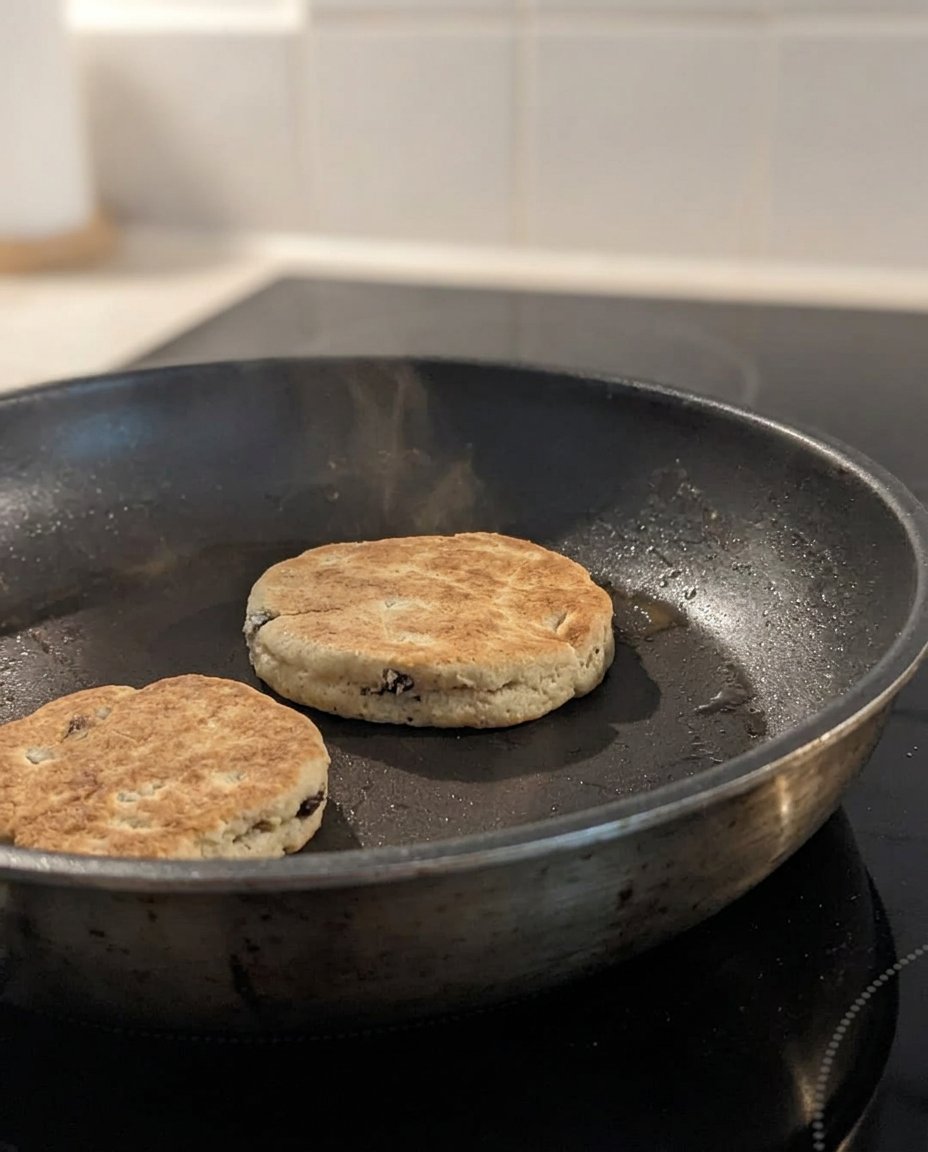
Step 8: The Stovetop Sizzle
Heat a heavy-bottomed skillet or griddle over medium heat and add a small knob of butter. Once melted and bubbling, place your cakes in the pan. Do not crowd them. Cook for 3 to 5 minutes per side. You are looking for a deep golden brown. If they brown too fast, turn the heat down; they need time for the middle to set into a soft, cake-like texture.
Step 9: The Final Cool
Move the finished cakes to a wire rack or a plate. They will feel slightly soft when they first come off the heat, but they will firm up into a perfect chewy texture as they cool. Resisting the urge to eat them immediately allows the moisture to redistribute through the crumb.
Mehmet’s Secrets for Lasting Freshness
The biggest secret to keeping these jar-fresh for days is the heat management. Never use high heat; a slow sizzle allows the baking powder to activate fully, creating a tender interior. If you find your cakes are getting hard the next day, it is likely they were overcooked. Aim for a gentle golden color rather than a dark brown. For more help with traditional textures, check out our Classic Cookie Recipes to see how we handle different dough types. Also, always store these in an airtight container once they have cooled completely; even a small amount of air exposure can turn a soft cake into a dry one. For more professional techniques on griddle baking, you can see how others manage temperature at Bulle de Patisserie.
Texture Tweaks and Flavor Options
You can easily adapt this recipe to suit your pantry. If you prefer a more robust chew, try replacing half of the white sugar with brown sugar; the molasses in the brown sugar will keep the cakes even softer for longer. For a different flavor profile, swap the cinnamon for nutmeg or a lemon zest. If you are looking for more ways to adapt heritage recipes for modern tastes, look through our Wholesome Cookie Options for inspiration. You can also swap the raisins for dried cranberries or even small chocolate chips, though the fruit versions tend to stay moist longer because of the natural sugars in the berries.
How to Serve Your Welsh Cakes
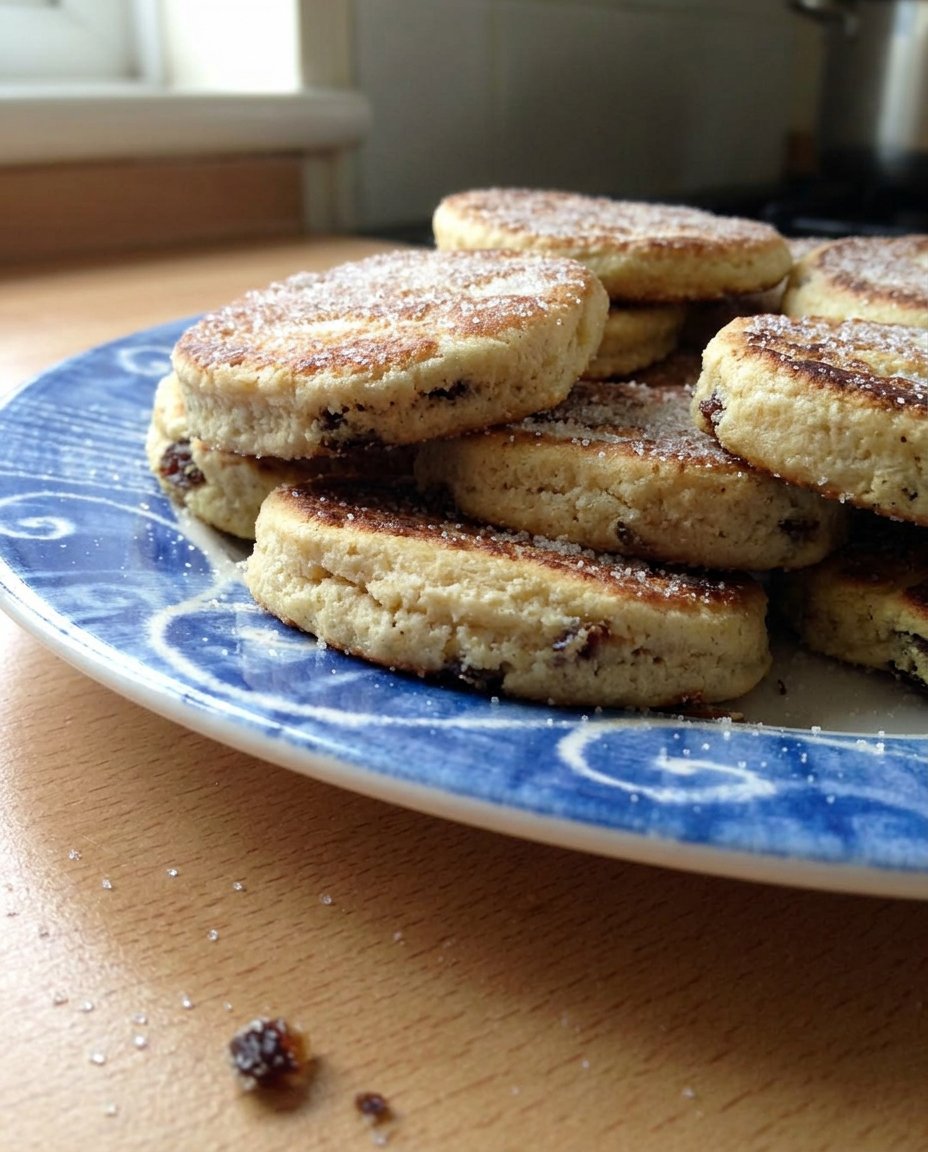
These are best enjoyed slightly warm, which revives the butter and makes the texture incredibly soft. I love serving them with a simple dusting of granulated sugar while they are still hot from the pan. For a more indulgent afternoon treat, split them in half and spread a bit of salted butter or a tart raspberry jam inside. They are a fantastic addition to any tea service. If you are looking for other treats that pair well with tea, our Quick & Easy Cookies section has many recipes that take very little time but offer a big texture payoff. If you have leftovers, a quick 10-second zap in the microwave will bring back that fresh-baked softness instantly.
The Texture Truth for Stovetop Baking
Mastering the Welsh cake is all about respecting the balance of moisture and heat. By rehydrating your fruit and using softened butter, you move away from the dry, rock-hard cakes of the past and into a world of lasting softness. These are the perfect cookies to keep in your jar for those moments when you need a bit of comfort. If you enjoy baking for special moments throughout the year, be sure to visit our Holiday Cookie Celebrations for more heritage-inspired ideas. We would love to see your baking success, so please share your photos and tag us on Instagram, Facebook, or Pinterest. Happy baking, and may your cookie jar always be full of soft, chewy treasures!
