Growing up, the peanut butter cookies in my family’s vintage cookie jar were always a gamble by day three. They tasted wonderful, but they often turned crumbly and dry. I realized that simplifying the recipe down to just three components creates a miraculously chewy texture. These 3 ingredient peanut butter cookies stay soft and satisfying for a full week without breaking a sweat.

You do not need flour or butter to achieve the perfect chew. The natural oils in the peanut butter bind beautifully with the sugar and egg to create a tender, melt-in-your-mouth crumb. This is a brilliant heritage method that delivers jar-fresh texture with barely any effort.
The Secret to Perfect Softness
These are not those dusty, fragile bakes that fall apart in your hands. The beauty of this recipe lies in its incredibly high moisture retention. By omitting flour entirely, the peanut butter takes center stage and prevents the dough from drying out.
You will also love how reliable this method is. It takes just five minutes to mix, making it a lifesaver for sudden cravings. Best of all, they develop a wonderful crackly edge while keeping a chewy center that stays fresh for days.
Print
3 Ingredient Peanut Butter Cookies
- Total Time: 17 mins
- Yield: 15 cookies
- Diet: Gluten-Free
Description
Experience the magic of a flourless recipe that produces exceptionally chewy peanut butter cookies using just three basic ingredients. These simple treats are perfect for busy bakers who want a reliable, soft-textured cookie that remains fresh in the jar for a full week.
Ingredients
- 1 cup creamy peanut butter
- 1 cup granulated white sugar
- 1 large egg
Instructions
- Preheat your oven to 350°F and line a baking sheet with parchment paper.
- In a medium mixing bowl, combine the creamy peanut butter, granulated sugar, and egg.
- Stir the ingredients together vigorously until a thick, uniform dough forms.
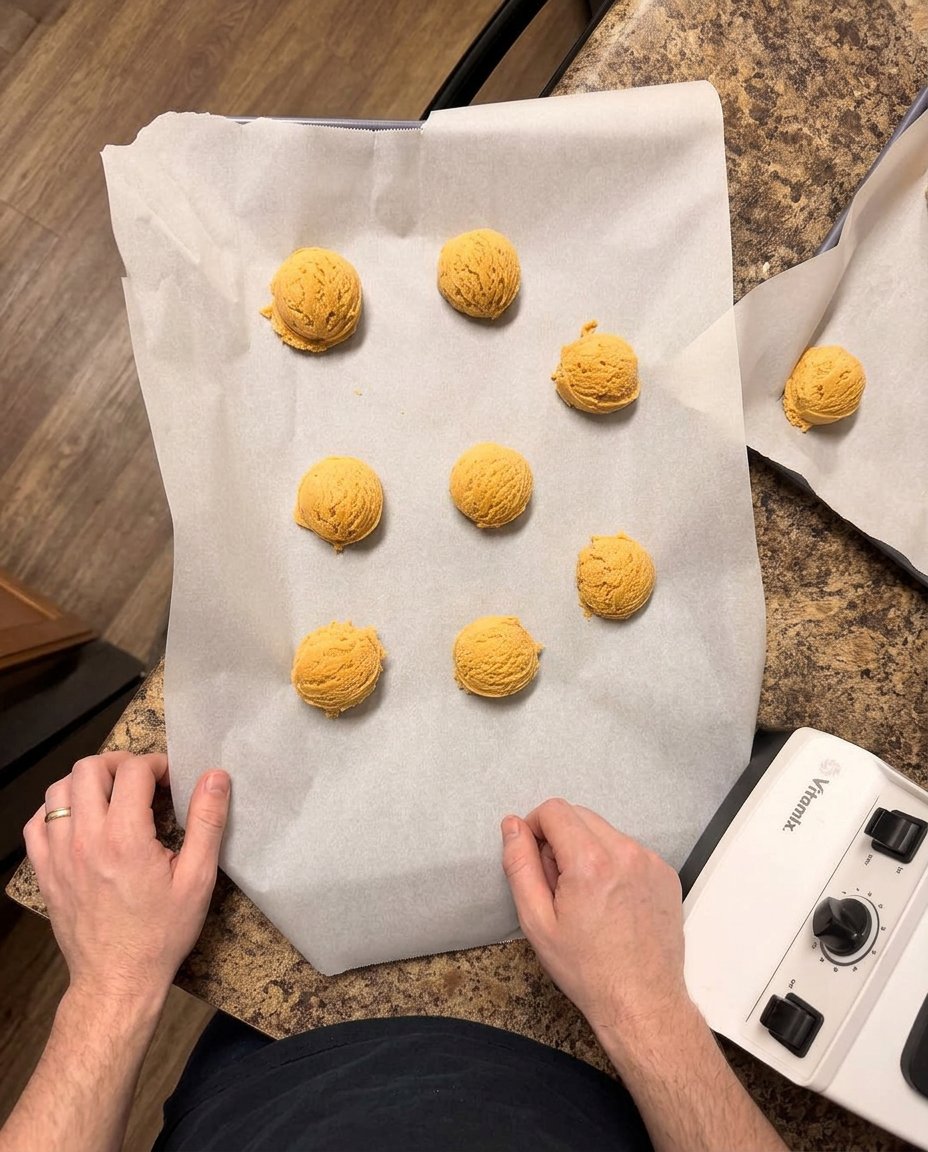
- Roll the dough into one-inch balls or use a cookie scoop to portion them onto the prepared baking sheet.
- Press the back of a fork into each ball, then rotate and press again to create a classic cross-hatch pattern.
- Bake for 12 minutes until the edges are just set, then let them rest on the baking sheet for 2 minutes before moving them to a wire rack to cool completely.
Notes
To ensure the best results, use room-temperature ingredients so the dough binds together quickly and smoothly. If you find the fork is sticking to the dough while making the cross-hatch pattern, simply dip the tines into a small bowl of extra sugar between cookies.
- Prep Time: 5 mins
- Cook Time: 12 mins
- Category: Dessert
- Method: Baking
- Cuisine: American
The Soft Texture Ingredients
You only need three basic pantry staples to achieve the ultimate chewy bite. The magic happens when these specific components interact without the interference of dry flour.
- Peanut Butter: Standard, commercial creamy peanut butter works best here because it has stabilized oils. Natural peanut butter can separate and make the cookies spread too much or become oily.
- Sugar: Granulated white sugar dissolves perfectly into the peanut butter. It creates those signature crisp edges while locking moisture into the center.
- Egg: The single egg acts as the sole binder and leavening agent. It provides the structure needed to keep the cookie thick and chewy.
The Method for Chewy Cookies
Step 1: Prep Your Dough
Preheat the oven to 350°F. In a medium bowl, combine your peanut butter, sugar, and egg. Stir them together until a thick, uniform dough forms.
Step 2: Portion and Shape
Scoop the dough onto a parchment-lined baking sheet. If you do not have a cookie scoop, simply roll the dough into one-inch balls using your hands.
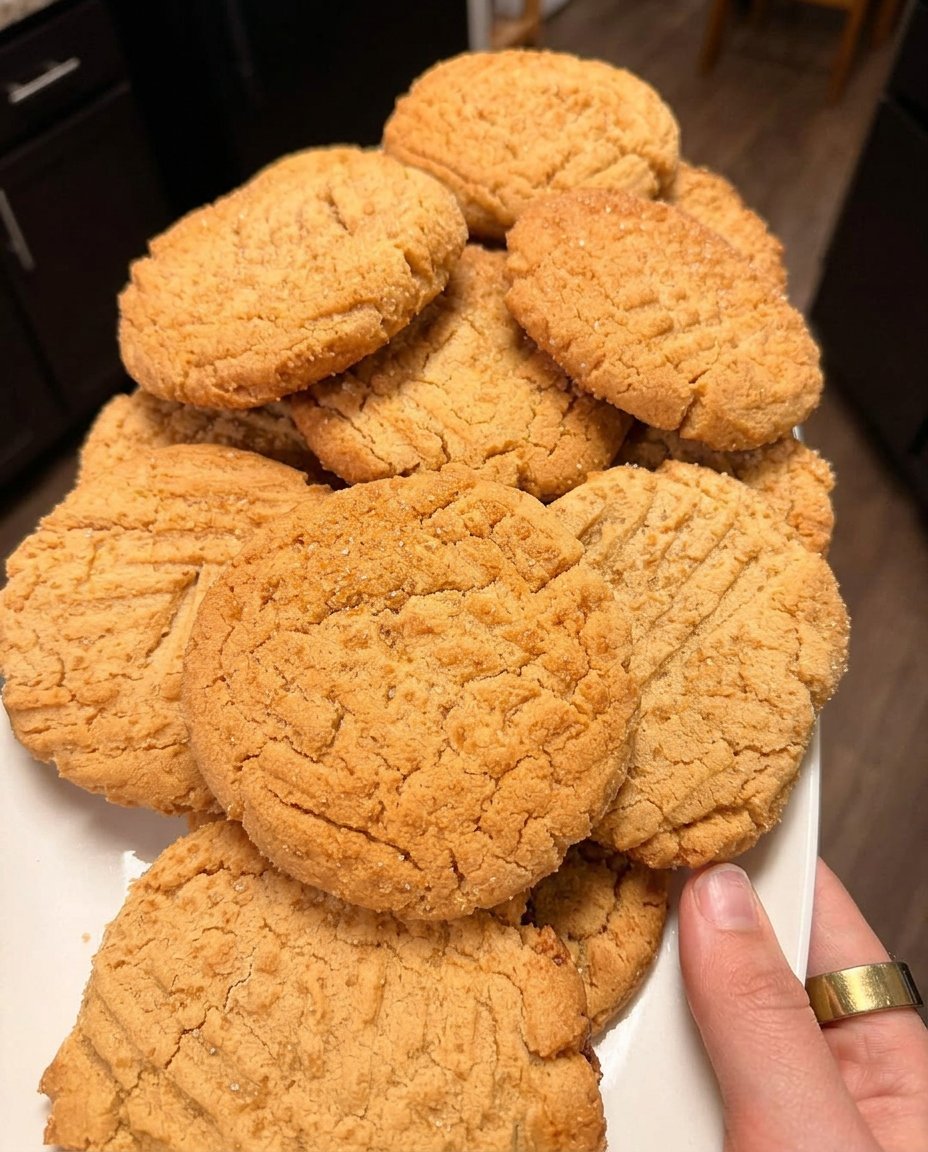
Step 3: The Classic Cross-Hatch
Press down gently on each ball with the back of a fork. Press again from the opposite direction to form that classic criss-cross pattern. This helps them bake evenly since the dough will not spread much on its own.
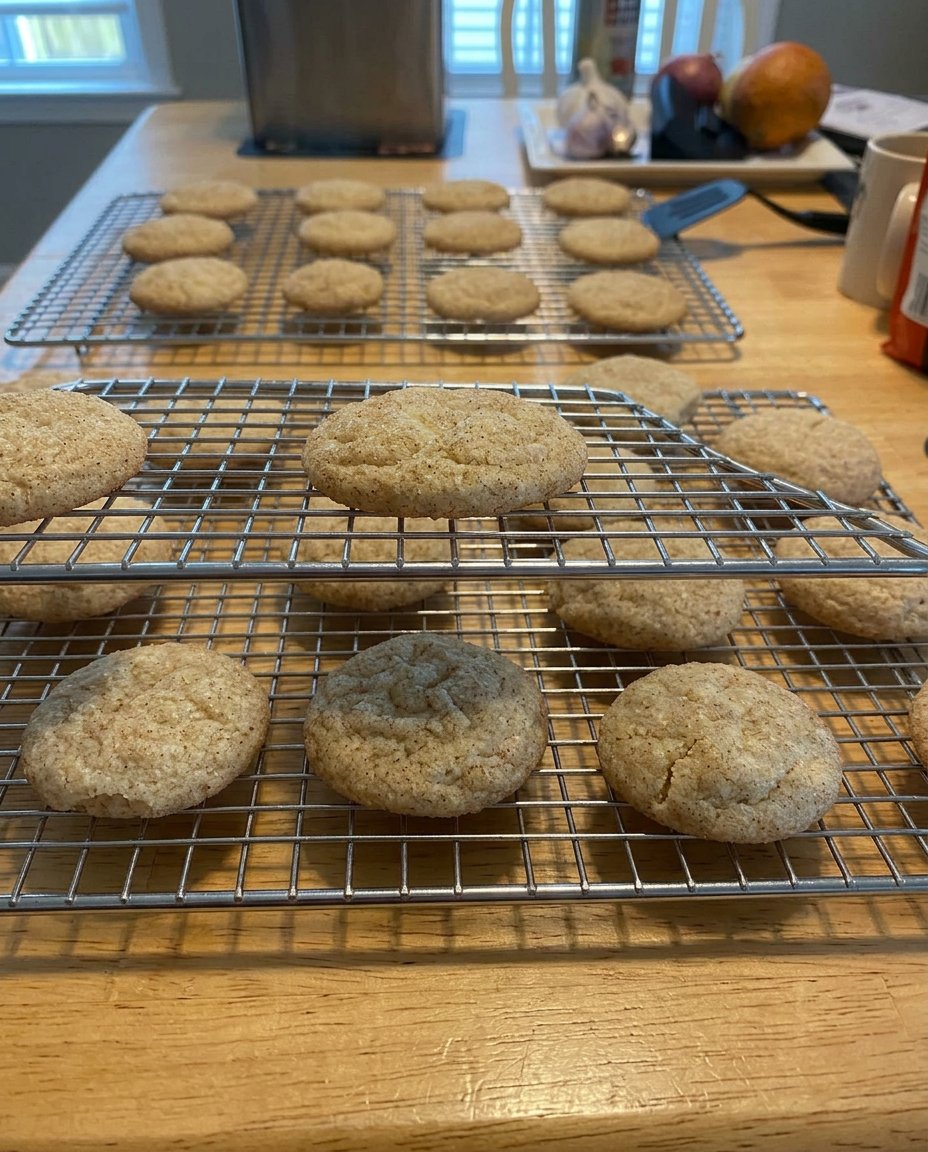
Step 4: Bake to Perfection
Bake the full tray for 12 minutes. The edges should look set, but the centers will still seem incredibly soft. Let them cool on the baking sheet for two minutes before moving them to a wire rack.
Mehmet’s Texture Tips

For the absolute best texture, I highly recommend removing about two tablespoons of peanut butter from the one cup called for in the recipe. This small tweak results in a cookie that spreads out beautifully and is slightly less dense. It makes a tremendous difference in maintaining that jar-fresh texture.
Always slightly underbake your cookies if you want them to stay soft for days. They will continue to cook on the hot baking tray after you pull them from the oven. If you love finding more reliable techniques for your baking routine, read through our Quick & Easy Cookies collection.
Texture Tweaks and Additions
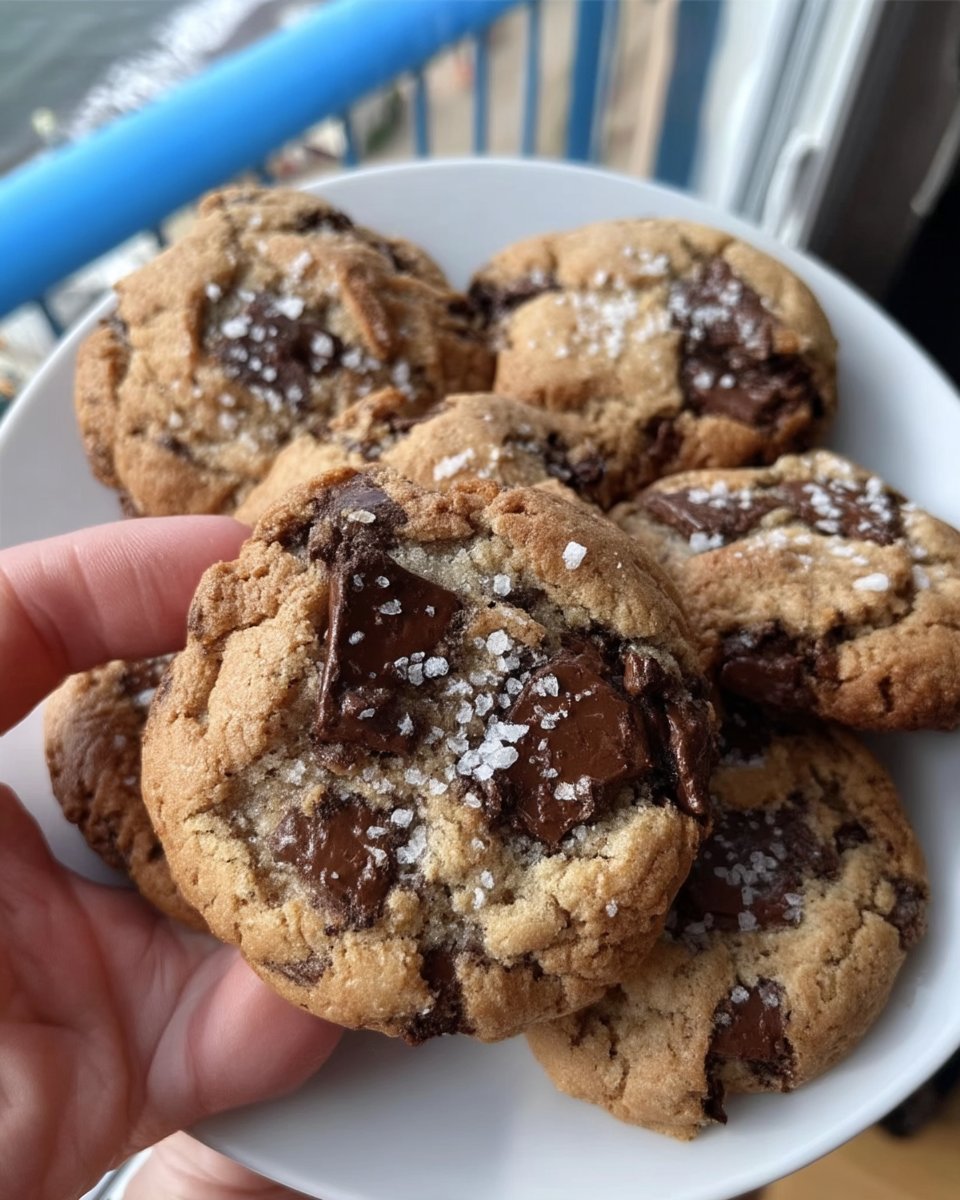
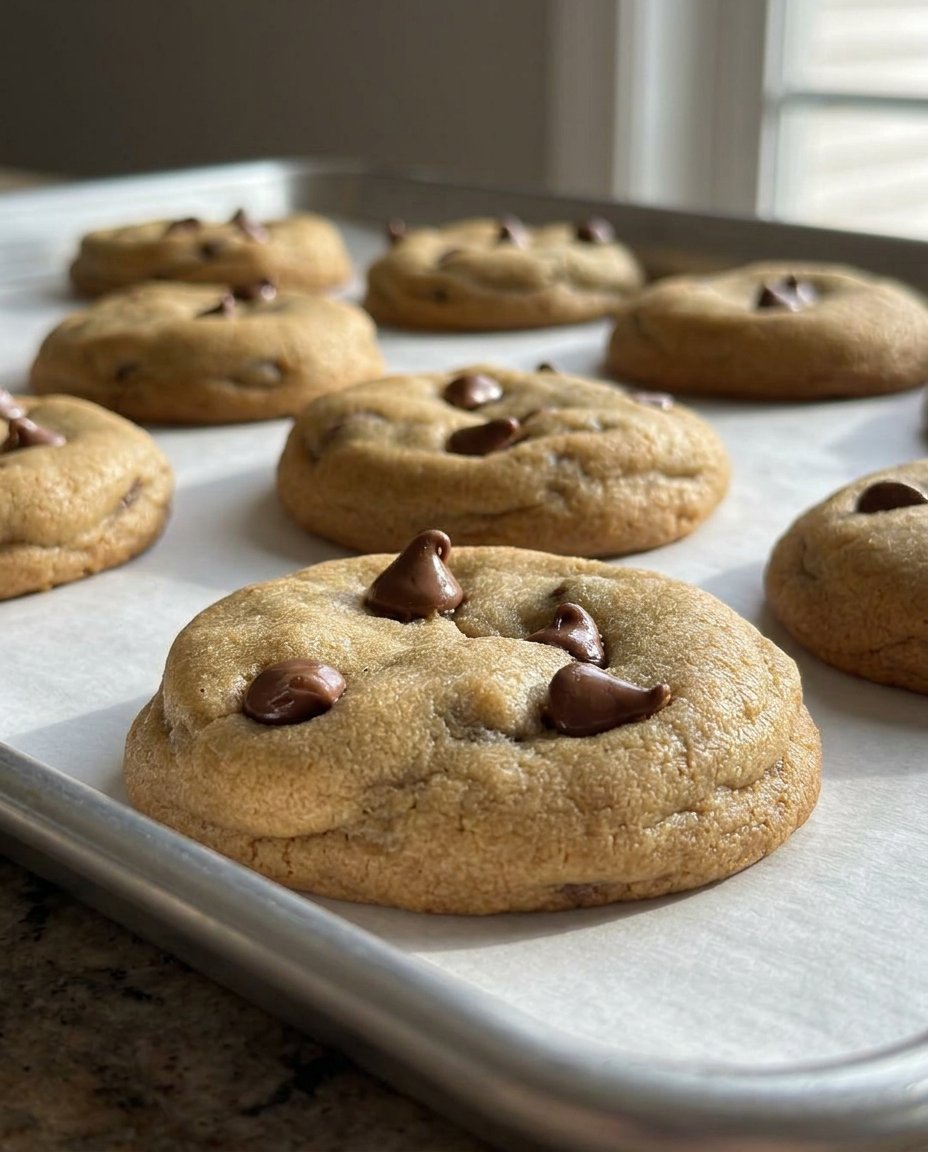
While the base recipe is perfect, you can easily fold in extras without ruining the moisture balance. Try mixing in a handful of mini chocolate chips for a classic flavor pairing. The chocolate melts into the dough, adding even more gooey softness to the final bite.
For a slightly crispier edge, you can swap half of the white sugar for brown sugar. The molasses in the brown sugar introduces a deeper flavor profile while keeping the center incredibly tender. For more ideas on flavor modifications, browse our Classic Cookie Recipes.
How to Serve for Maximum Freshness
These cookies are absolute perfection when served still slightly warm from the oven. Pair them with a cold glass of milk to complement the rich, roasted peanut flavor. The contrast between the chilled milk and the tender, warm crumb is wonderful.
When storing them, place a piece of wax paper between the layers in an airtight vintage cookie jar. This prevents them from sticking together while locking in that essential moisture. If you enjoy baking for gatherings, these are wonderful additions to any Wholesome Cookie Options spread. You might also enjoy comparing this modern texture approach with a classic old-fashioned peanut butter cookie recipe to see how the crumb differs over time.
The Texture Truth
You never have to settle for dry, crumbly peanut butter treats again. By trusting this simple trio of ingredients, you guarantee a soft, satisfying bite that stays jar-fresh for days. It is the perfect blend of vintage heritage and modern moisture mastery.
I hope this becomes a reliable staple in your own kitchen. For more tips on keeping your baked goods soft and chewy, read our Holiday Cookie Celebrations guide. Do not forget to share your beautifully cross-hatched creations with me on Instagram or pin this recipe for later on Pinterest! You can also join our baking community on Facebook to trade texture secrets.
